
Here’s something that in my primary job as an EMC Test Engineer gets a lot of use – a laboratory grade amplifier for performing the Immunity testing phase of an EMC suite. I figured it was about time to crack them open & have a look at what makes them tick. I’ll start with the 100kHz-1GHz model in this post.
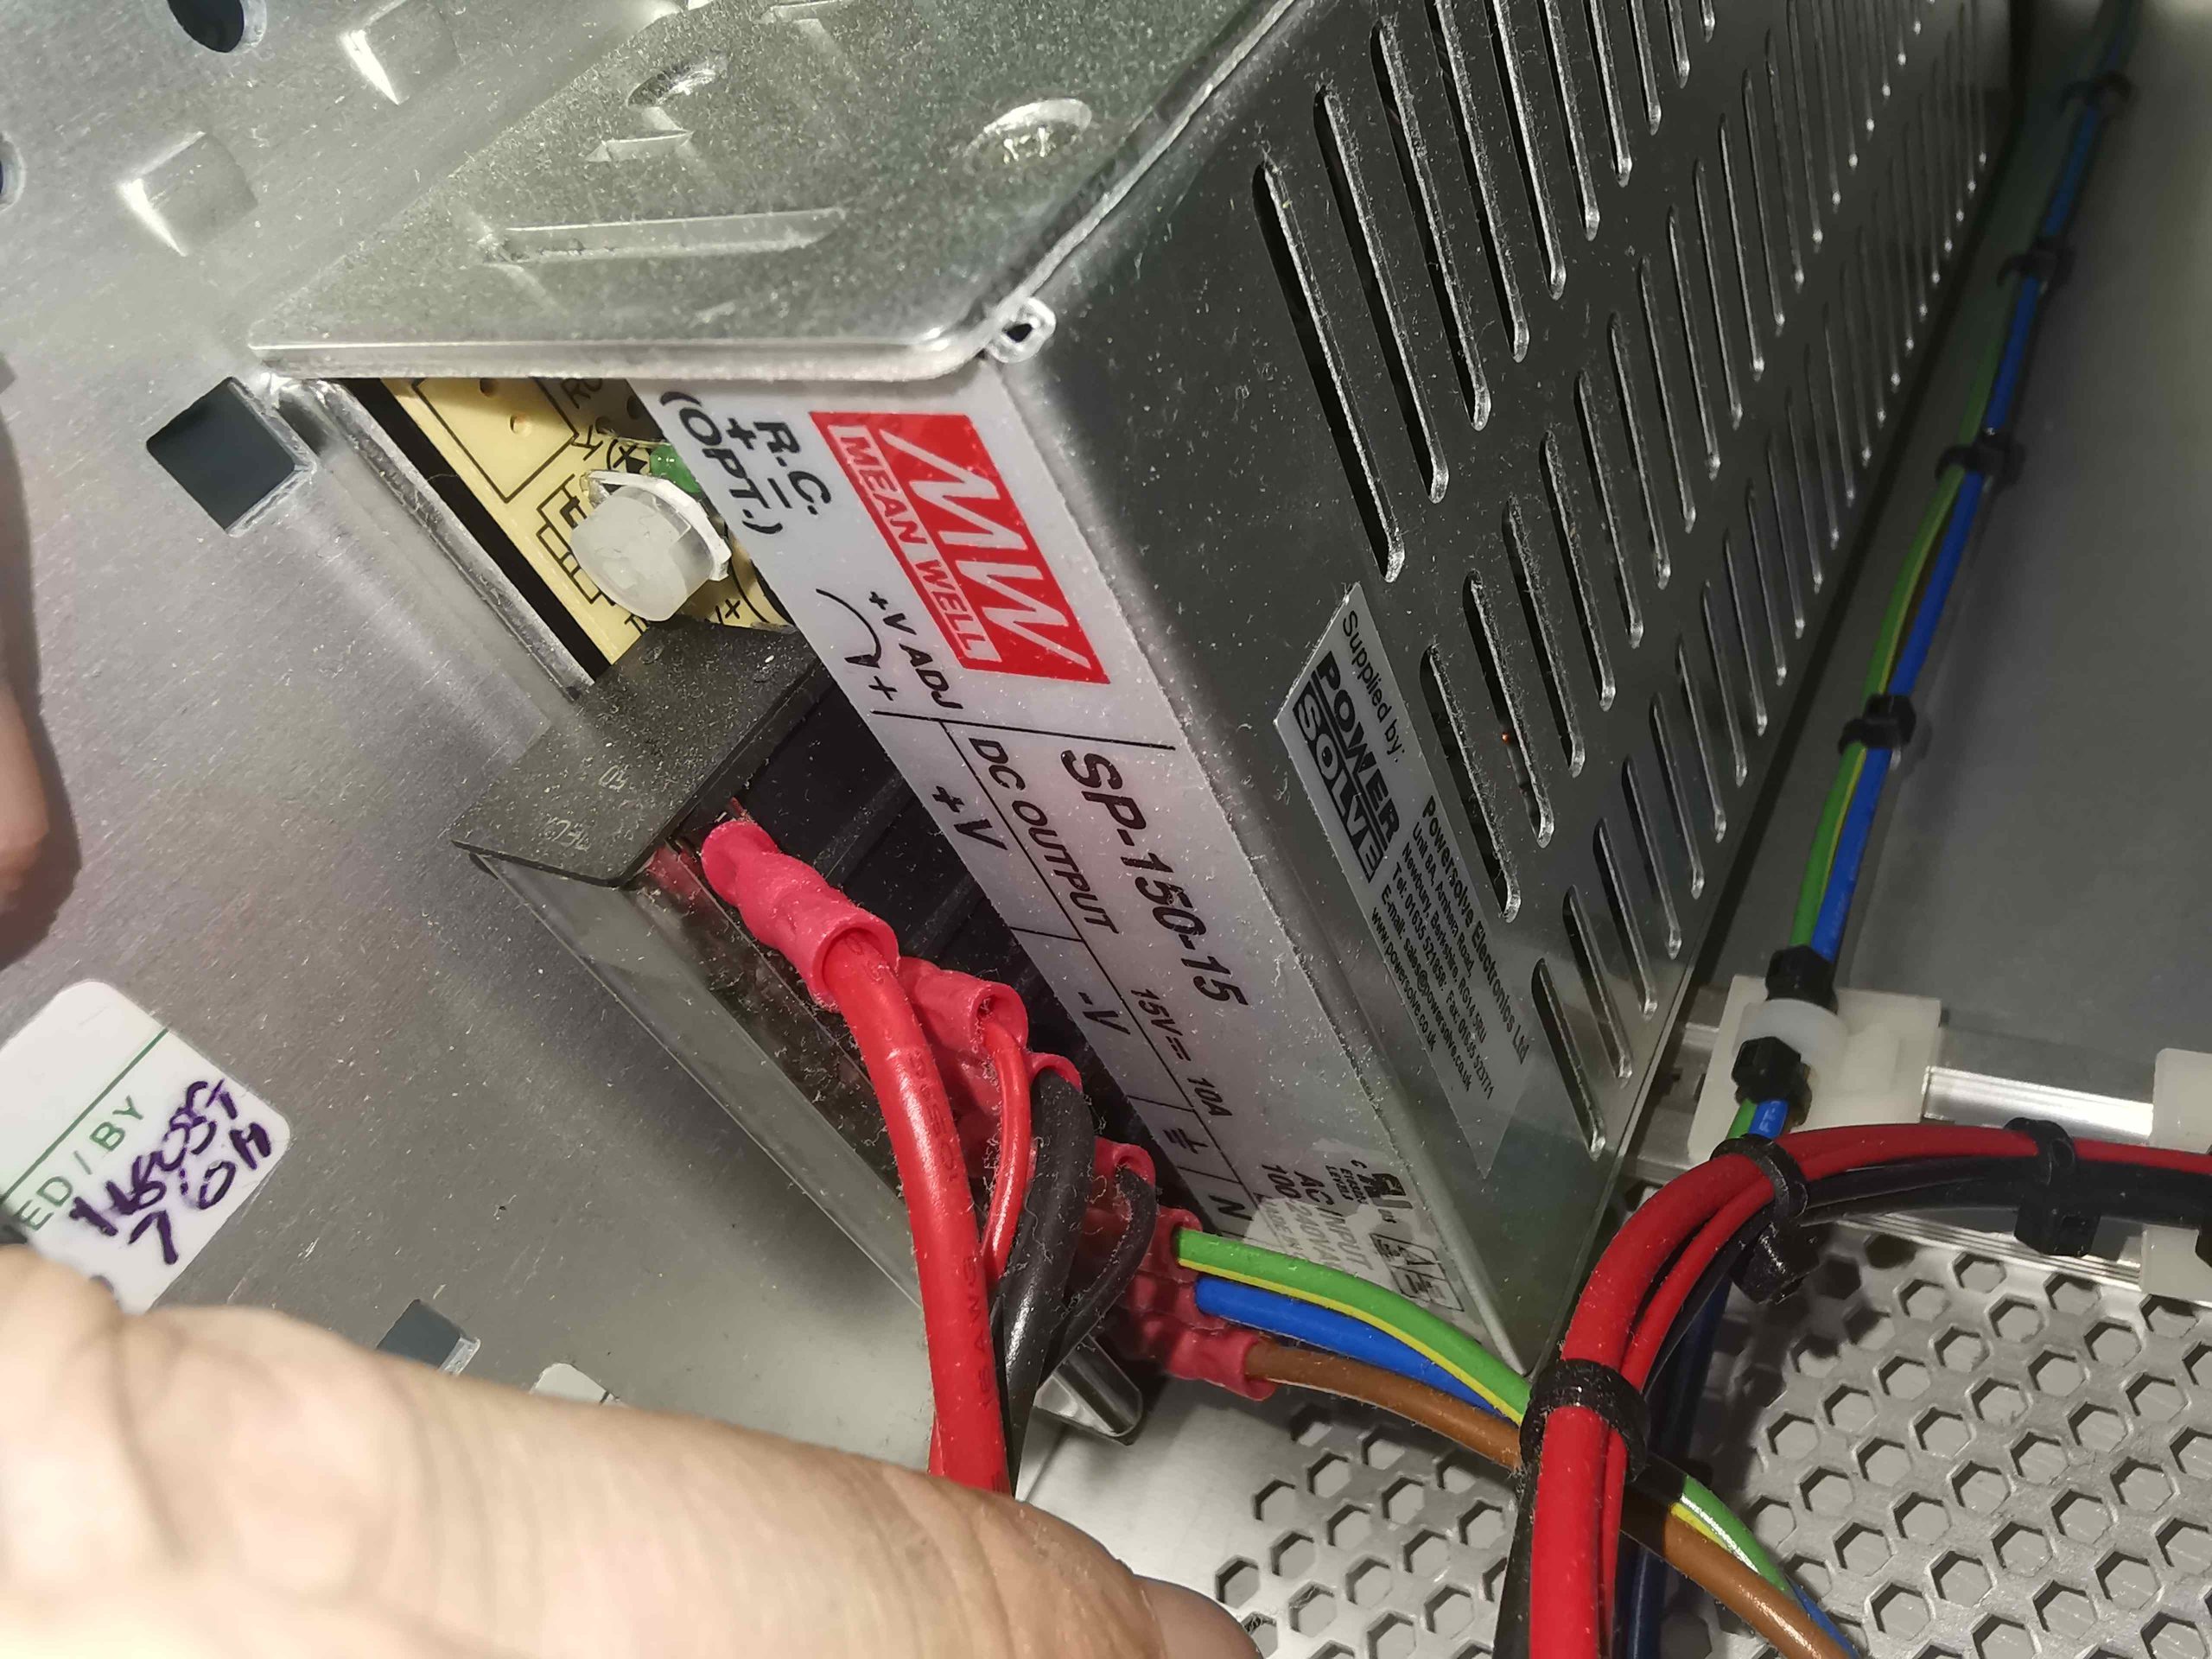
The main PSU providing power to the amplifier & control components is a 150W Meanwell unit in this example. While Meanwell have some fairly decent supplies, they are overall very hit & miss on reliability & especially in the compliance domain – the RSP-1000 & RSP2400 versions claim to be EMC Class B Conducted compliant, and definitely are not! They also claim Radiated Immunity to Industrial levels, but I’ve seen them fail this test, by reducing their output voltage by a factor of 10!
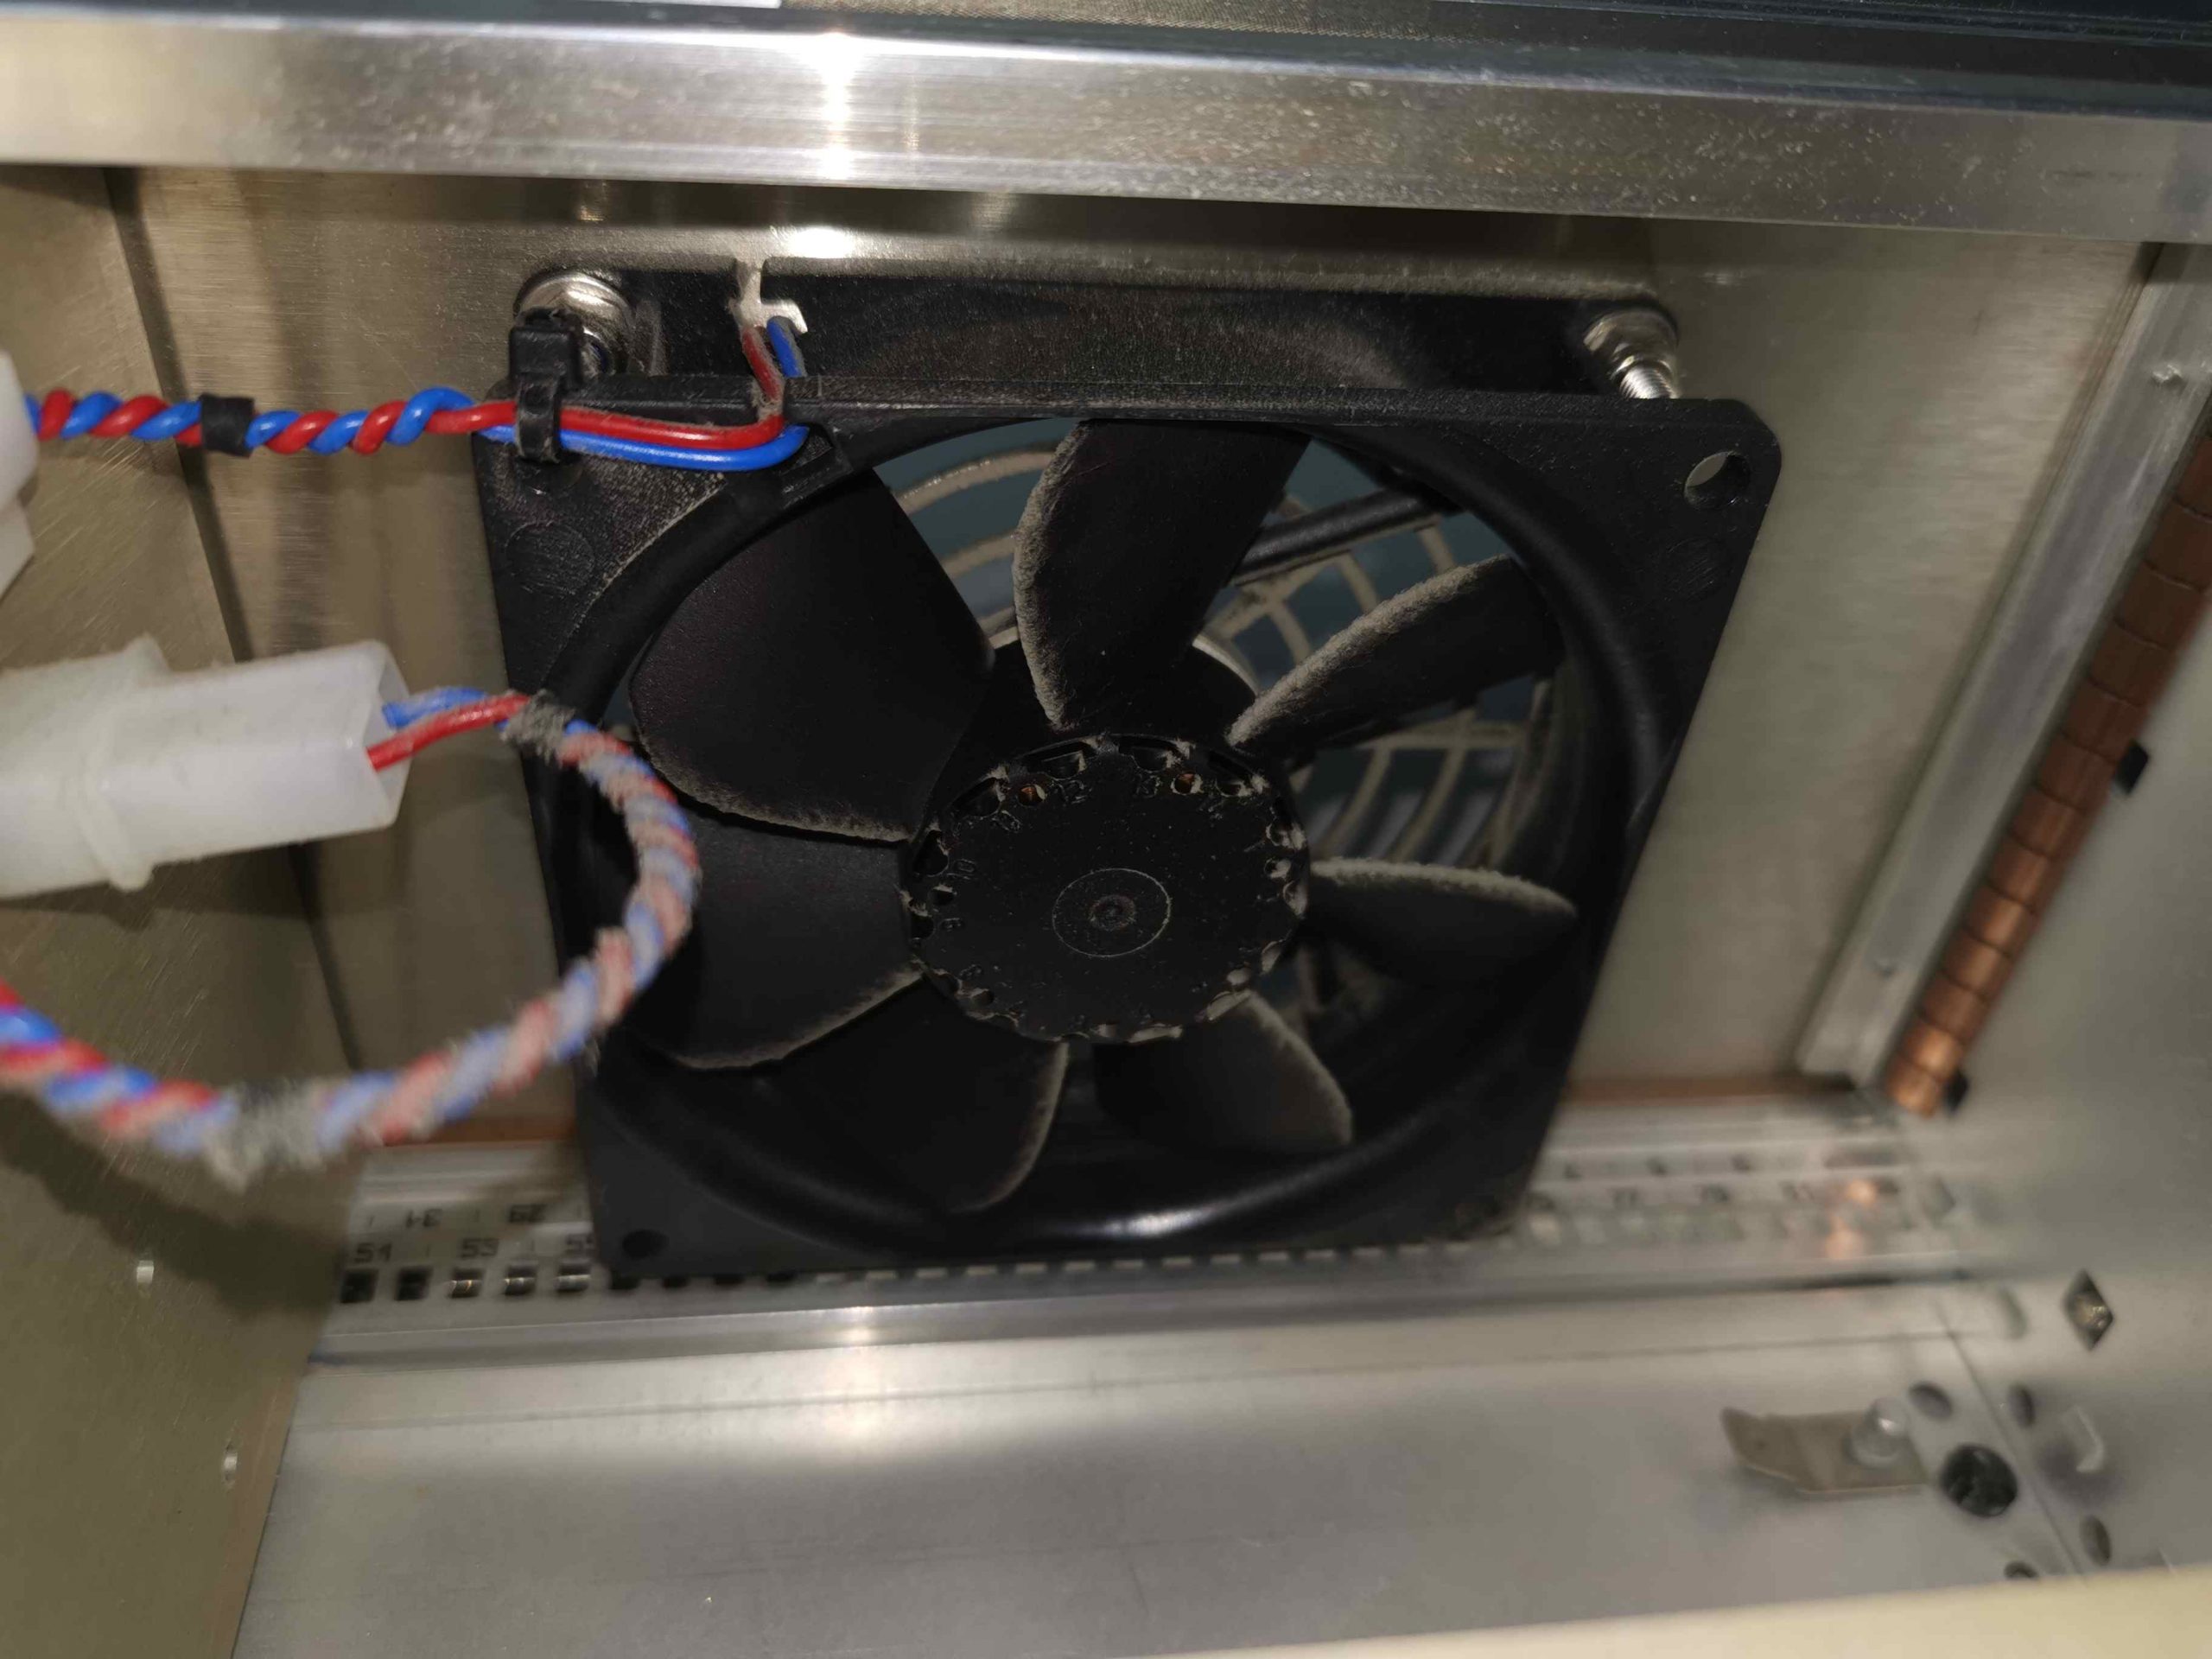
A 120mm 12V fan on the rear panel draws cooling air over the internal components. These amplifiers are Class A, so they do generate quite some heat due to the inefficiencies of this operational mode.
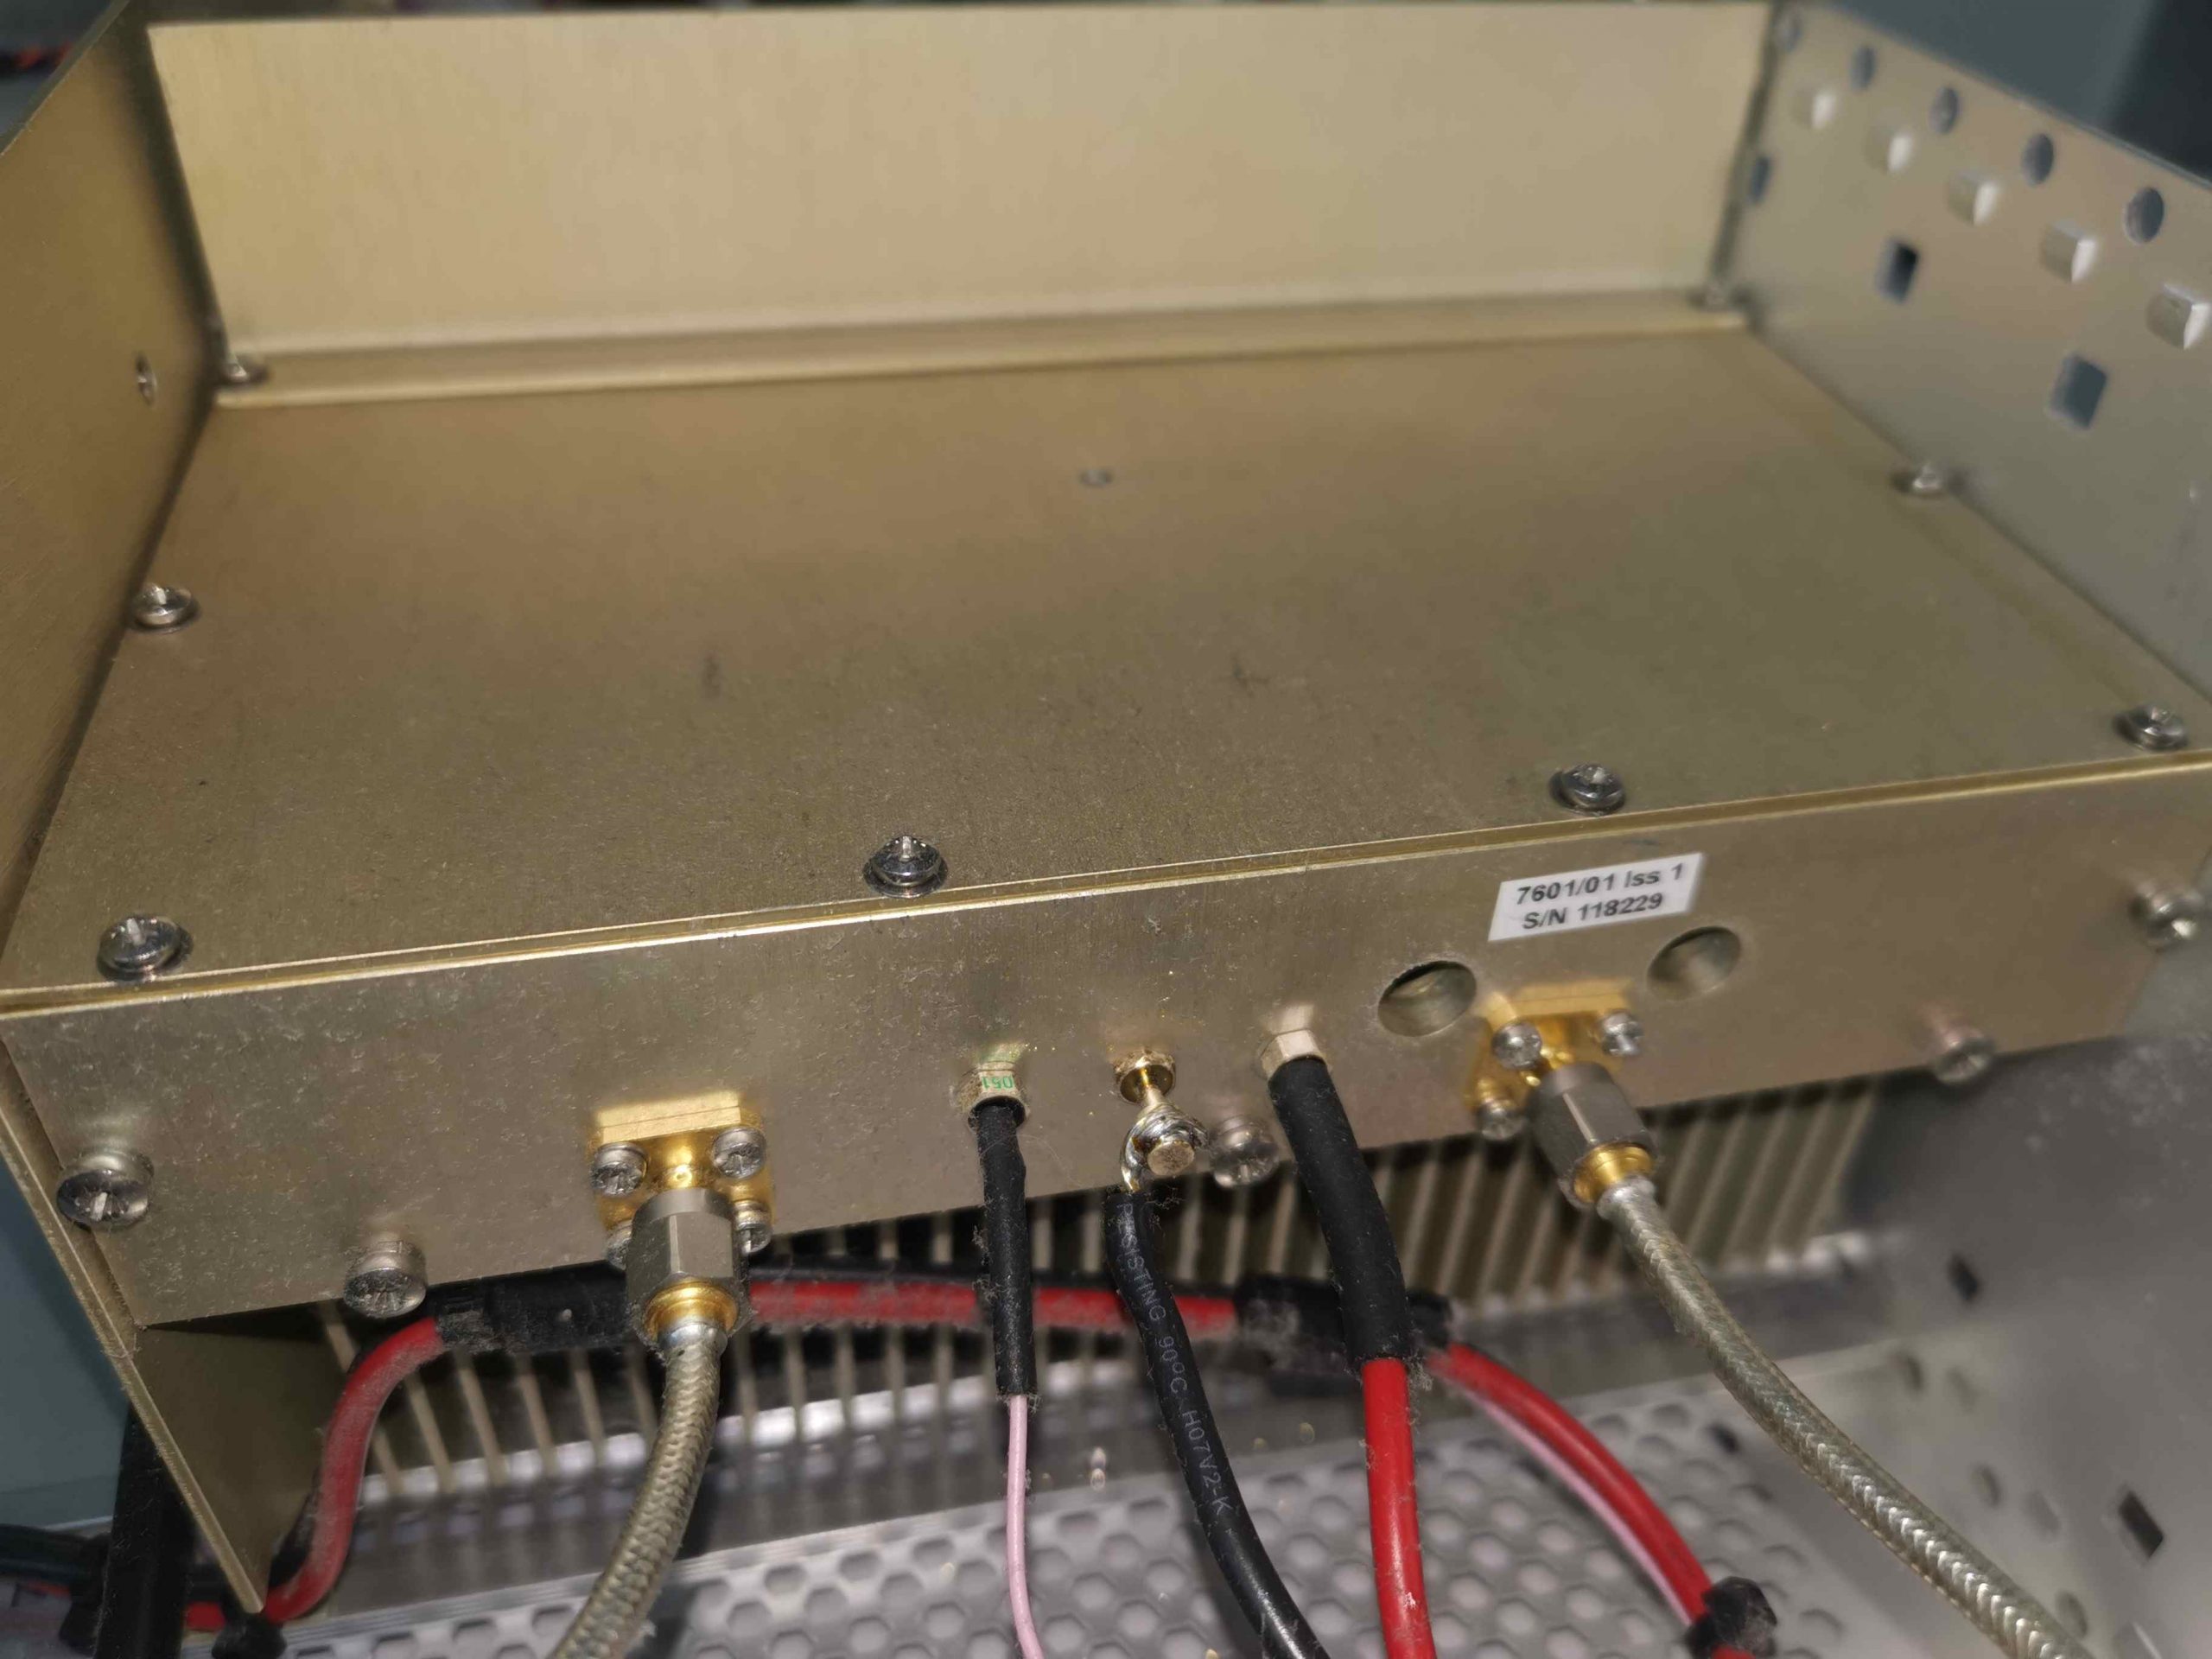
All the wideband RF magic is contained in this module. What’s unusual about these lab amps is the number of decades of operation – RF amplifiers are usually rather narrowband, and it’s very difficult to construct a wideband amplifier that has even close to a flat frequency response. There aren’t many connections; just the RF I/O connectors on SMAs, a ground, main power supply & finally an Enable input.
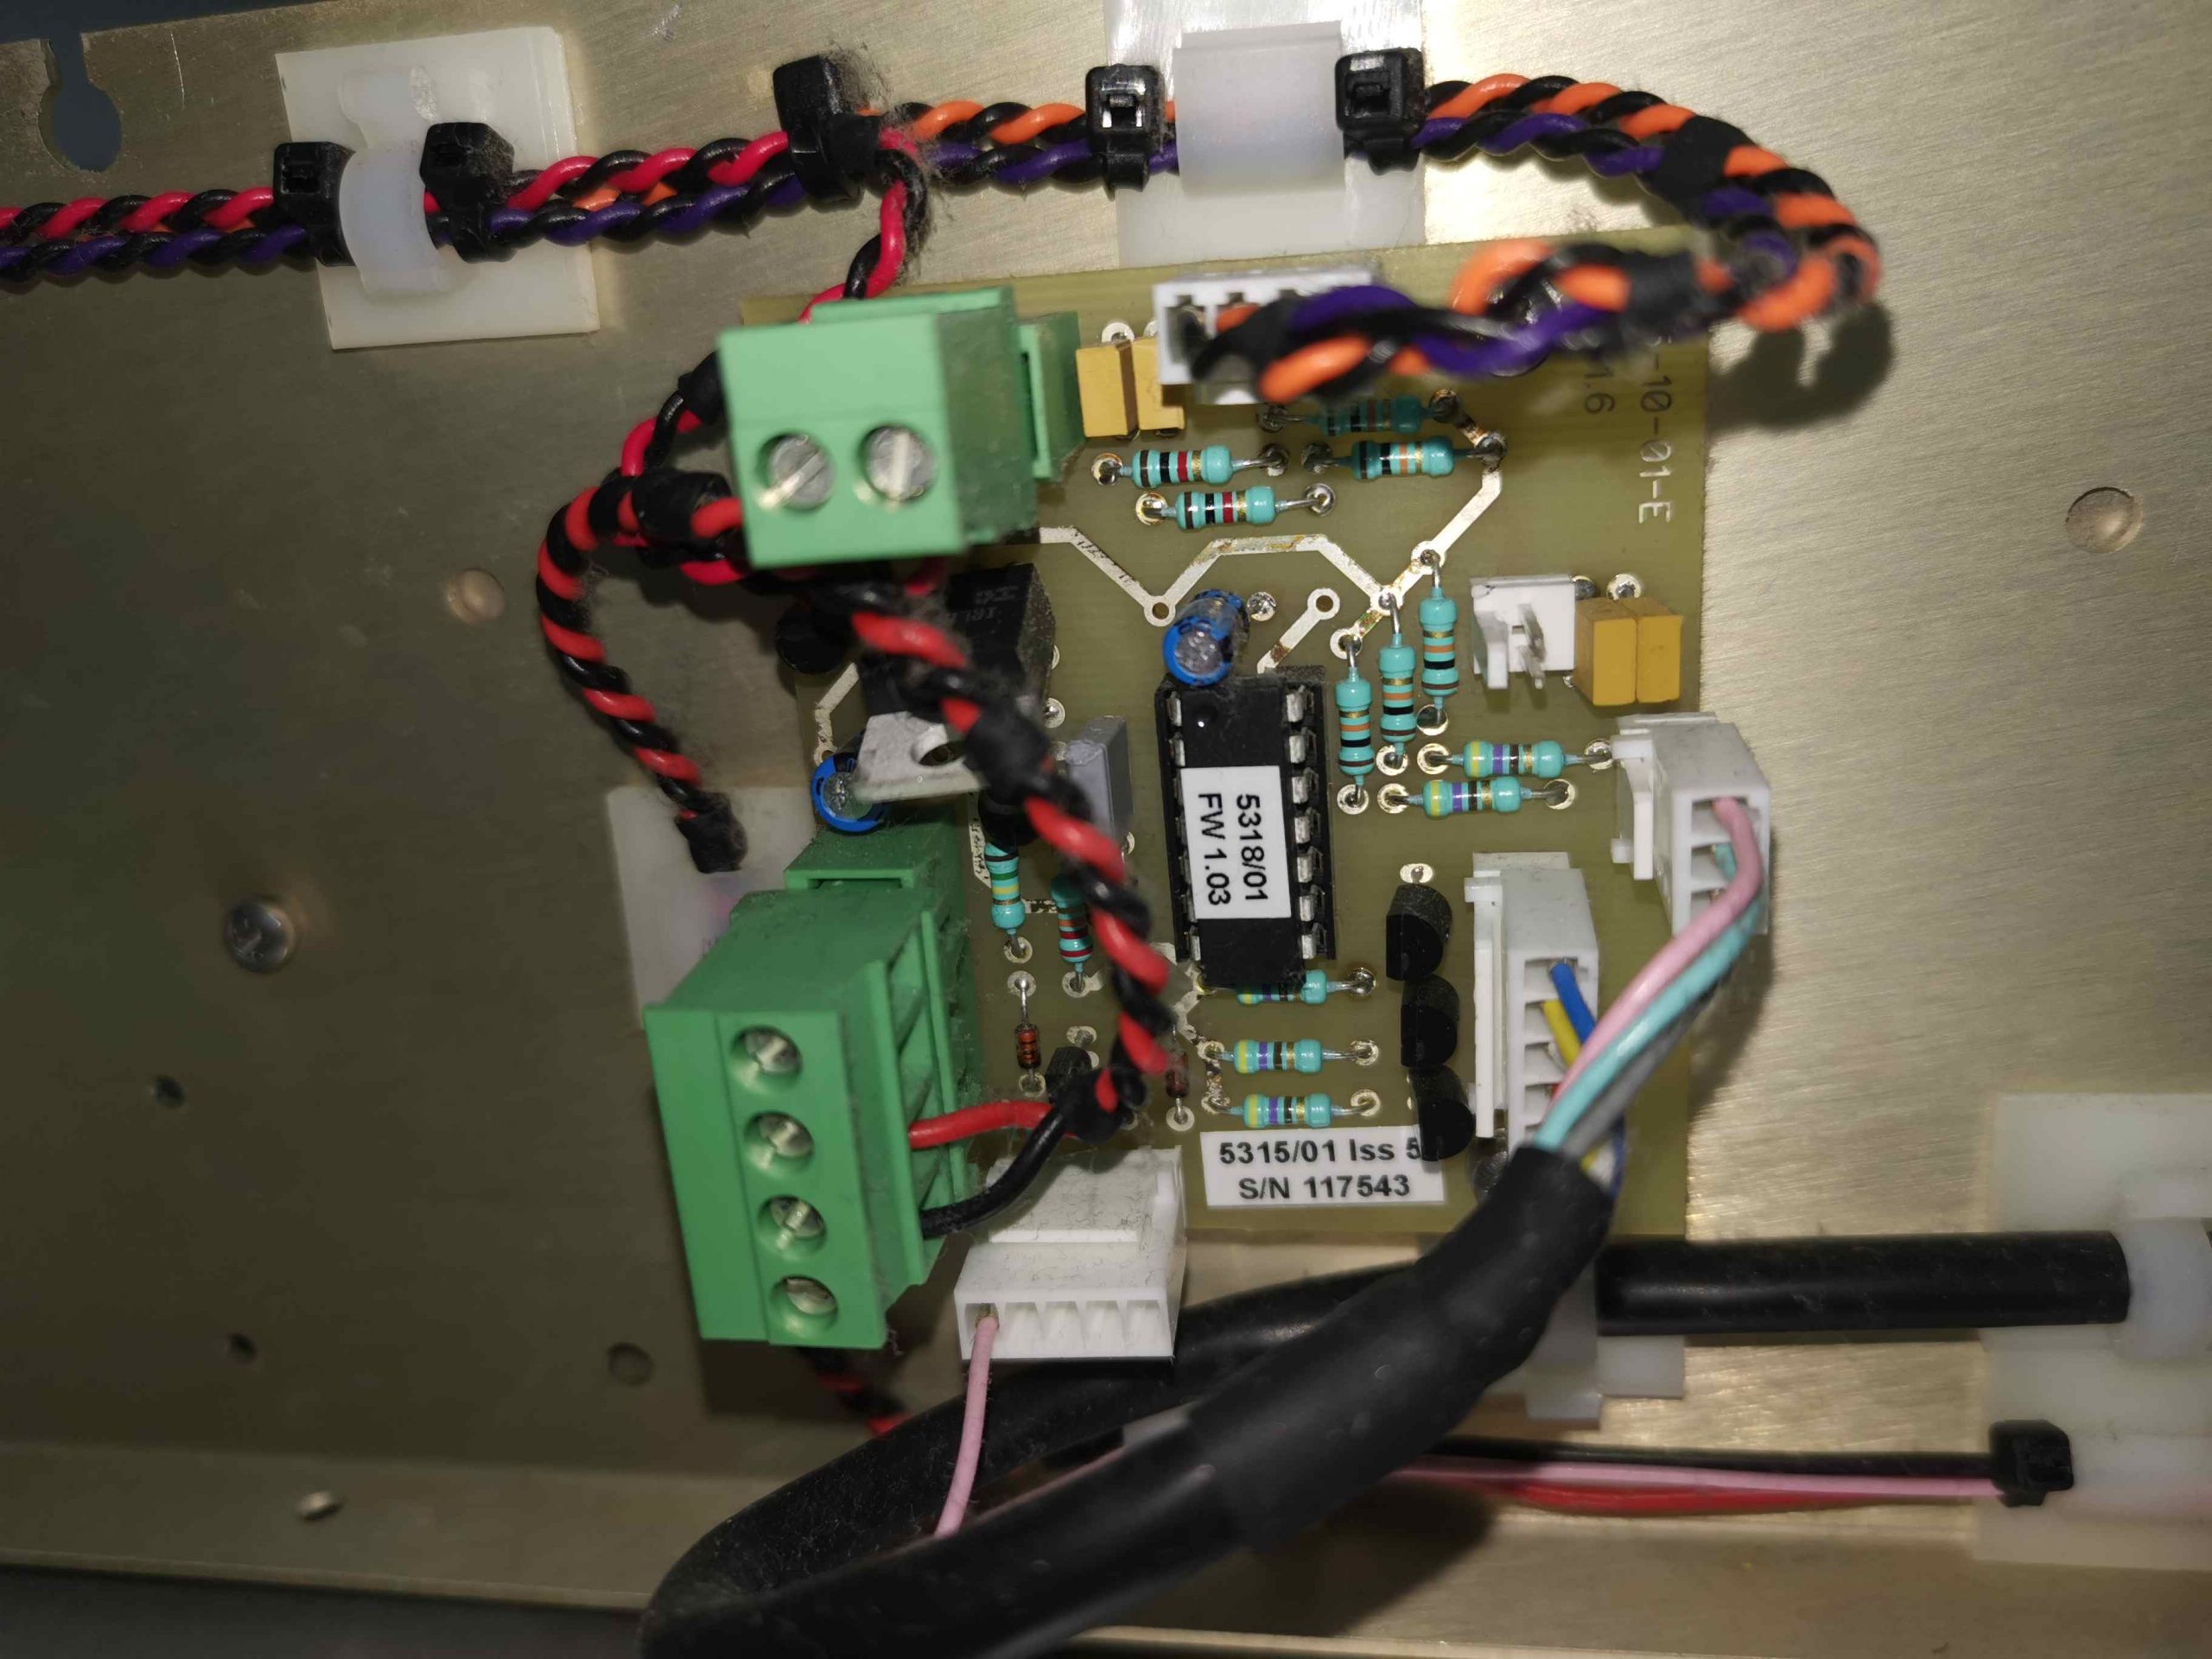
There’s a small PCB inside to do the safety interlocks, which are BNC connections on the back, as well as temperature monitoring & overtemperature shutdown. This just has a small PIC microcontroller & a few passives.
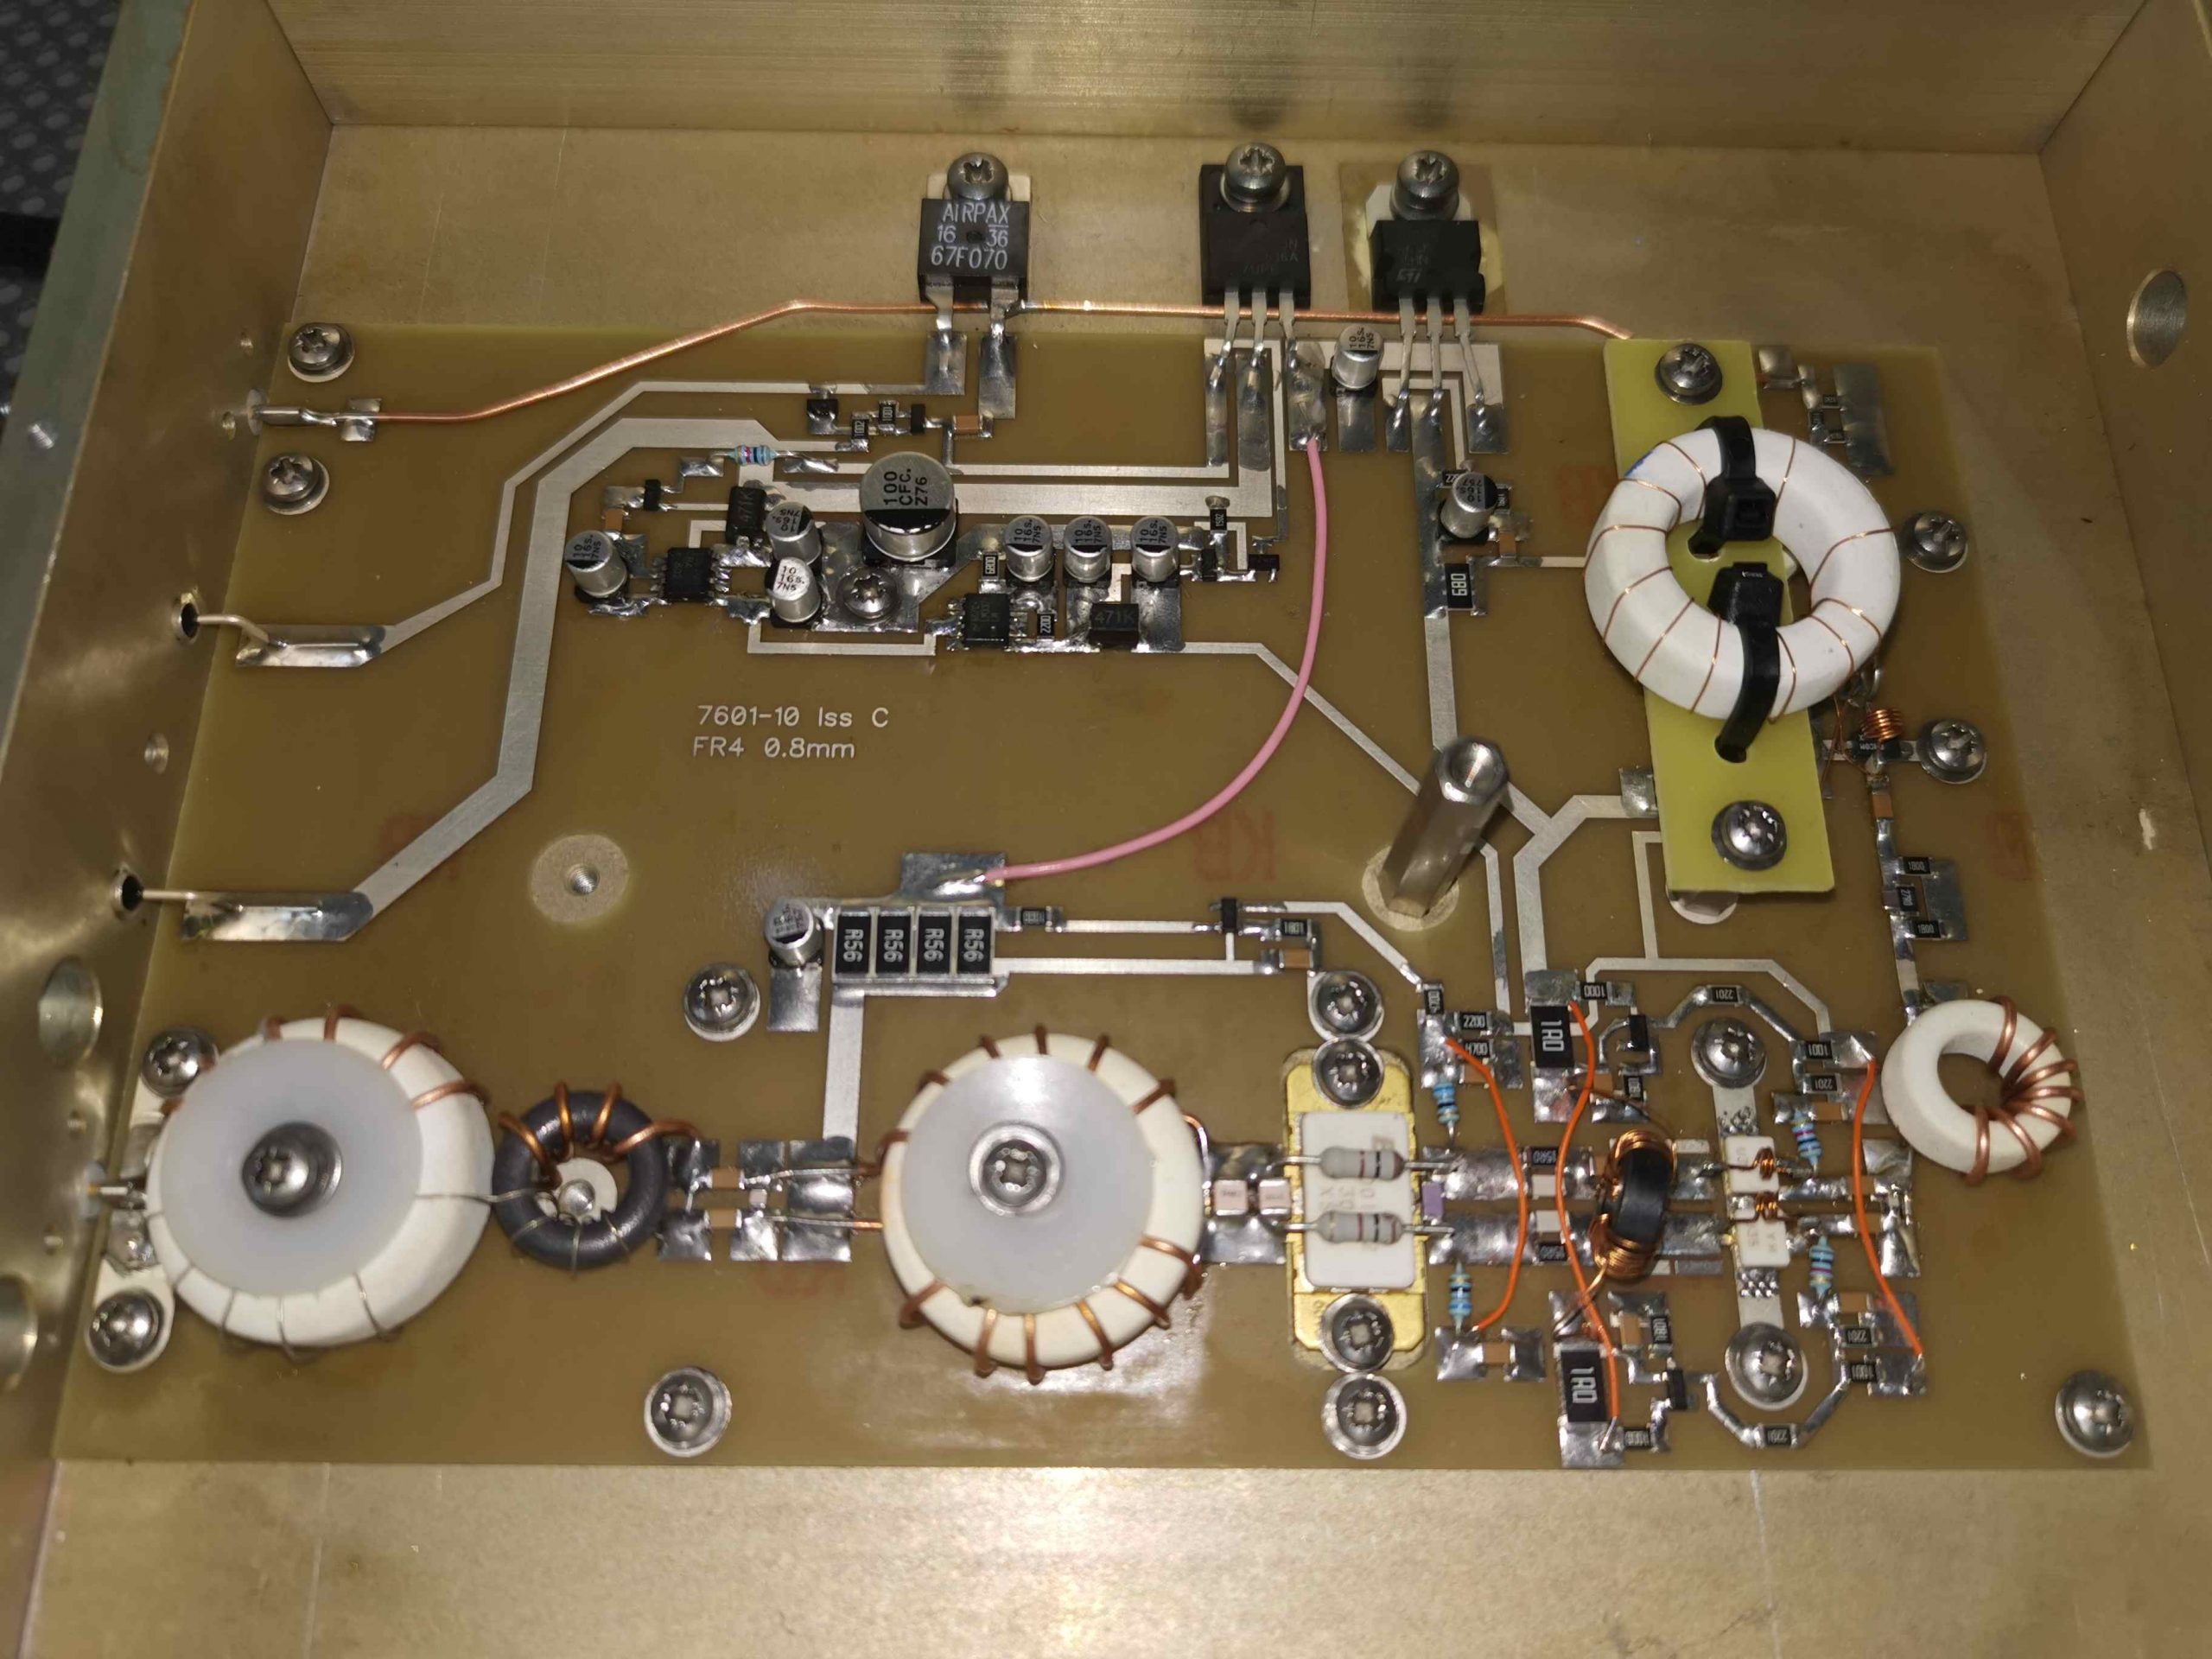
After taking the top off the amplifier module, a small PCB is all that’s in there, with single-sided construction. By the look the rear copper layer is all ground plane. Power supply & enable inputs are dealt with at the top of the board, with the pre-amp stage at bottom right, and finally the main PA stage bottom centre. This appears to be a push-pull design, with dual MOSFETs at all RF stages, and splitters/combiners at the I/O respectively.
