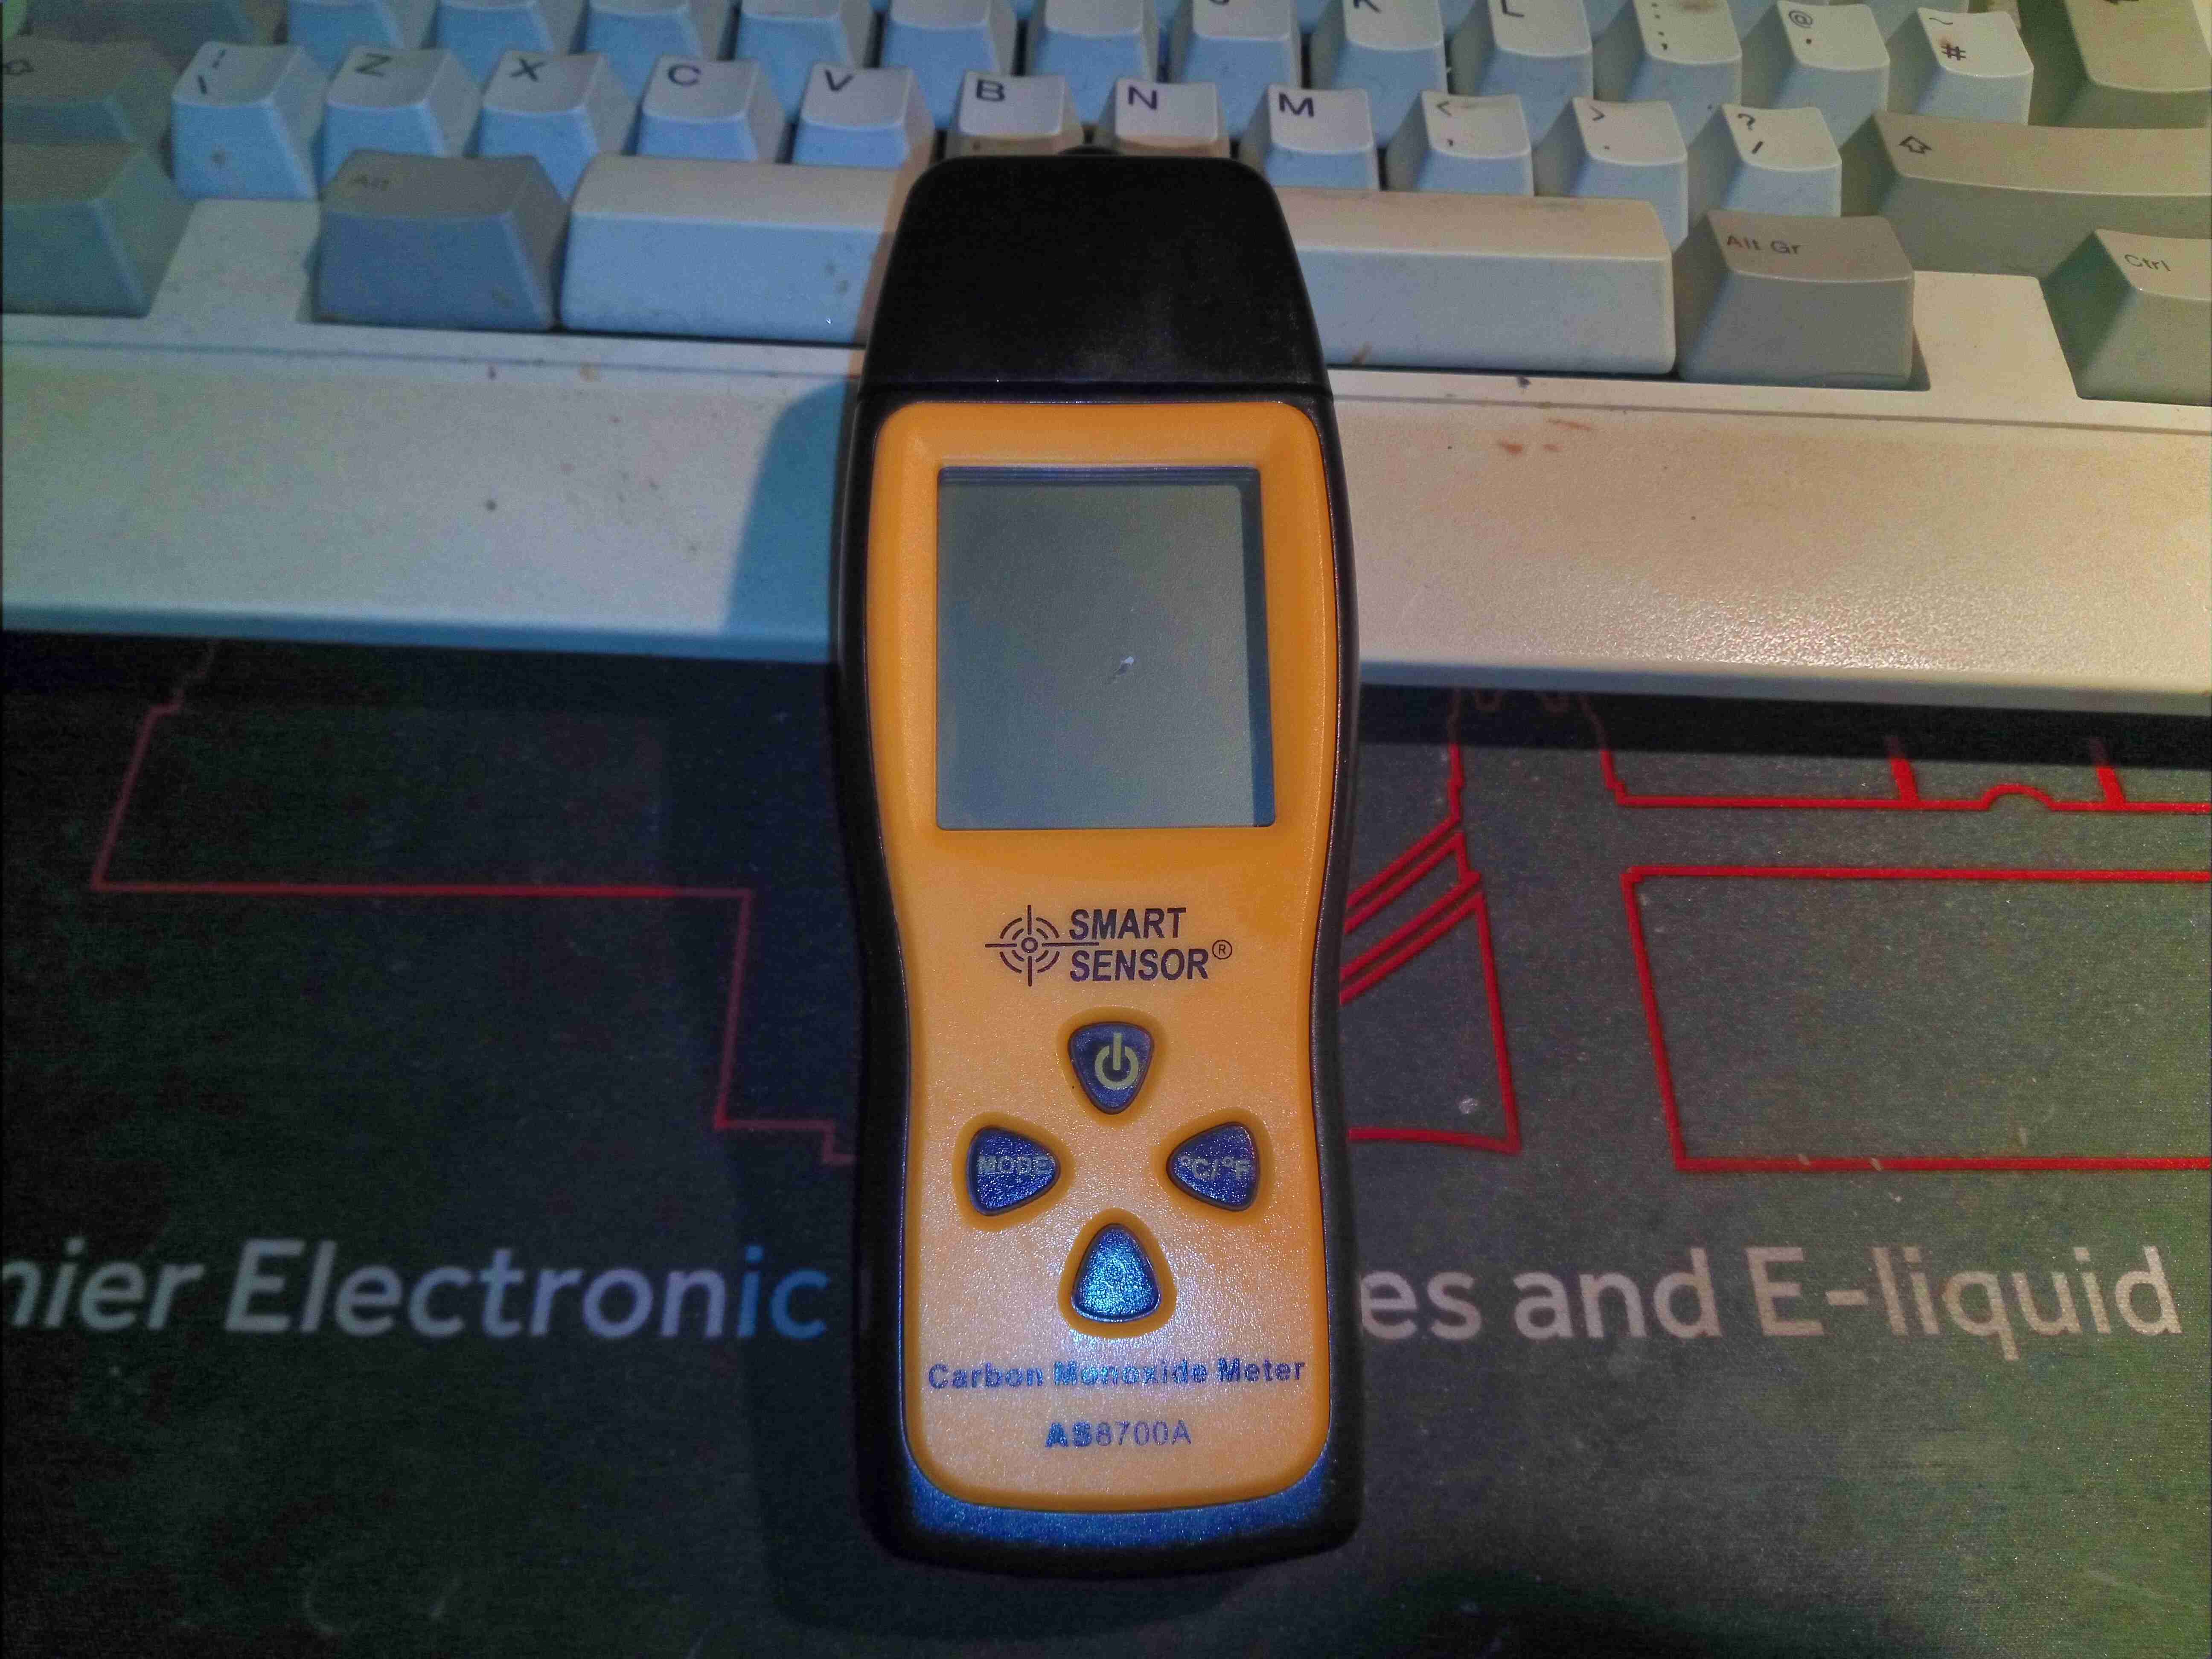
Here’s a handy tool – a Carbon Monoxide meter that range to 1000ppm, with immediate update. Very handy for checking emissions of fuel burning appliances. There’s a large LCD on the front for displaying the reading, and the ambient temperature. There is a user-settable alarm if a high concentration of CO is detected in the air, and High/Low hold modes.
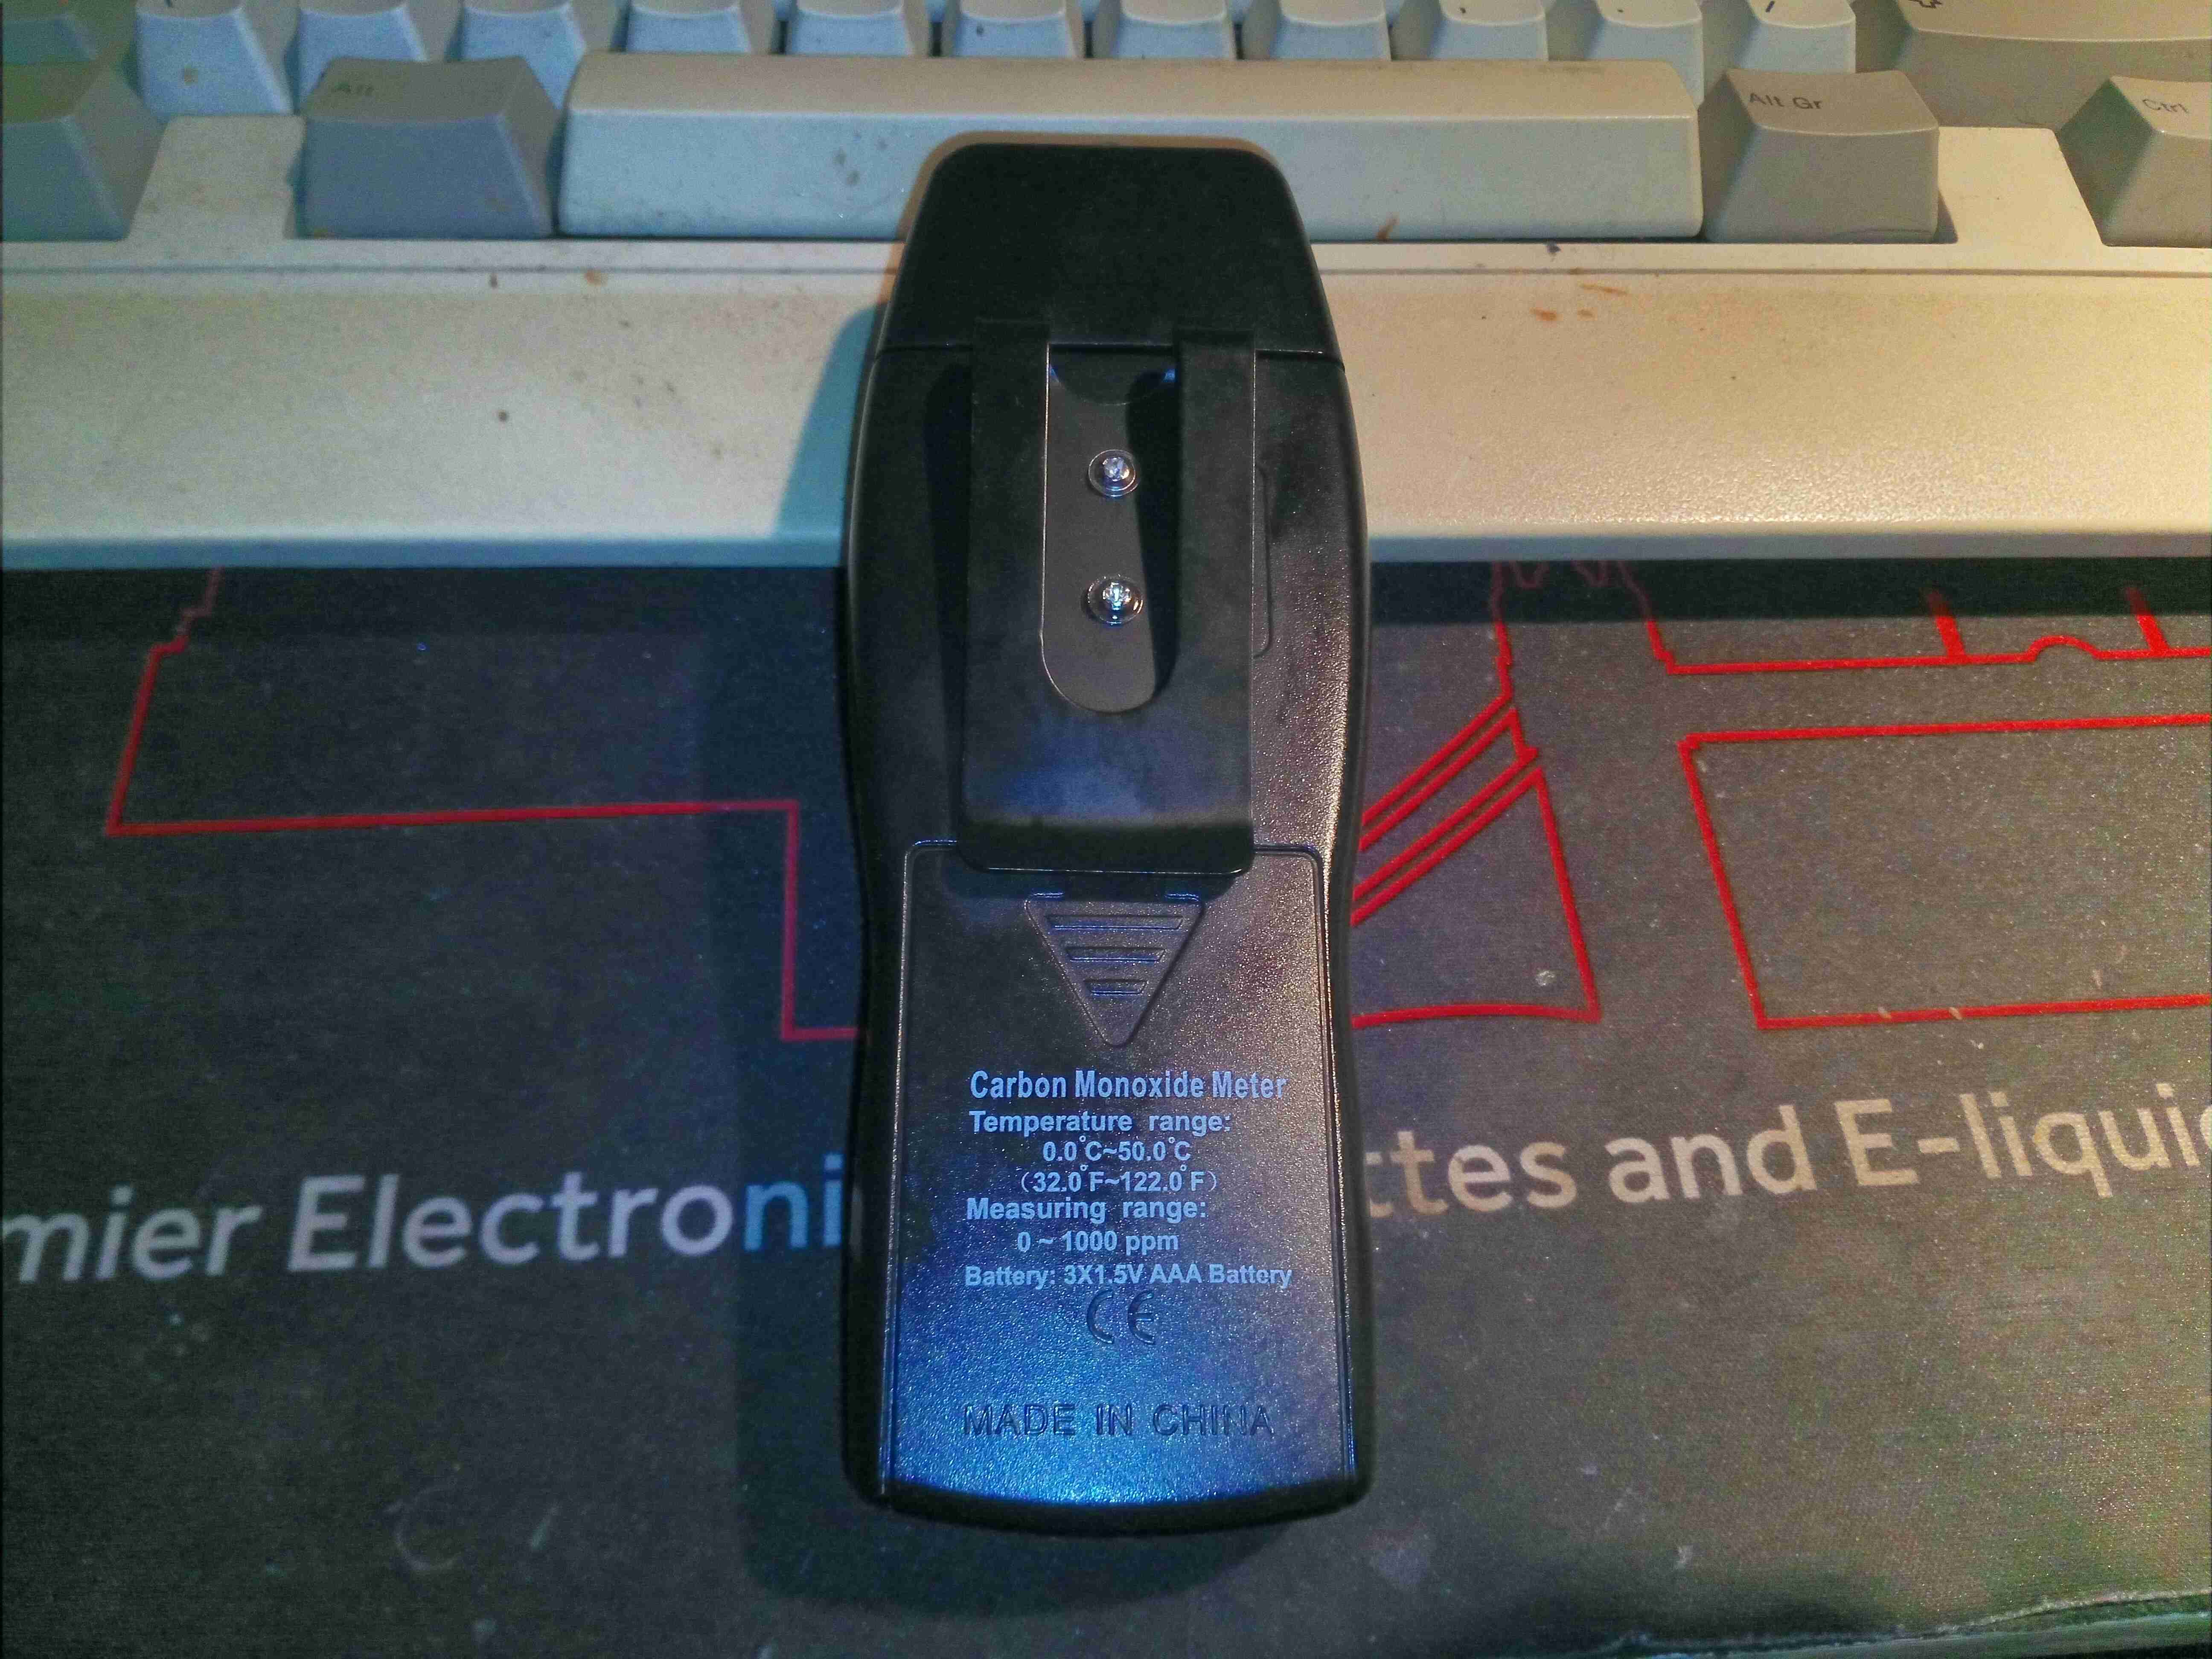
The rear of the unit has a belt clip, and the battery compartment which holds 3x AAA cells.
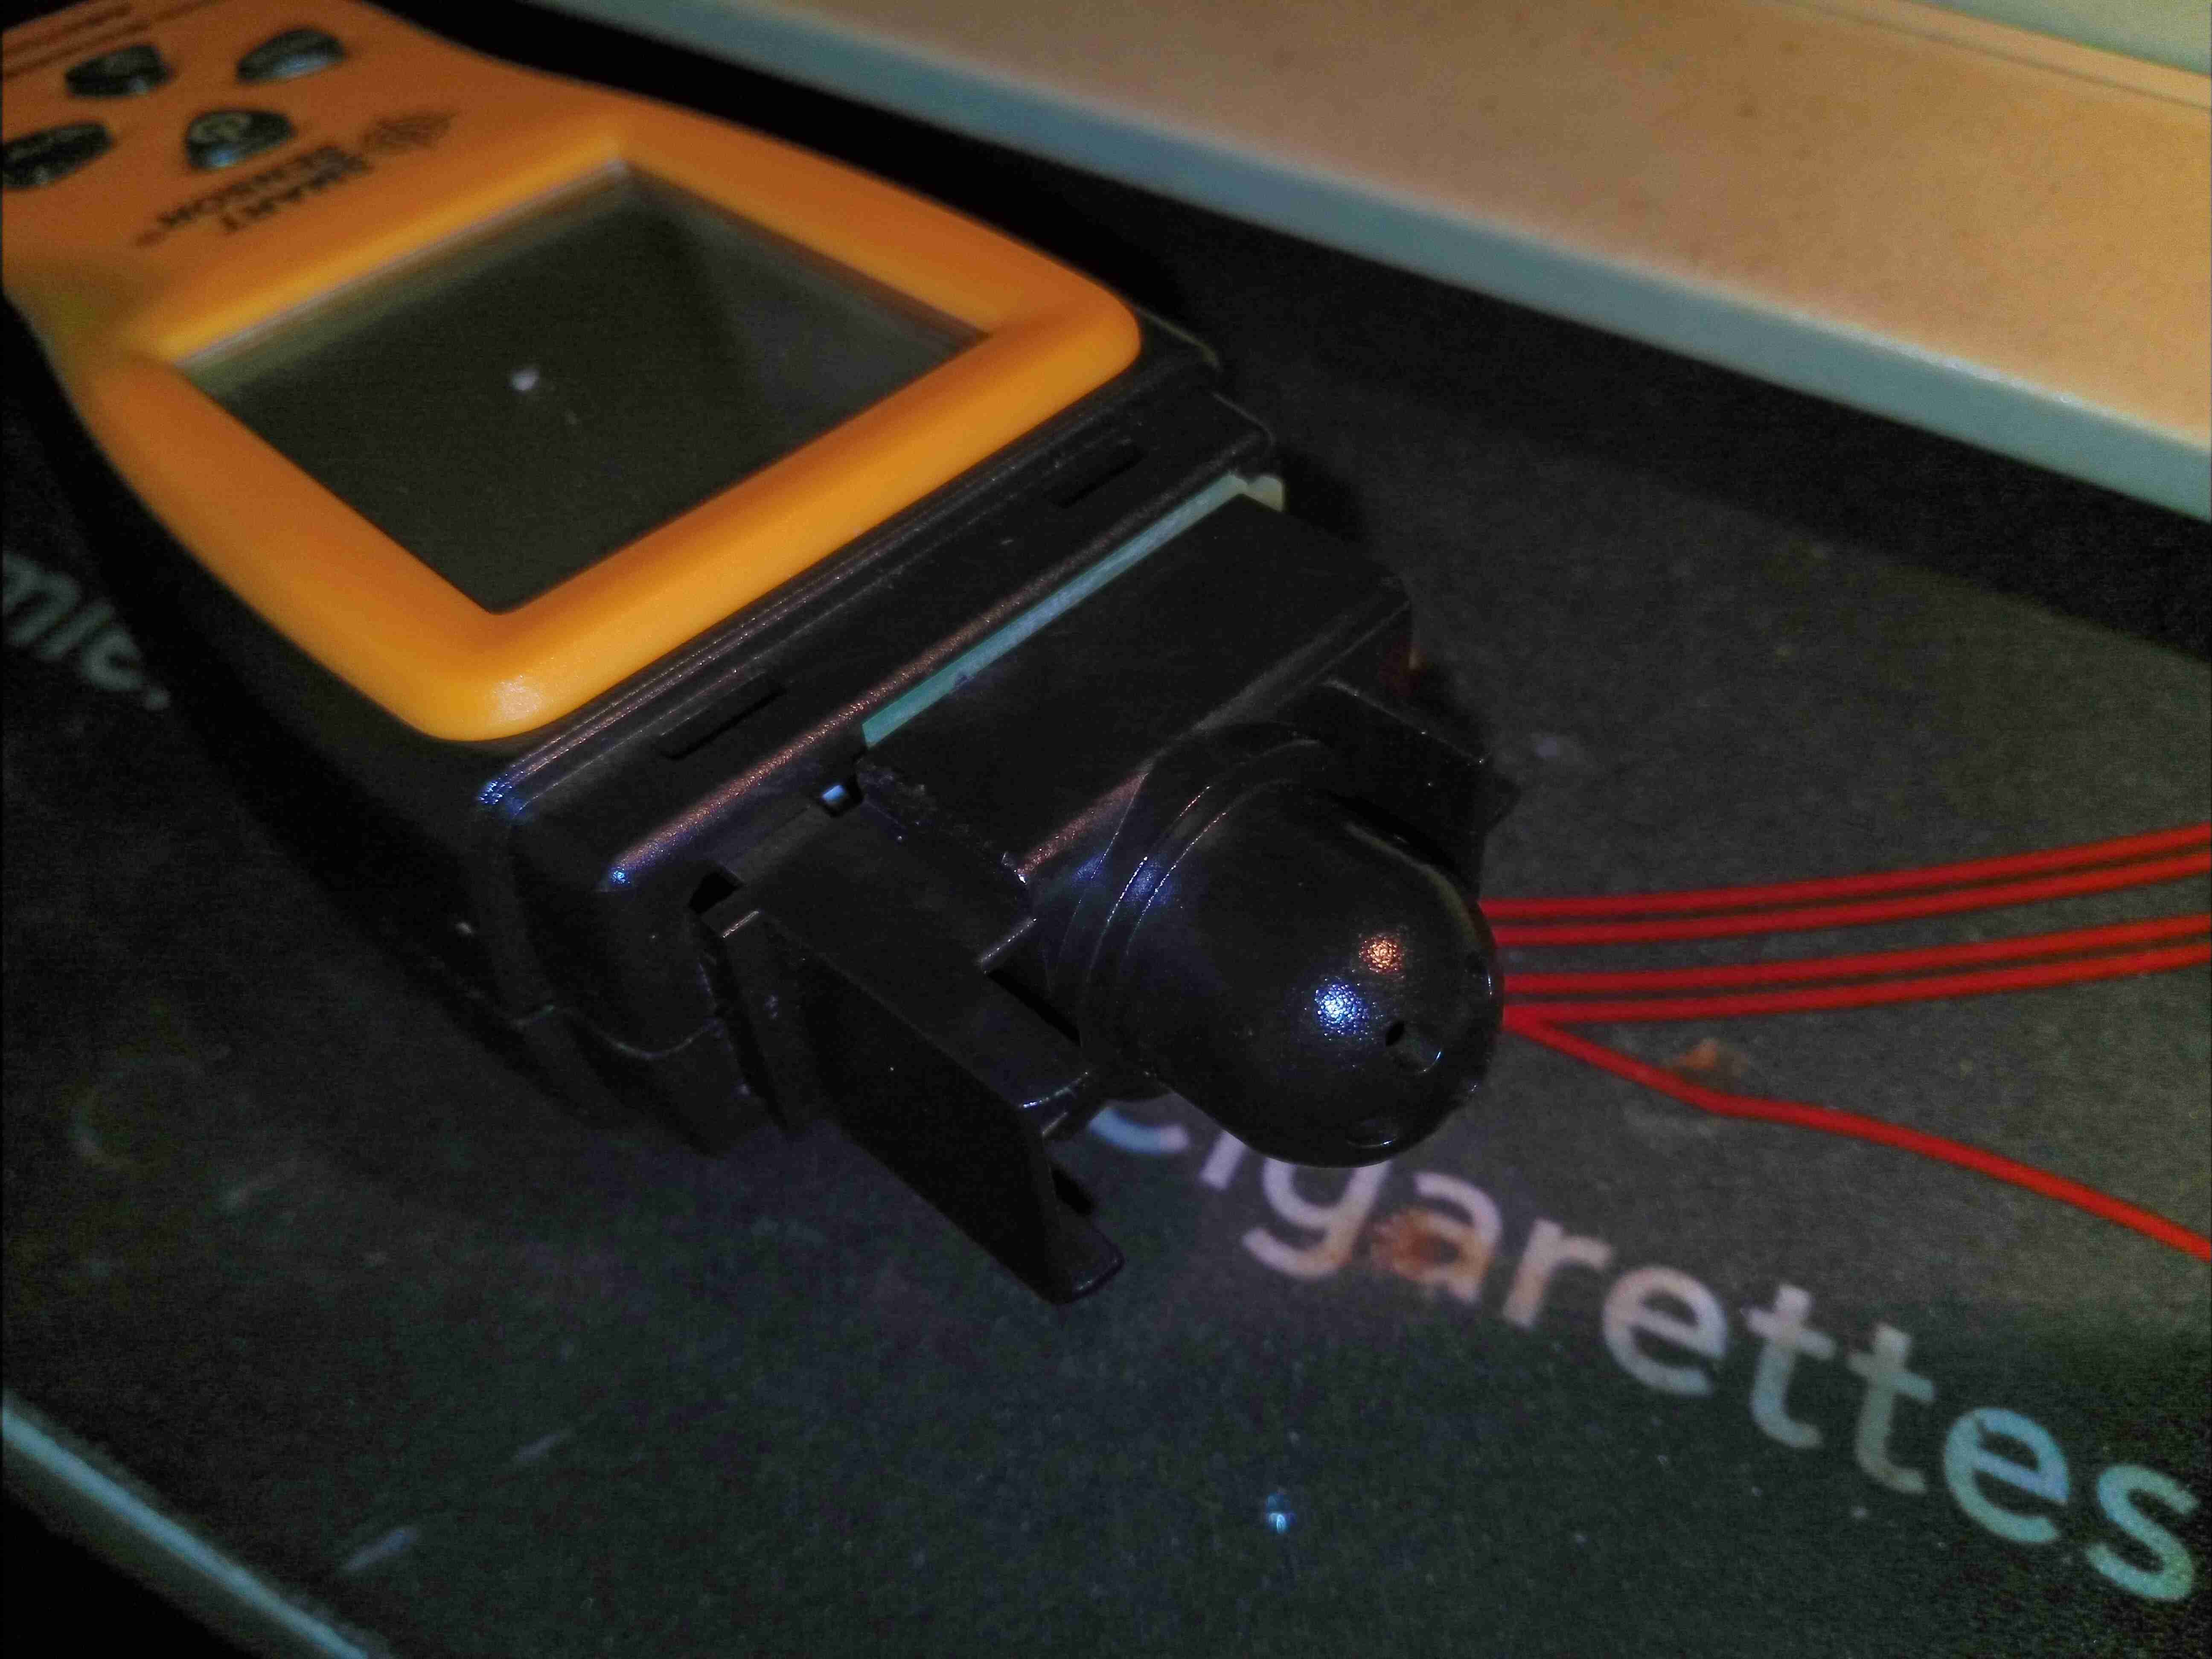
Under the decorative cap at the detector end is the sensor module itself, with a thick plastic cap covering the actual sensor.

The CO sensor cell is one of the smallest I’ve seen, a NAP-505 from Nemoto. Easily replaceable with a soldering iron if required after the quoted 7 year lifespan.

Connections to the main PCB are done through a small 3 pin connector & wiring loom.

Removing the 3 screws from inside the battery compartment allows the back cover to be removed. The belt clip screws into a pair of brass inserts, which is a nice touch. The sensor connects to the JST connector at the top of the boat.
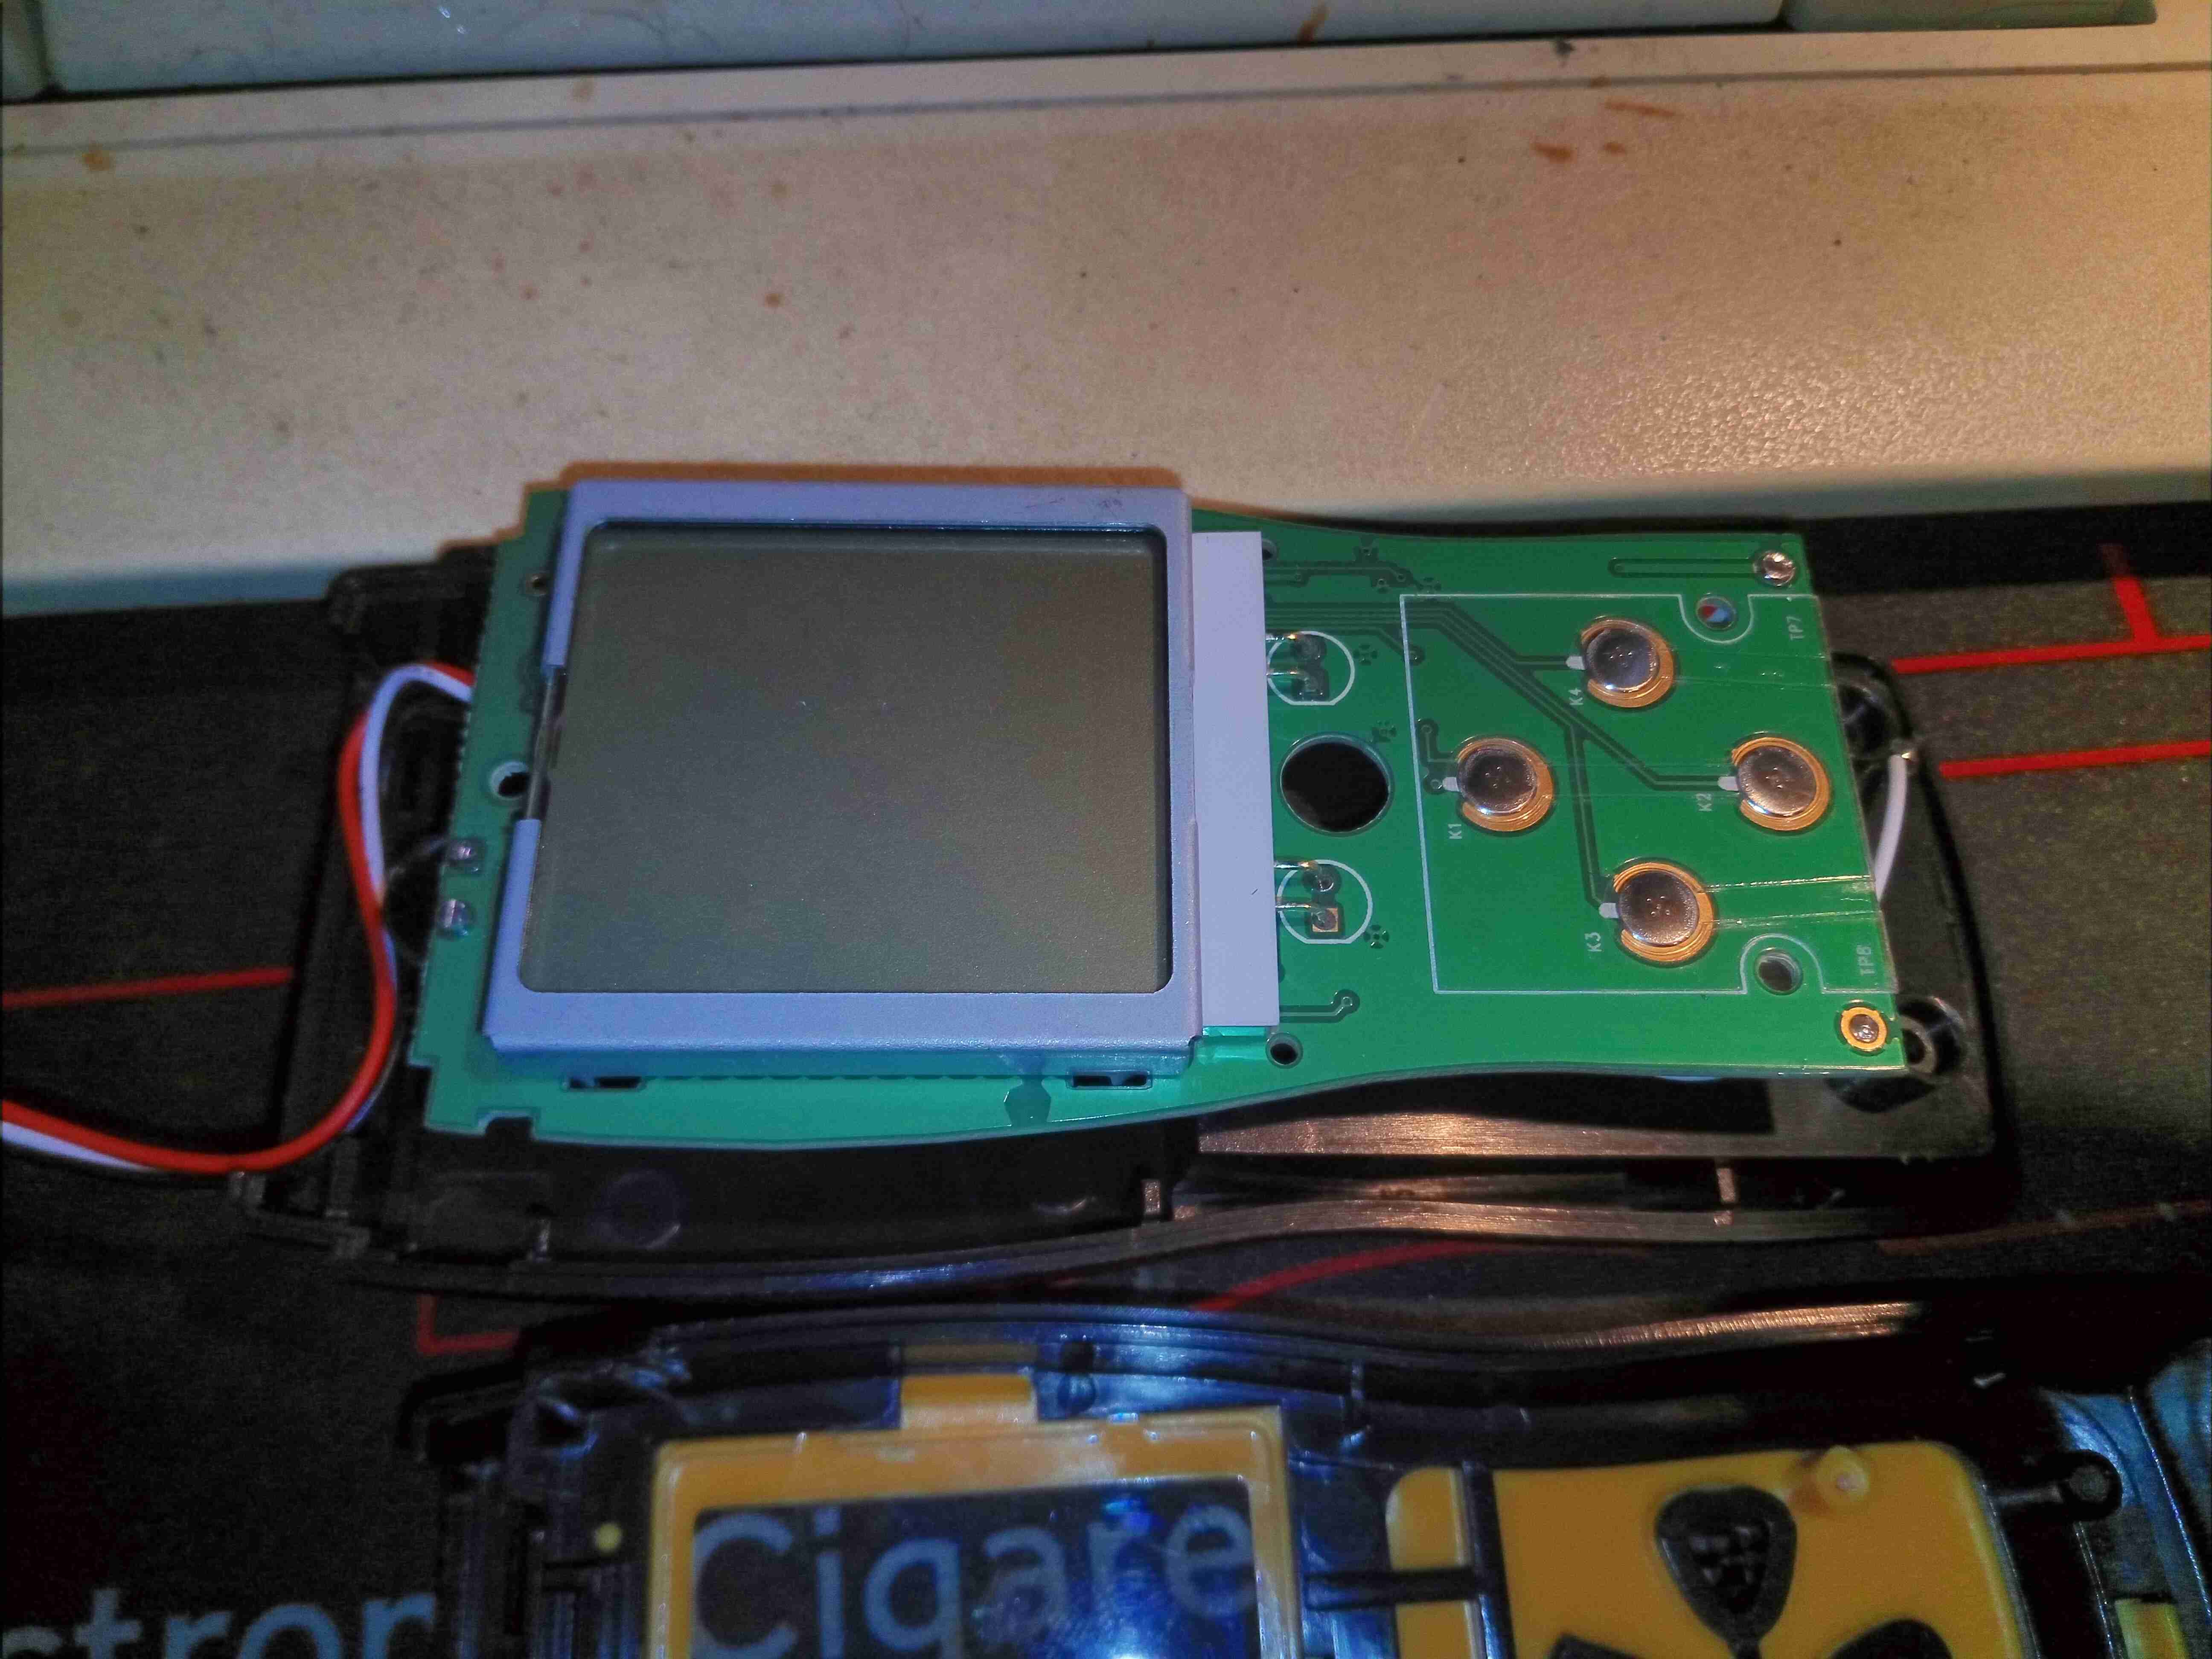
The front of the PCB has only the buttons & the LCD itself, which is backlit with a pair of green LEDs.
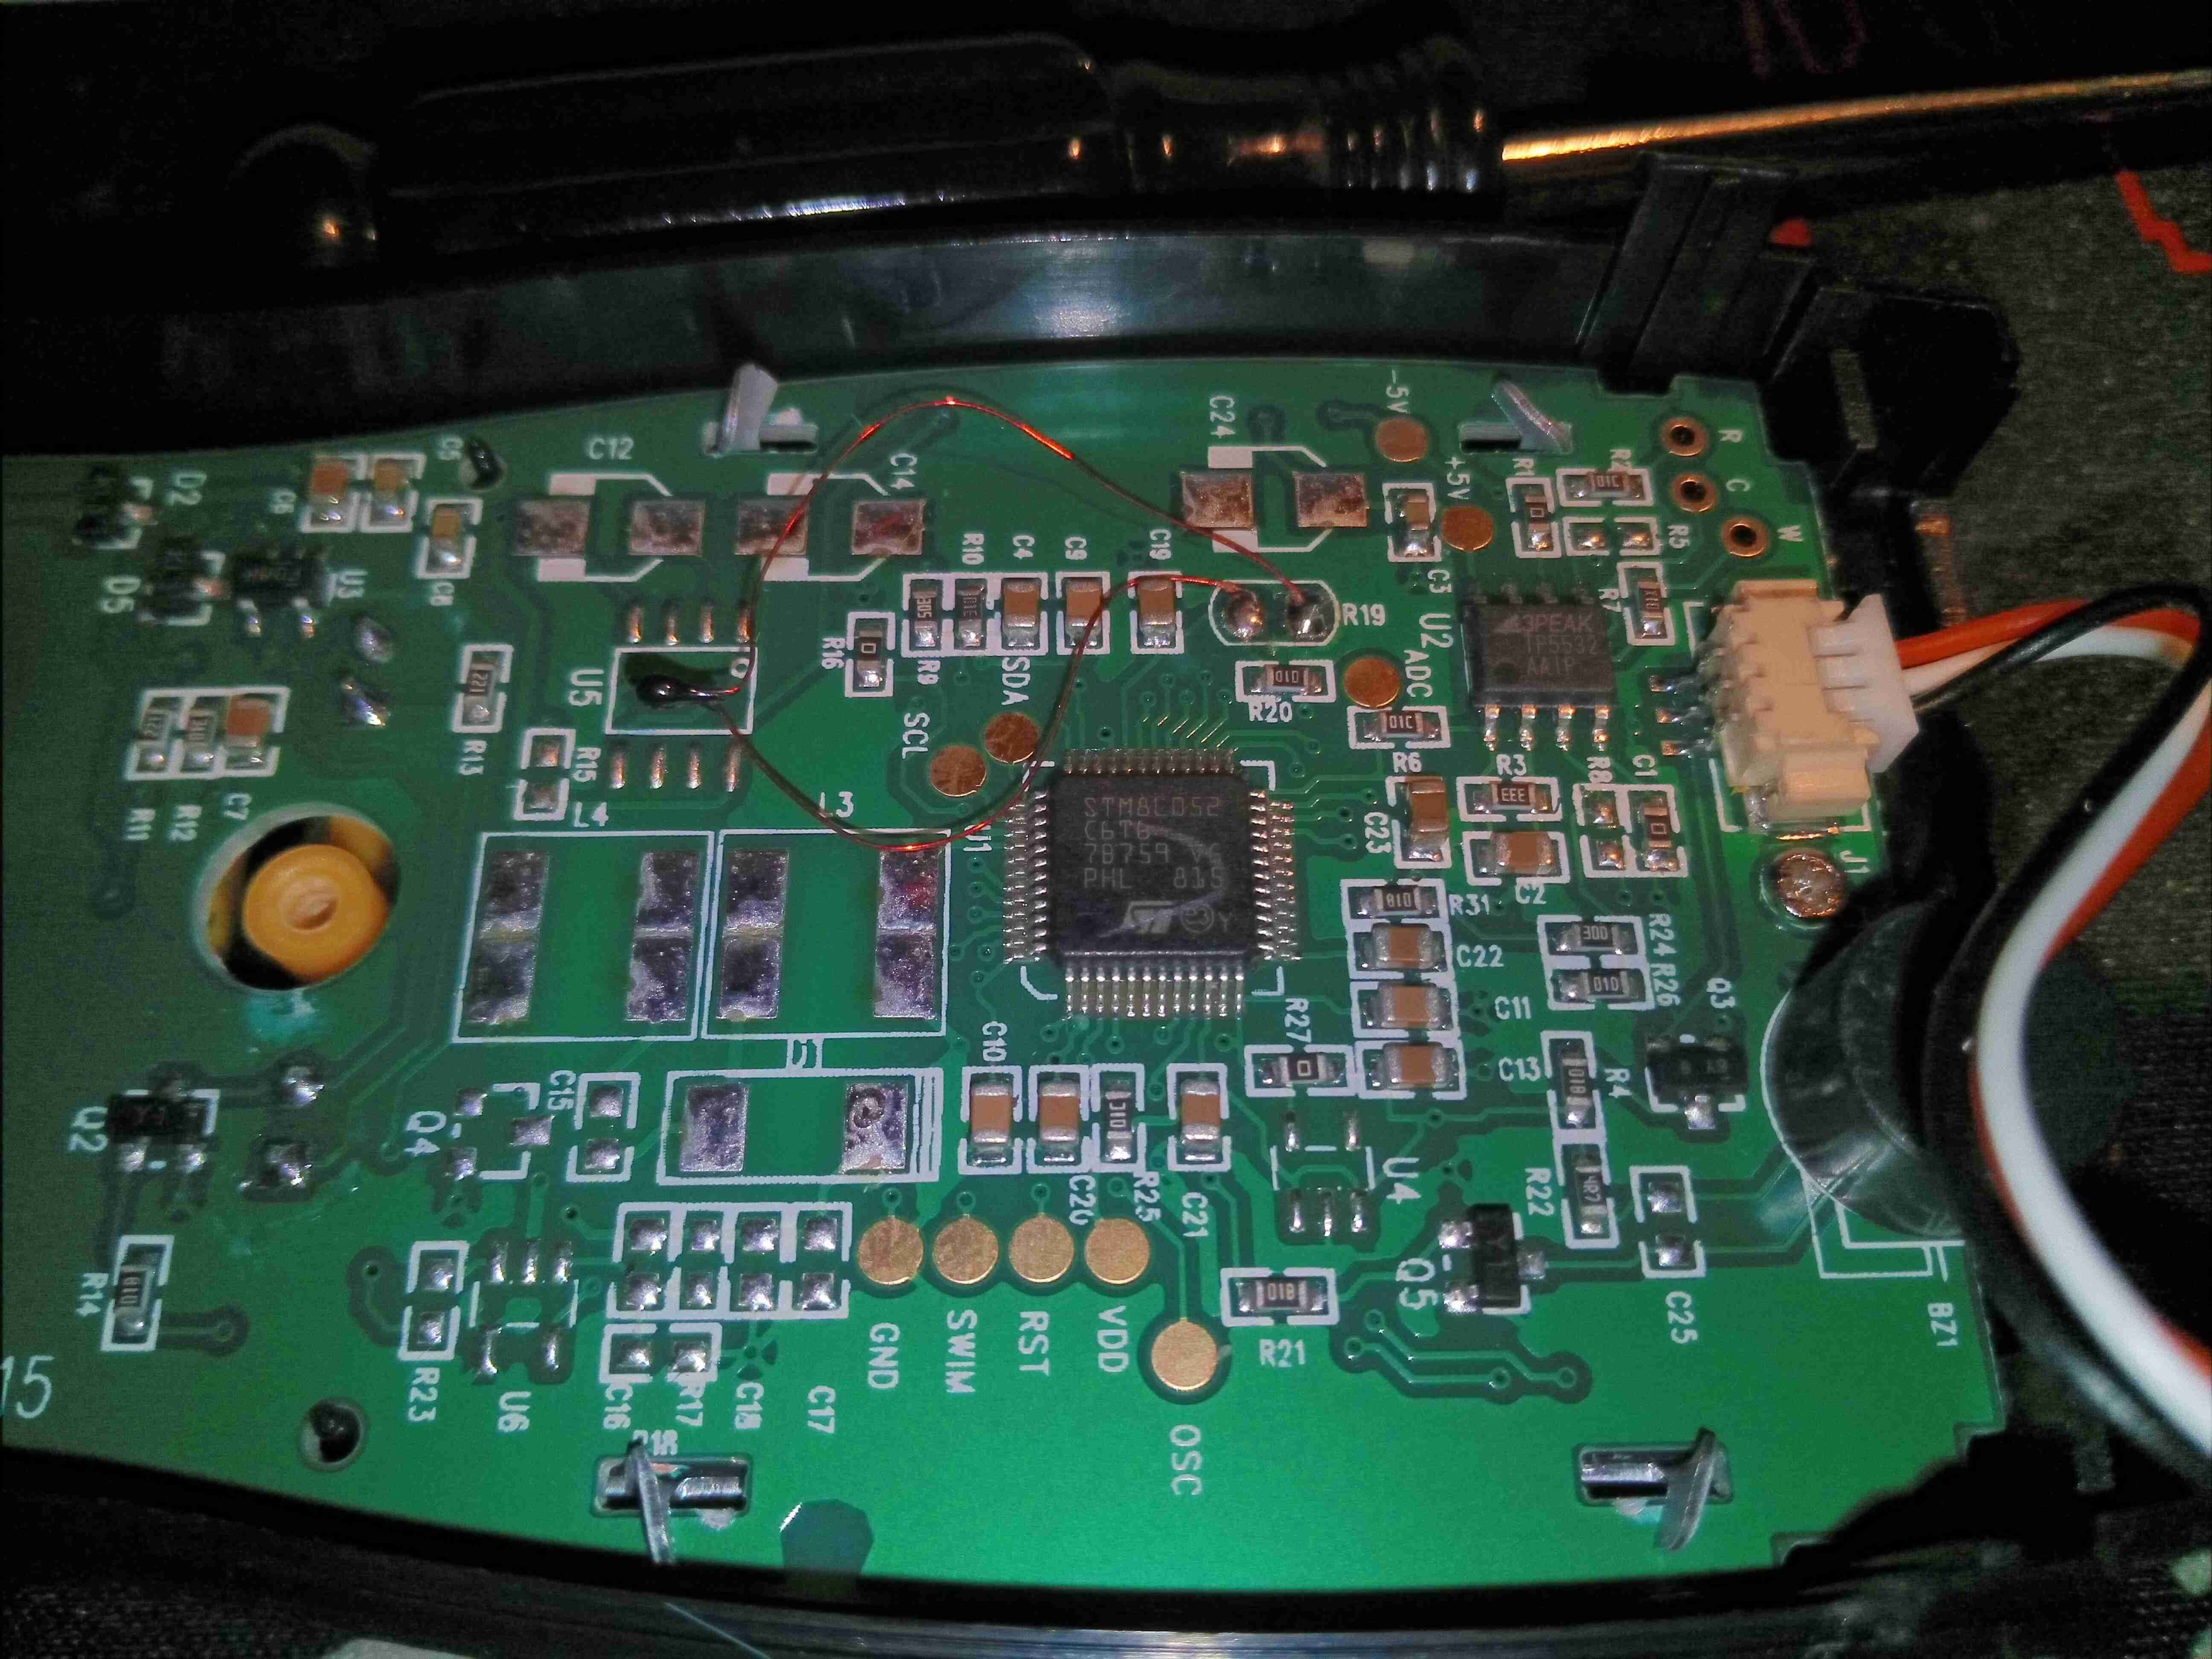
There isn’t much to the actual circuitry. There’s an STM8 microcontroller, and a TP5532 zero-drift op-amp to deal with the sensor front end. Rather nicely, every single one of the test points is labelled! Handy for any hacking that needs to be done.

But does it work?
Hi Antony,
It does indeed work, however I’ve not managed to get around to testing it with a bottle of calibration gas I have lying around yet!
Cheers
I just bought this. I put it up to my gas stove and it still showed 0 ppm. So, I took it outside to the tailpipe of my car and it was still showing 0. After about 10s, it reported an OL (overload) display. Now, when I turn the device on it displays “E 1.5” which presumably is an error code. Do you think the sensor was damaged and needs to be replaced? After cycling power and repeating the test on the tailpipe this time moving is slowly until it started to show a number > 0, it still rapidly increased and I couldn’t pull it away fast enough before it still reached the OL. Nonetheless, it seems to still working.
The tailpipe method works best on a COLD engine because once the it warms up the catalytic converter kept it so that I couldn’t get it to OL.
The sensor may have been overloaded, but I doubt any permanent damage was done as long as it will zero out again after being in fresh air for a time.
I just purchased a Smart Sense Carbon Monoxide meter AS8700A – it says 0 CO and 23.1 PPM what does that mean and am I ok – thank you