Some time ago I did a couple of posts on cheapening up the maintenance of Eberspacher hot air heaters by making the glow plug screens myself. Now one of my pieces of stainless mesh has been in the heater for nearly a year, and the heater is starting to get a bit smoky on a cold start. This is usually a sign that the screen isn’t allowing the fuel to vaporise quick enough for the glow plug to ignite the flame, because it’s becoming blocked. So far the heater has had about 150L of diesel through it with my DIY screen.
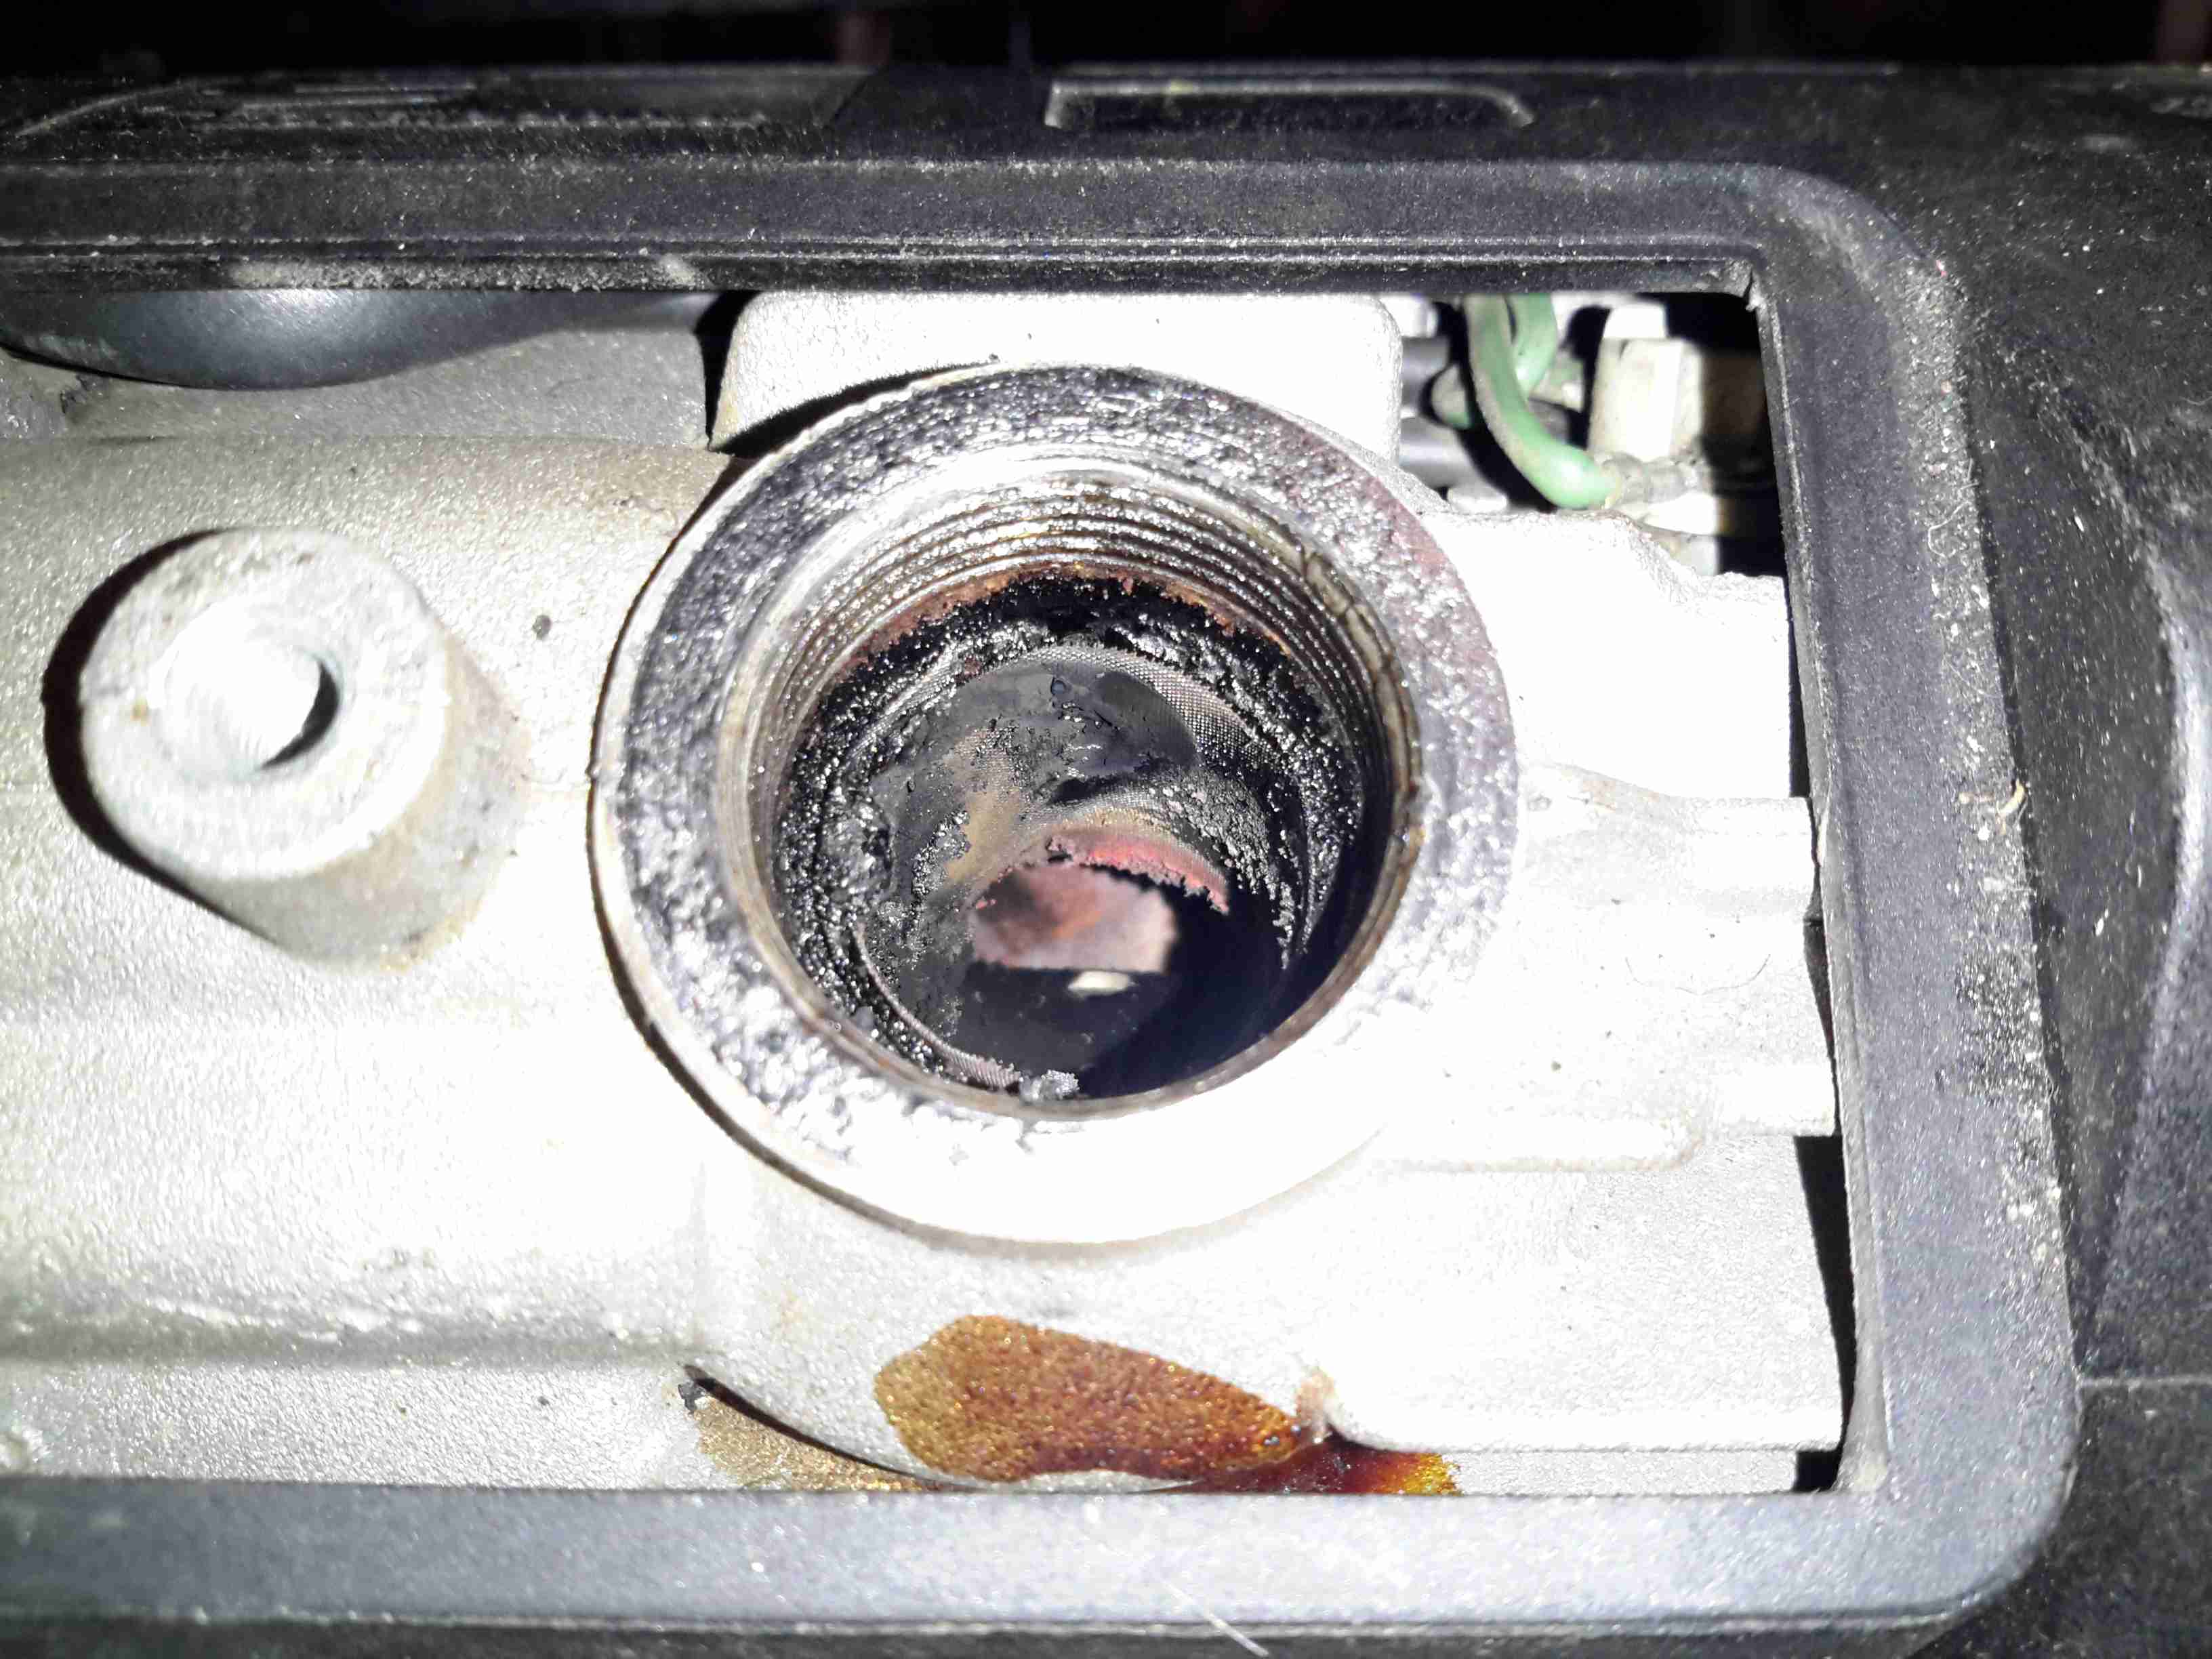
After removing the plug, here’s what’s left of the screen. The bottom end has completely disintegrated, but this is to be expected – OEM screens do the same thing as this end is exposed to the most heat in the burner. There’s quite a bit of coke buildup on the top end of the screen around the fuel nozzle, again this isn’t surprising, as this is the coolest part of the heater not all the heavier fractions of the diesel fuel have the chance to vaporise.
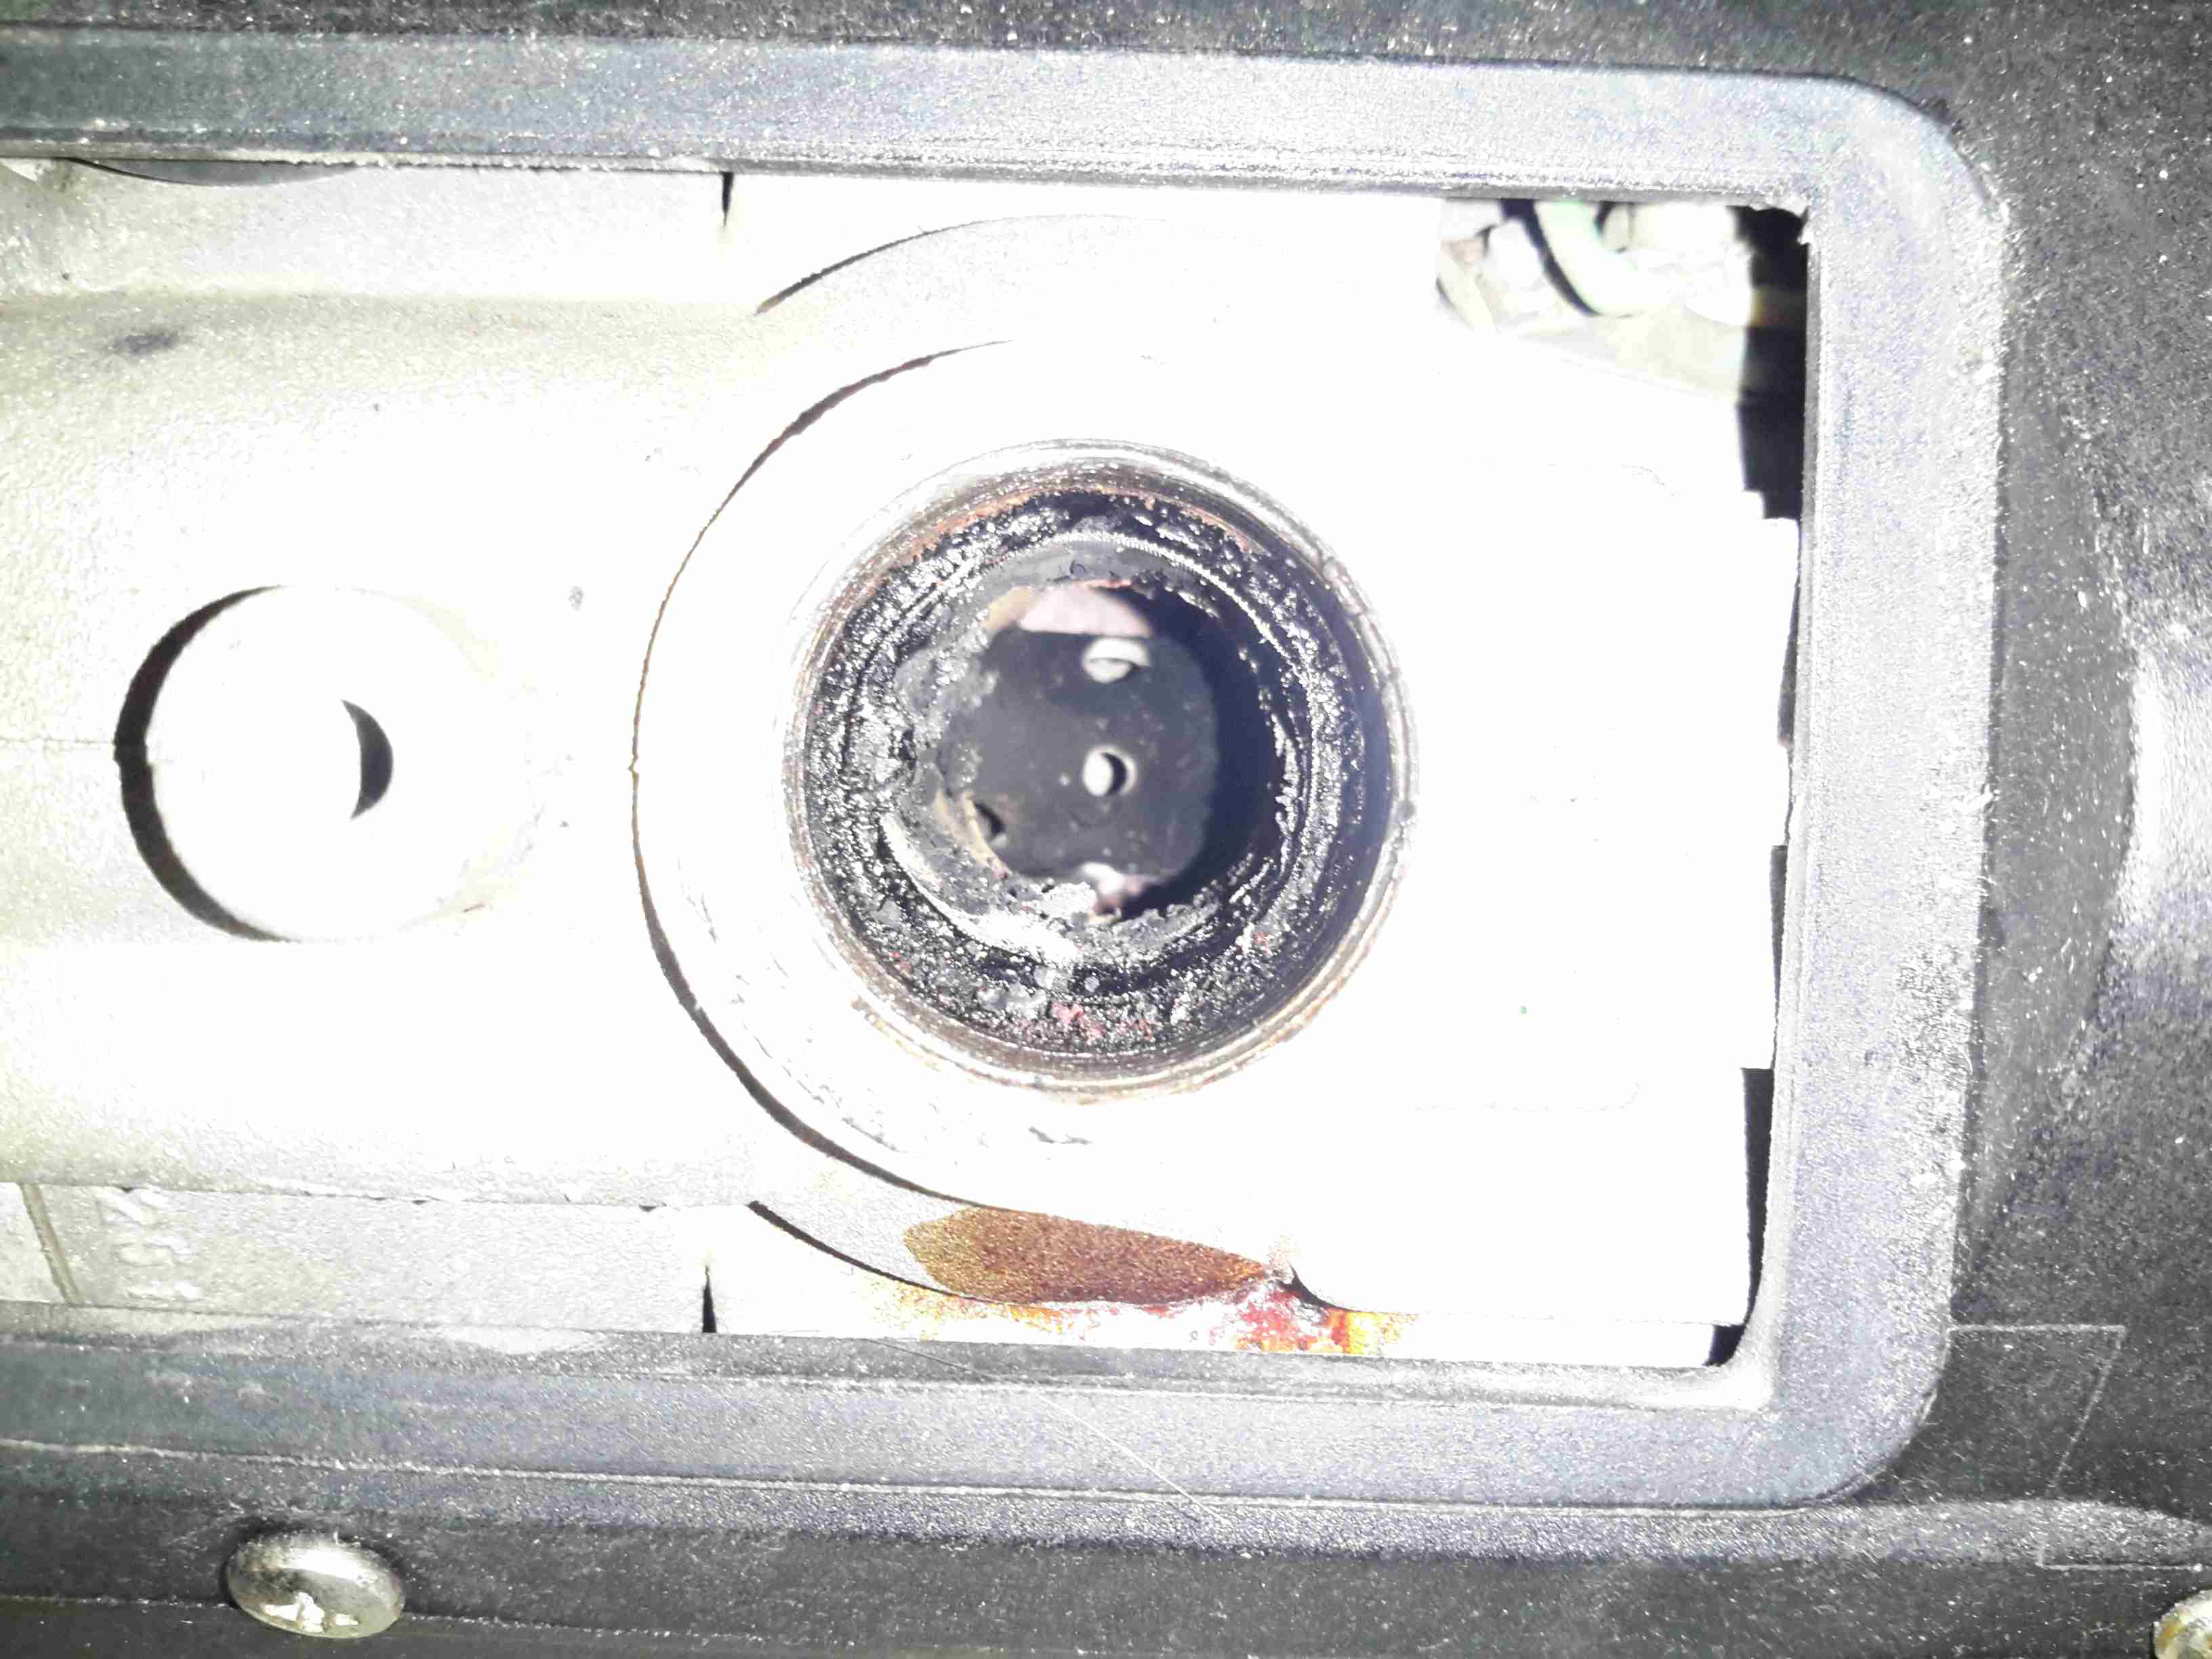
Looking further down into the mixing tube of the main burner, everything looks good. There’s a coating of soot in there, but no tar-like build up that would tell me the unit isn’t burning properly. Another advantage of making my own screens is that they’re much easier to extract from the hole once they’ve been in there for months. The OEM screens have a stainless ring spot welded to the mesh itself to hold it’s shape, and once there’s enough fuel residue built up the entire mess seizes in place, requiring some sharp pokey tools & some colourful language to remove. The single loop of mesh held in place by it’s own spring pressure is much easier to remove as it collapses easily.
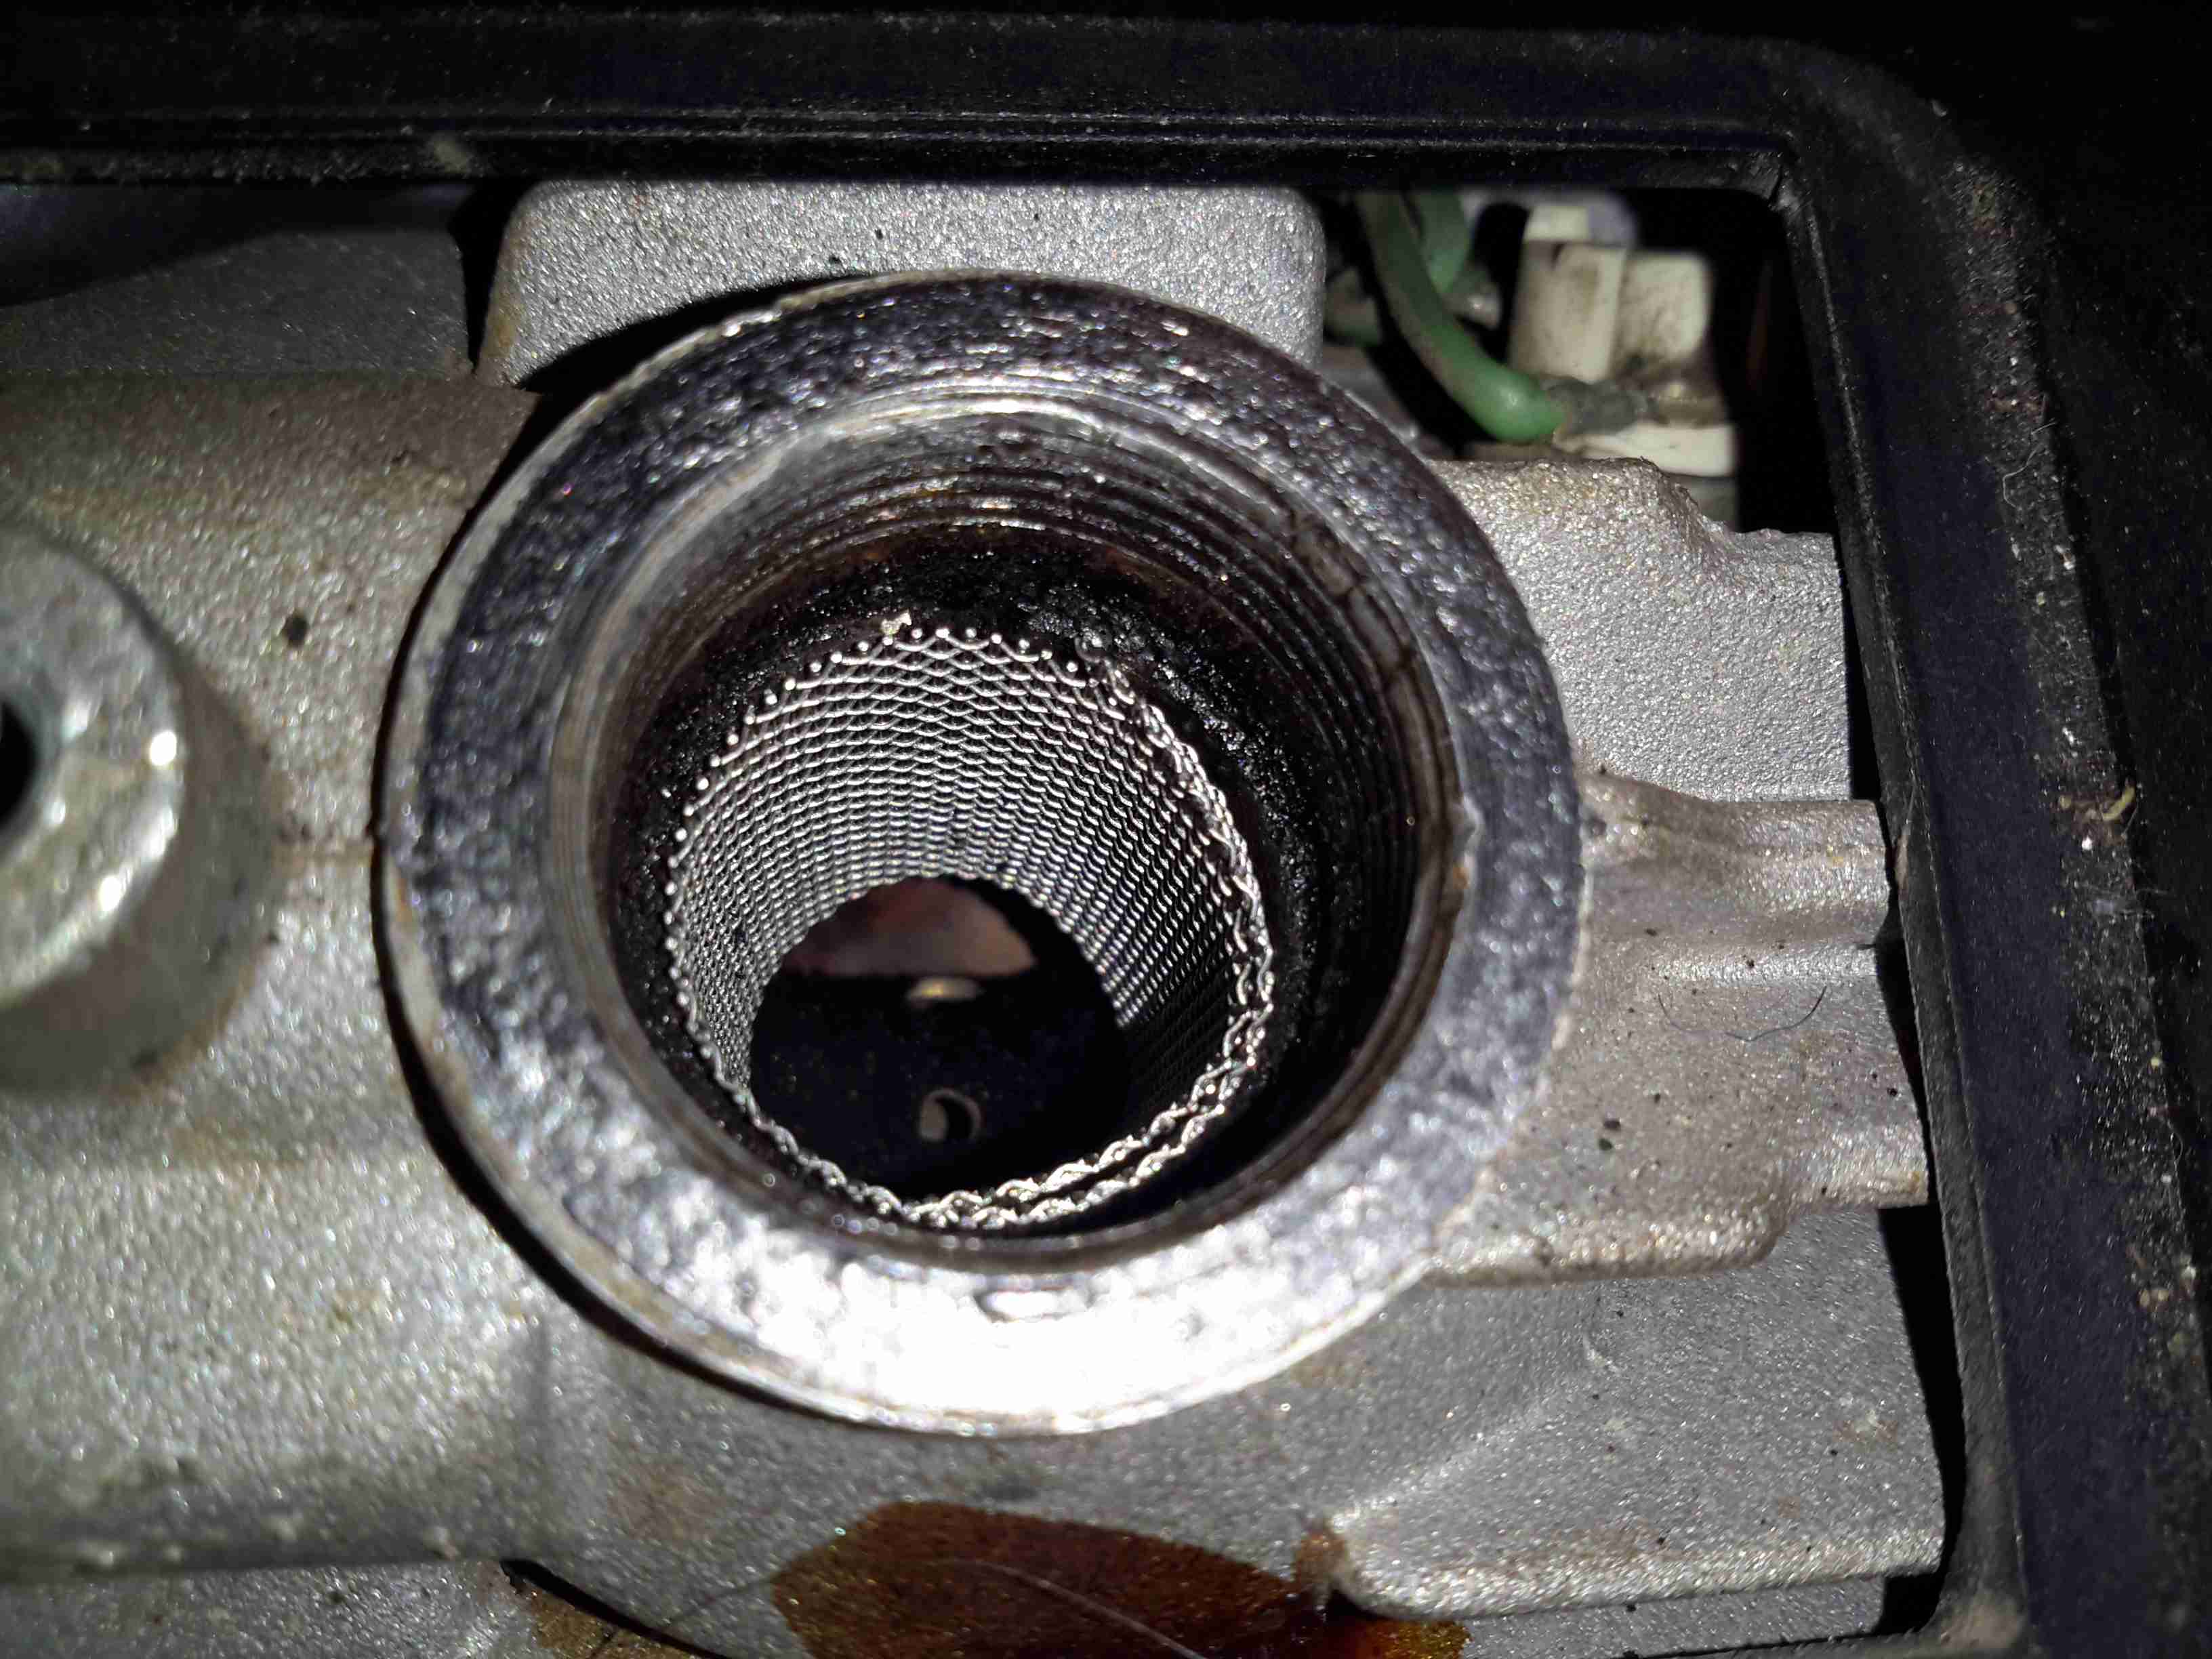
I’ve decided to change the mesh size of the screen while I’m in here, in this case to 80 mesh, which is much closer to the OEM screen size. There doesn’t seem to be much of a difference so far in either the starting or running capability of the heater, although the thicker wire of this screen might last longer before disintegrating at the burner end.

Thanks for sharing this info! I have an old Mikuni diesel heater which does not have screens sold as separate parts. You’re meant to buy the entire glowplug housing at around £65 to fix it. I’ll try your DIY solution. Any updates on how the 80 mesh performed?
Hi, Taigen,
The 80 mesh screen works just as well as the finer mesh, and lasts longer before burning out. The fine wire screens disintegrate quite quickly in the heat of the burner. Since changing to these DIY versions, I’ve had no issues with the heater.
Cheers for reading,
de 2E0GXE
Hi, I need your expert opinion.
I have an eberspächer d2l, the old one, with the BERU GH408 type of glow plugs. It has started to burn them, sometimes after 2 days of night use, others after 7. They all fail close to the end of the coil, at the connector side.
I have opened the unit, it’s really clean inside.
Q1. So far a I have read, the diesel plugs of that era did not take a mesh. Am I wrong? I am currently not using one.
Q2. If I used a mesh regardless, would it short-circuit the coil of the plug? If not, would it protect it from burning?
When it works, it works fine: good heating, no smoke.
Any ideas?
Part 2
Another thing: I was considering replacing this type of glow plug with another, with the same threading and depth, but without its element exposed. Any idea which one? Ever done it?