A while back I posted about a 3M Touch Systems industrial monitor that I’d been given. I had previously paired it with a Raspberry Pi Model B+, but for general desktop use it was just a little on the slow side.
Since the release of the Raspberry Pi 2, with it’s 4-core ARM Cortex CPU, things are much improved, so I figured I’d post an update with the latest on the system.
The monitor I’ve used is a commercial one, used in such things as POS terminals, service kiosks, etc. It’s a fairly old unit, but it’s built like a tank.
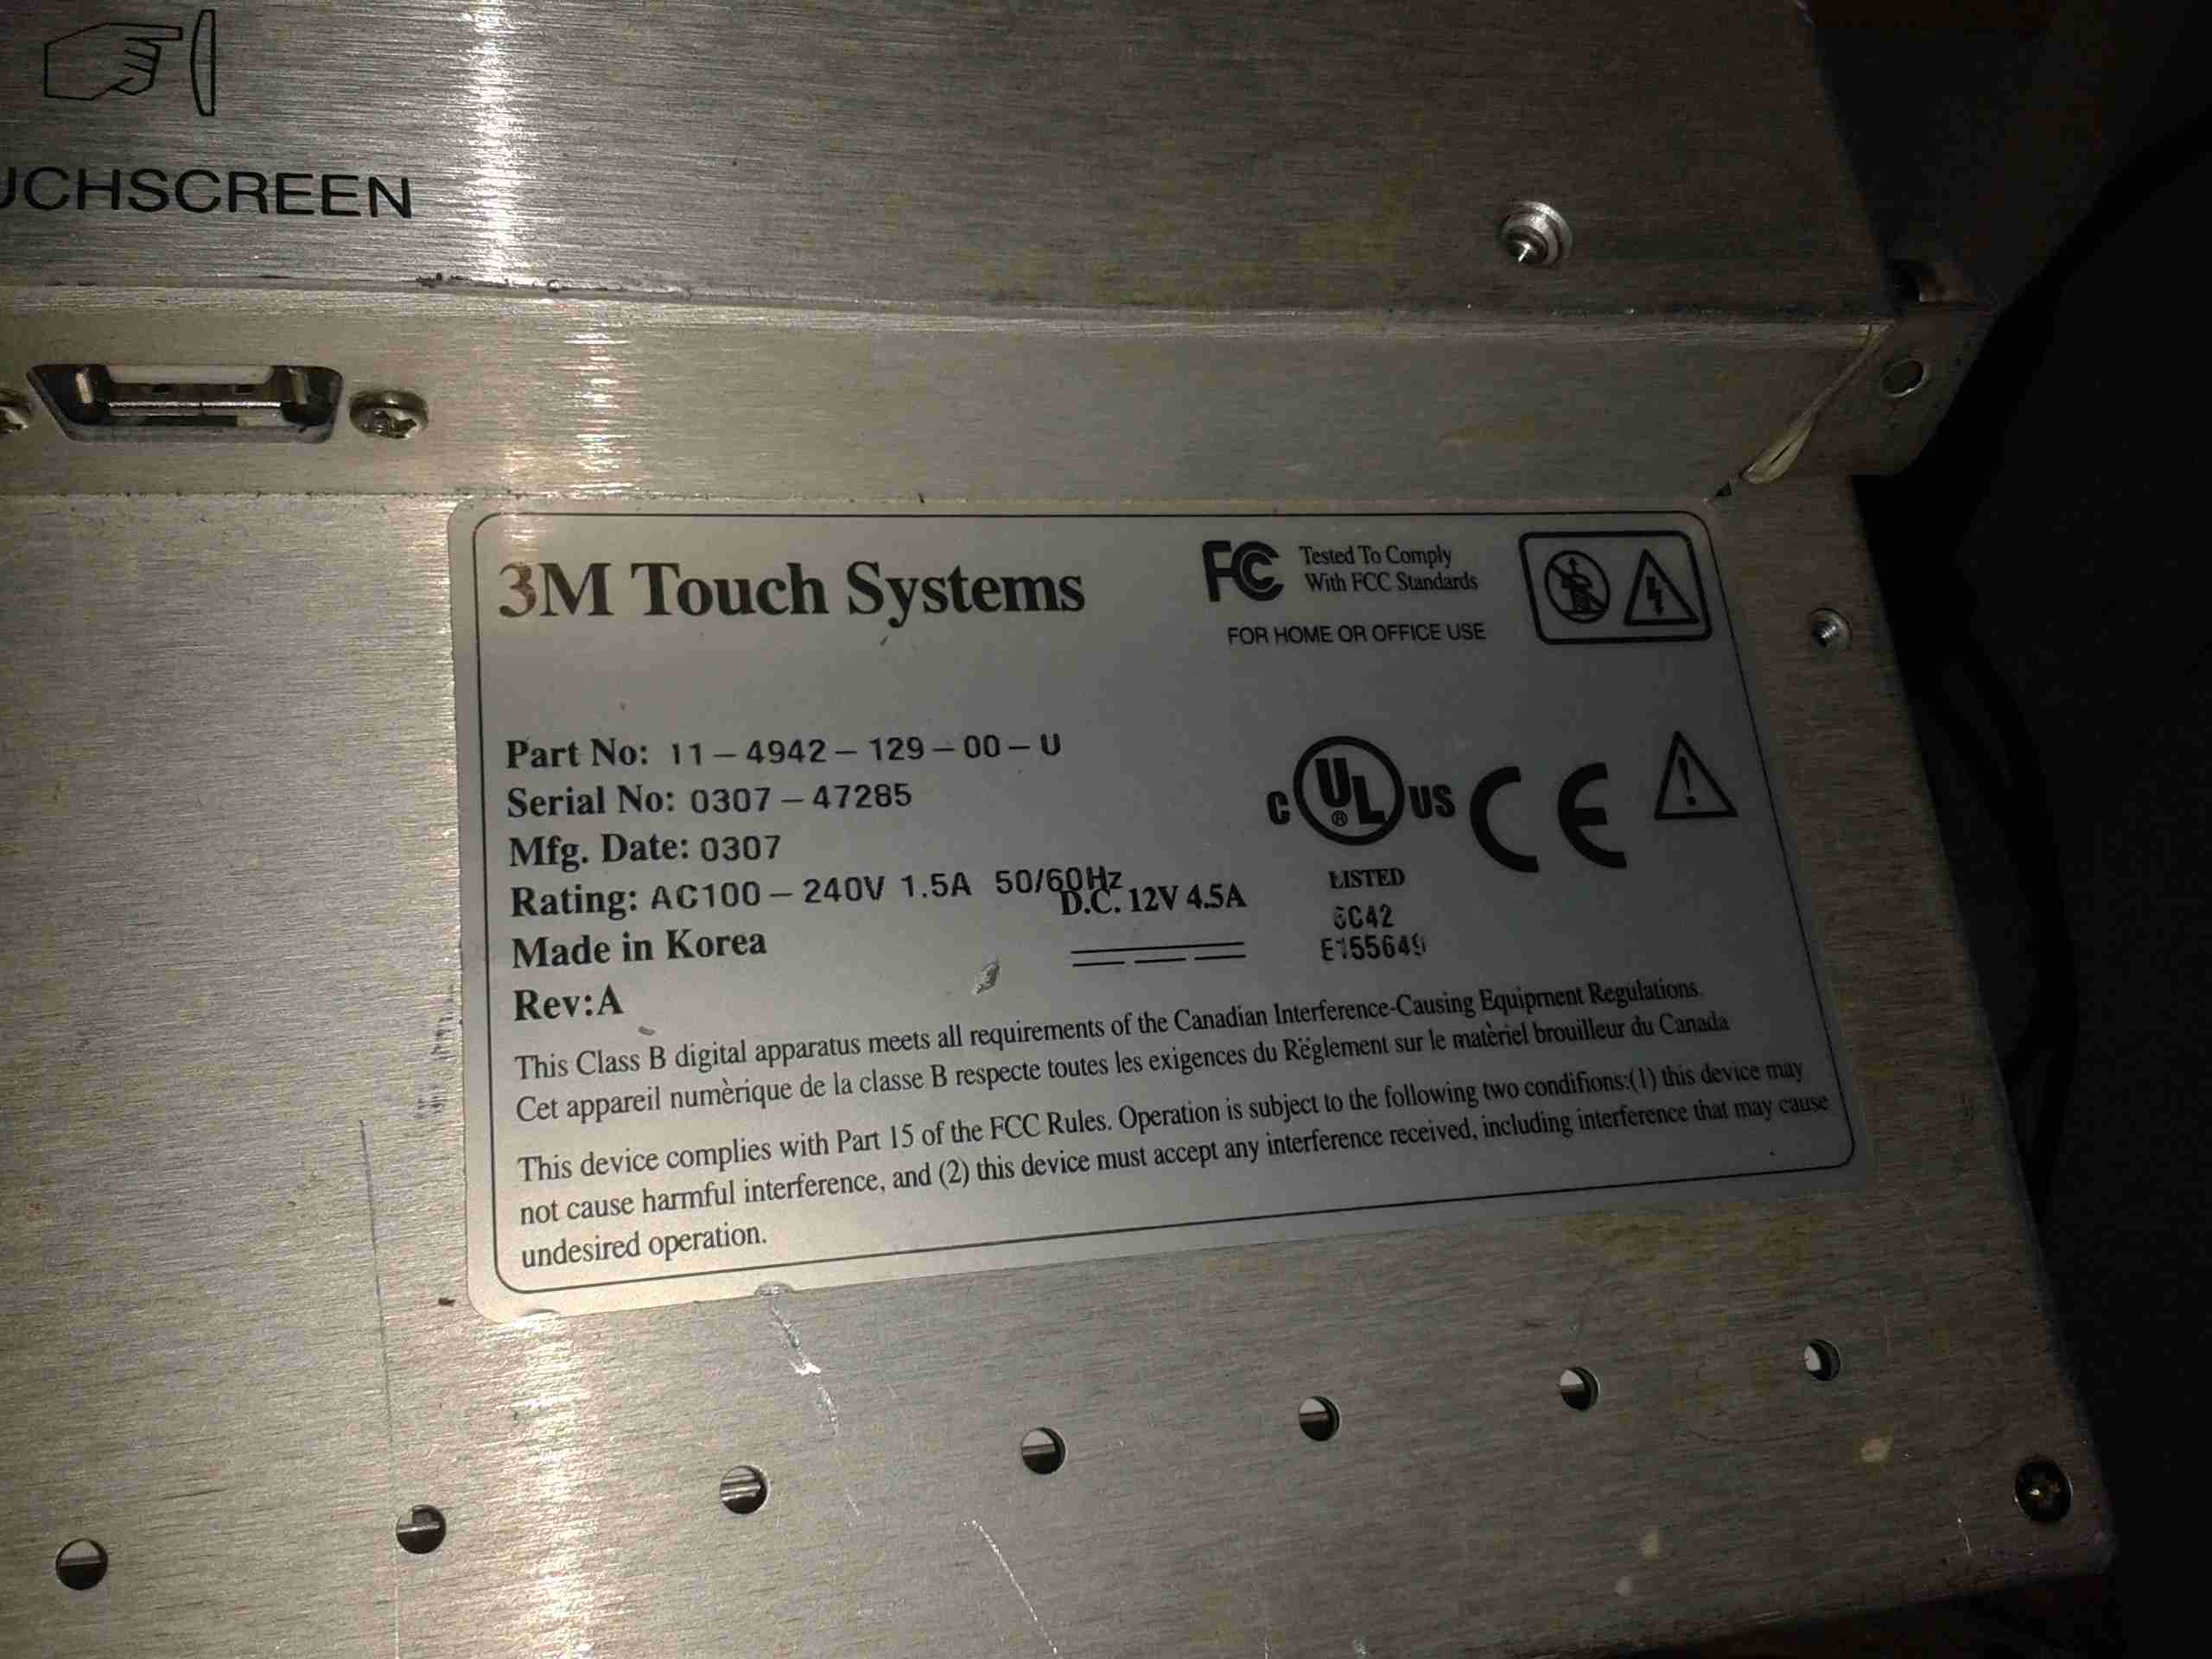
It’s built around a Samsung LTM170EI-A01 System-On-Panel, these are unusual in that all the control electronics & backlighting are built into the panel itself, instead of requiring an external converter board to take VGA to the required LVDS that LCD panels use for their interface.
The touch section is a 3M Microtouch EXII series controller, with a surface capacitive touch overlay.
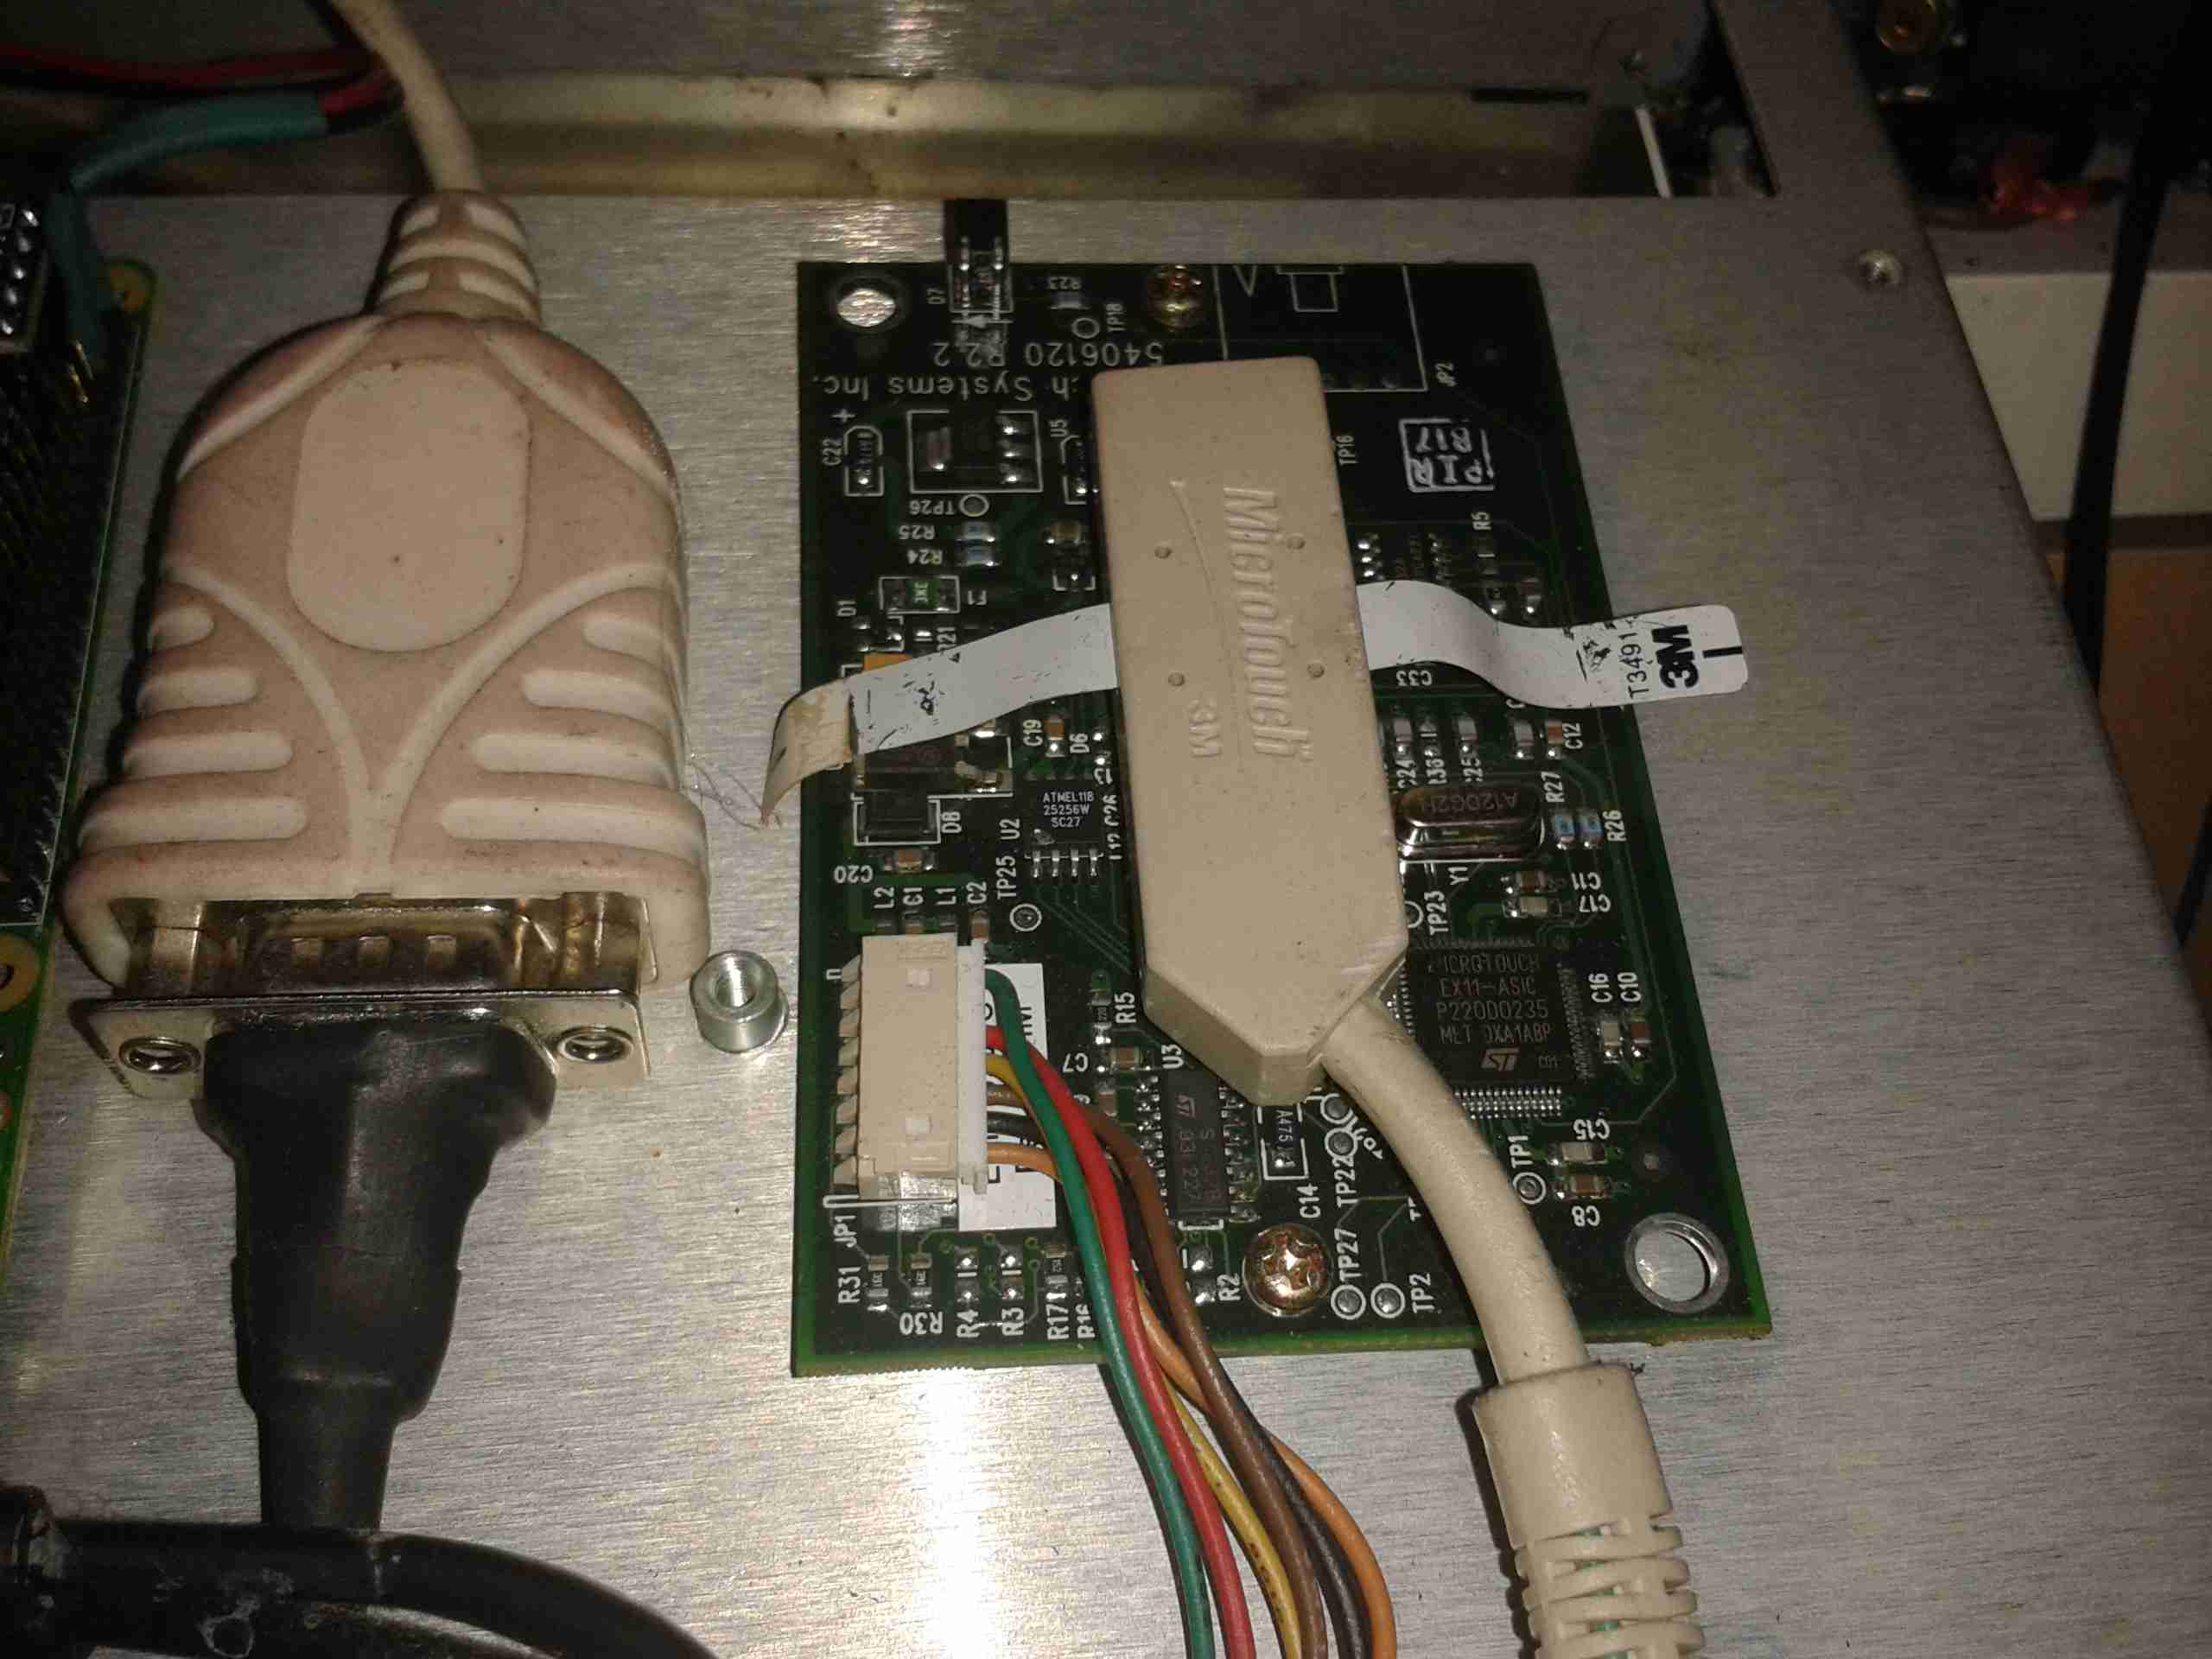
Above is the touch controller PCB, with it’s USB-Serial converter to interface with the Pi.
As there is much spare space inside the back of this monitor, I have mounted the Pi on a couple of spare screw posts, fitted USB ports where the original VGA & Serial connectors were in the casing, and added voltage regulation to provide the Pi with it’s required 5v.
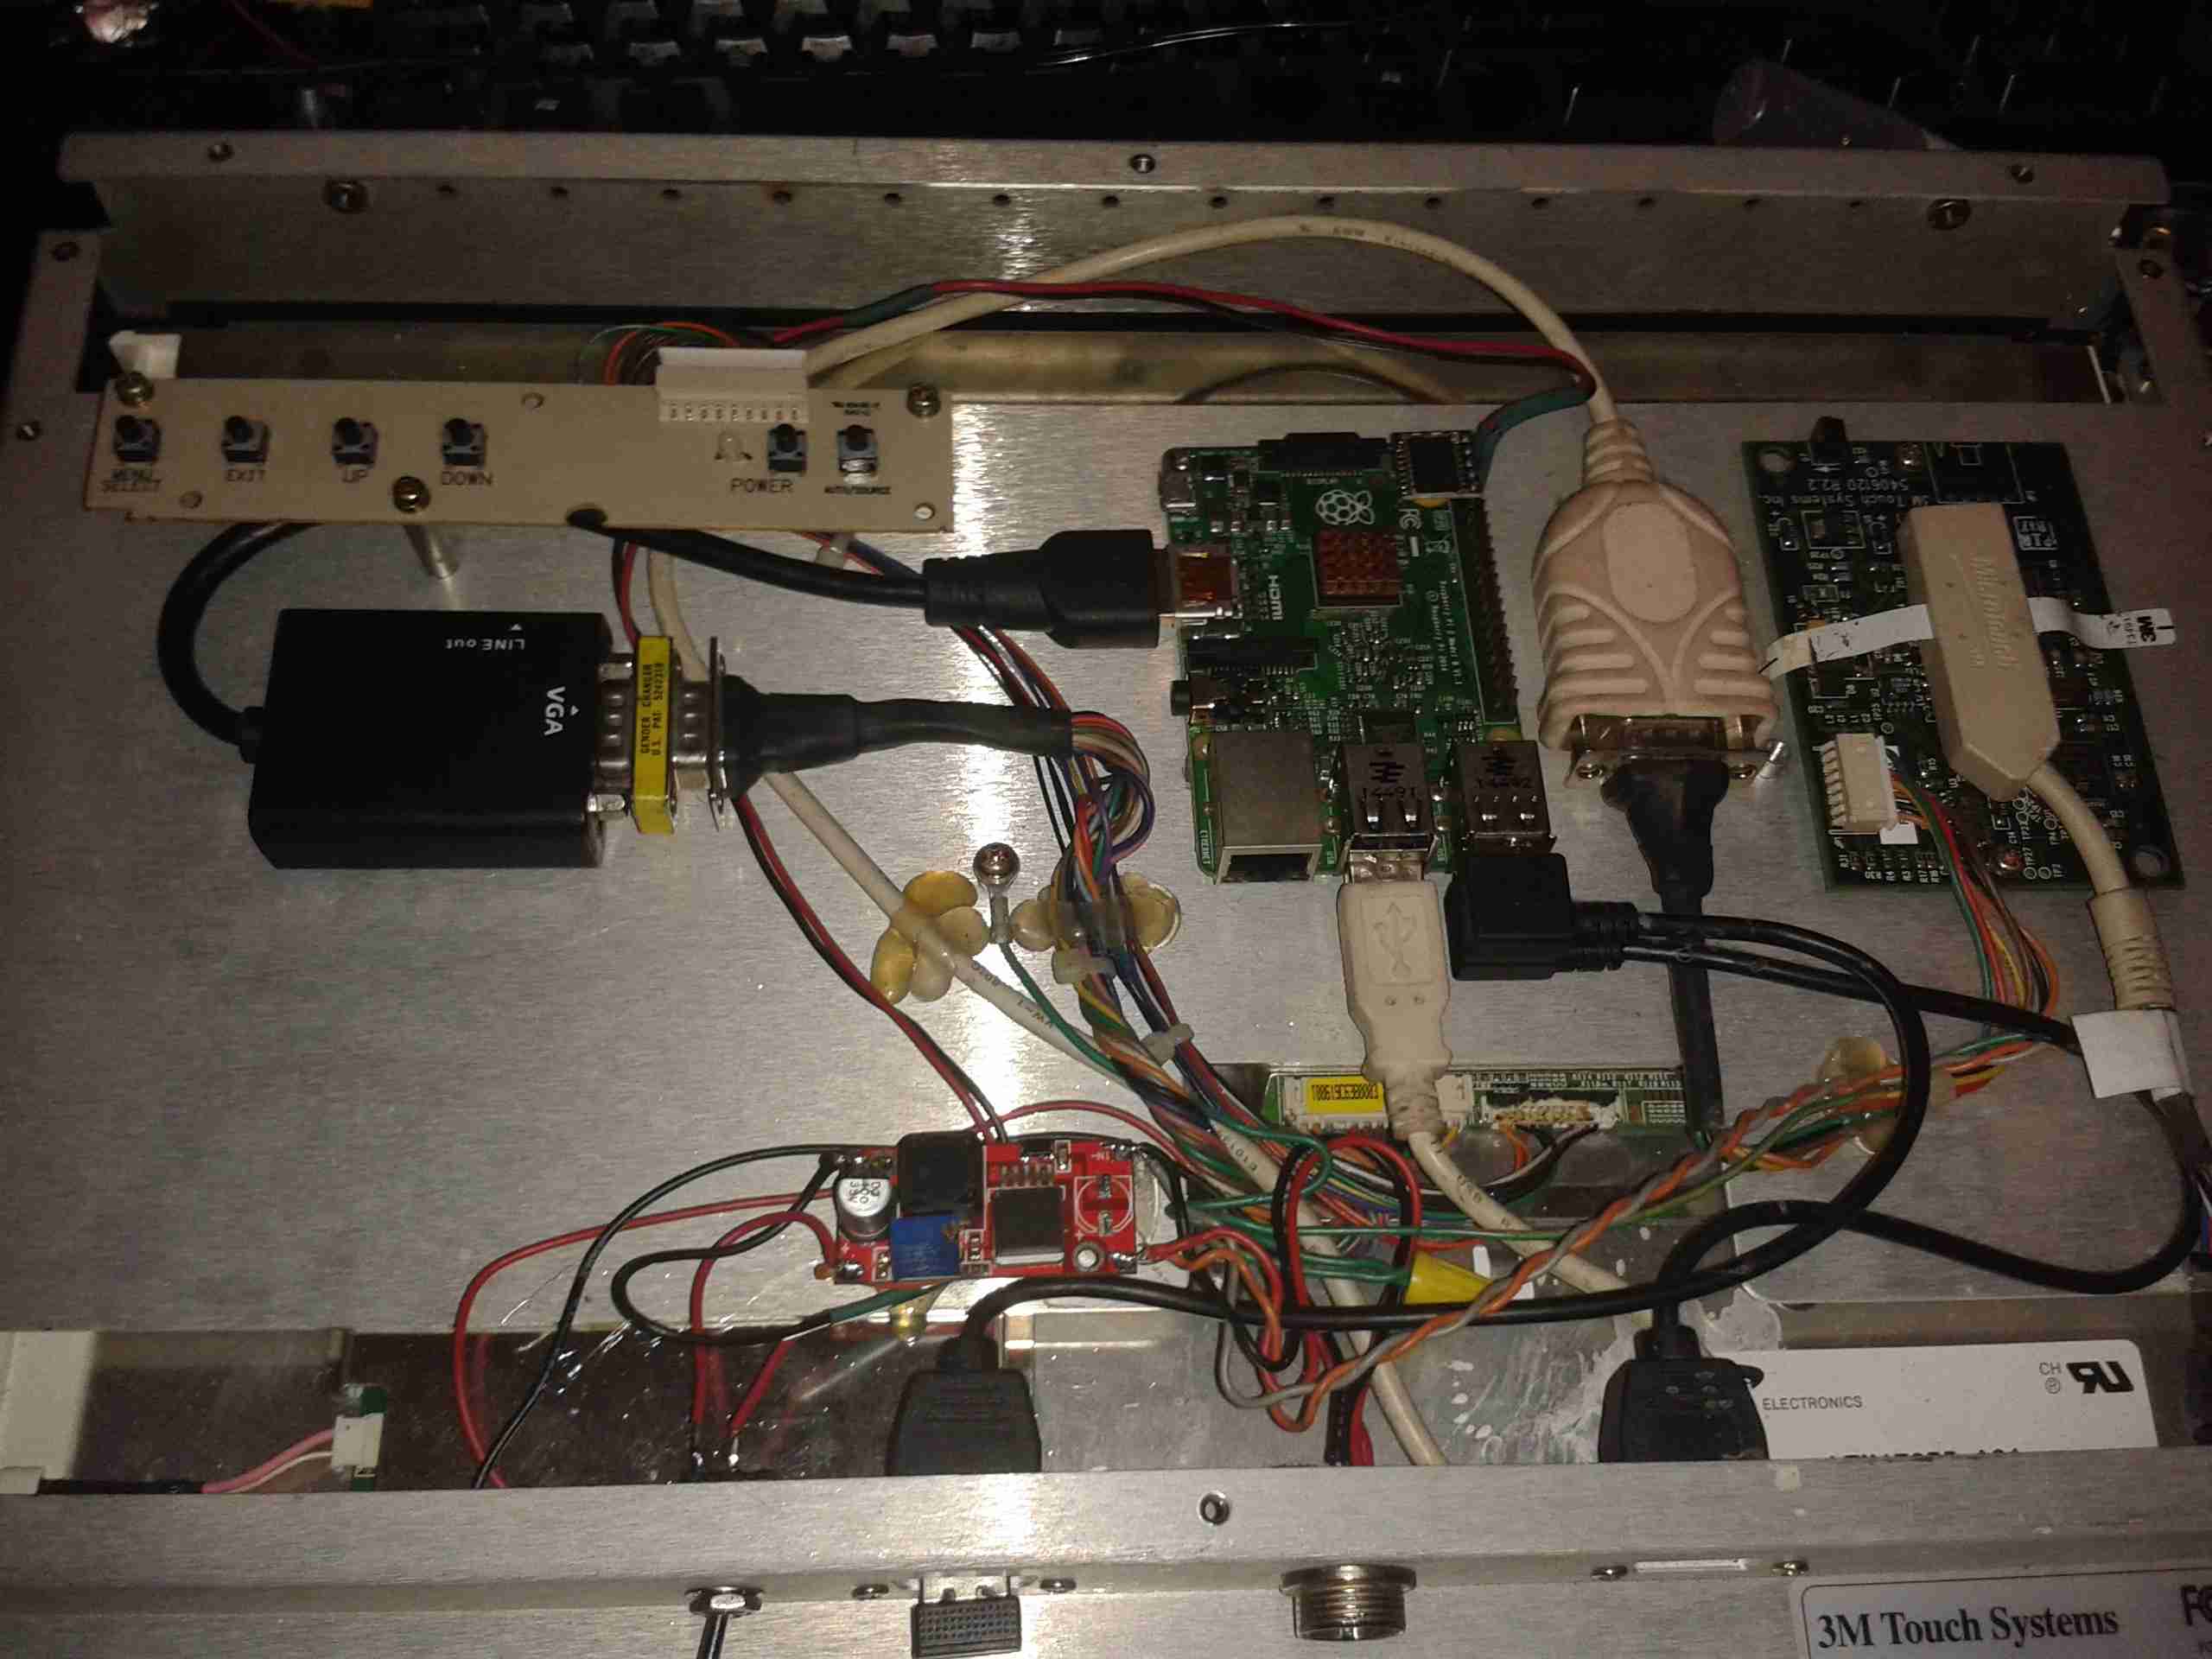
Here’s the entire back of the panel, the Pi in the middle interfaces with a HDMI-VGA adaptor for the monitor, and the serial adaptor on the right for the touch. A small voltage regulator at the bottom of the unit is providing the 5v rail. There’s a switch at the bottom next to one of the USB ports to control power to the Pi itself. The panel won’t detect the resolution properly if they’re both powered on at the same time.
At 13.8v, the device pulls about 2A from the supply, which seems to be typical for a CCFL backlighted LCD.
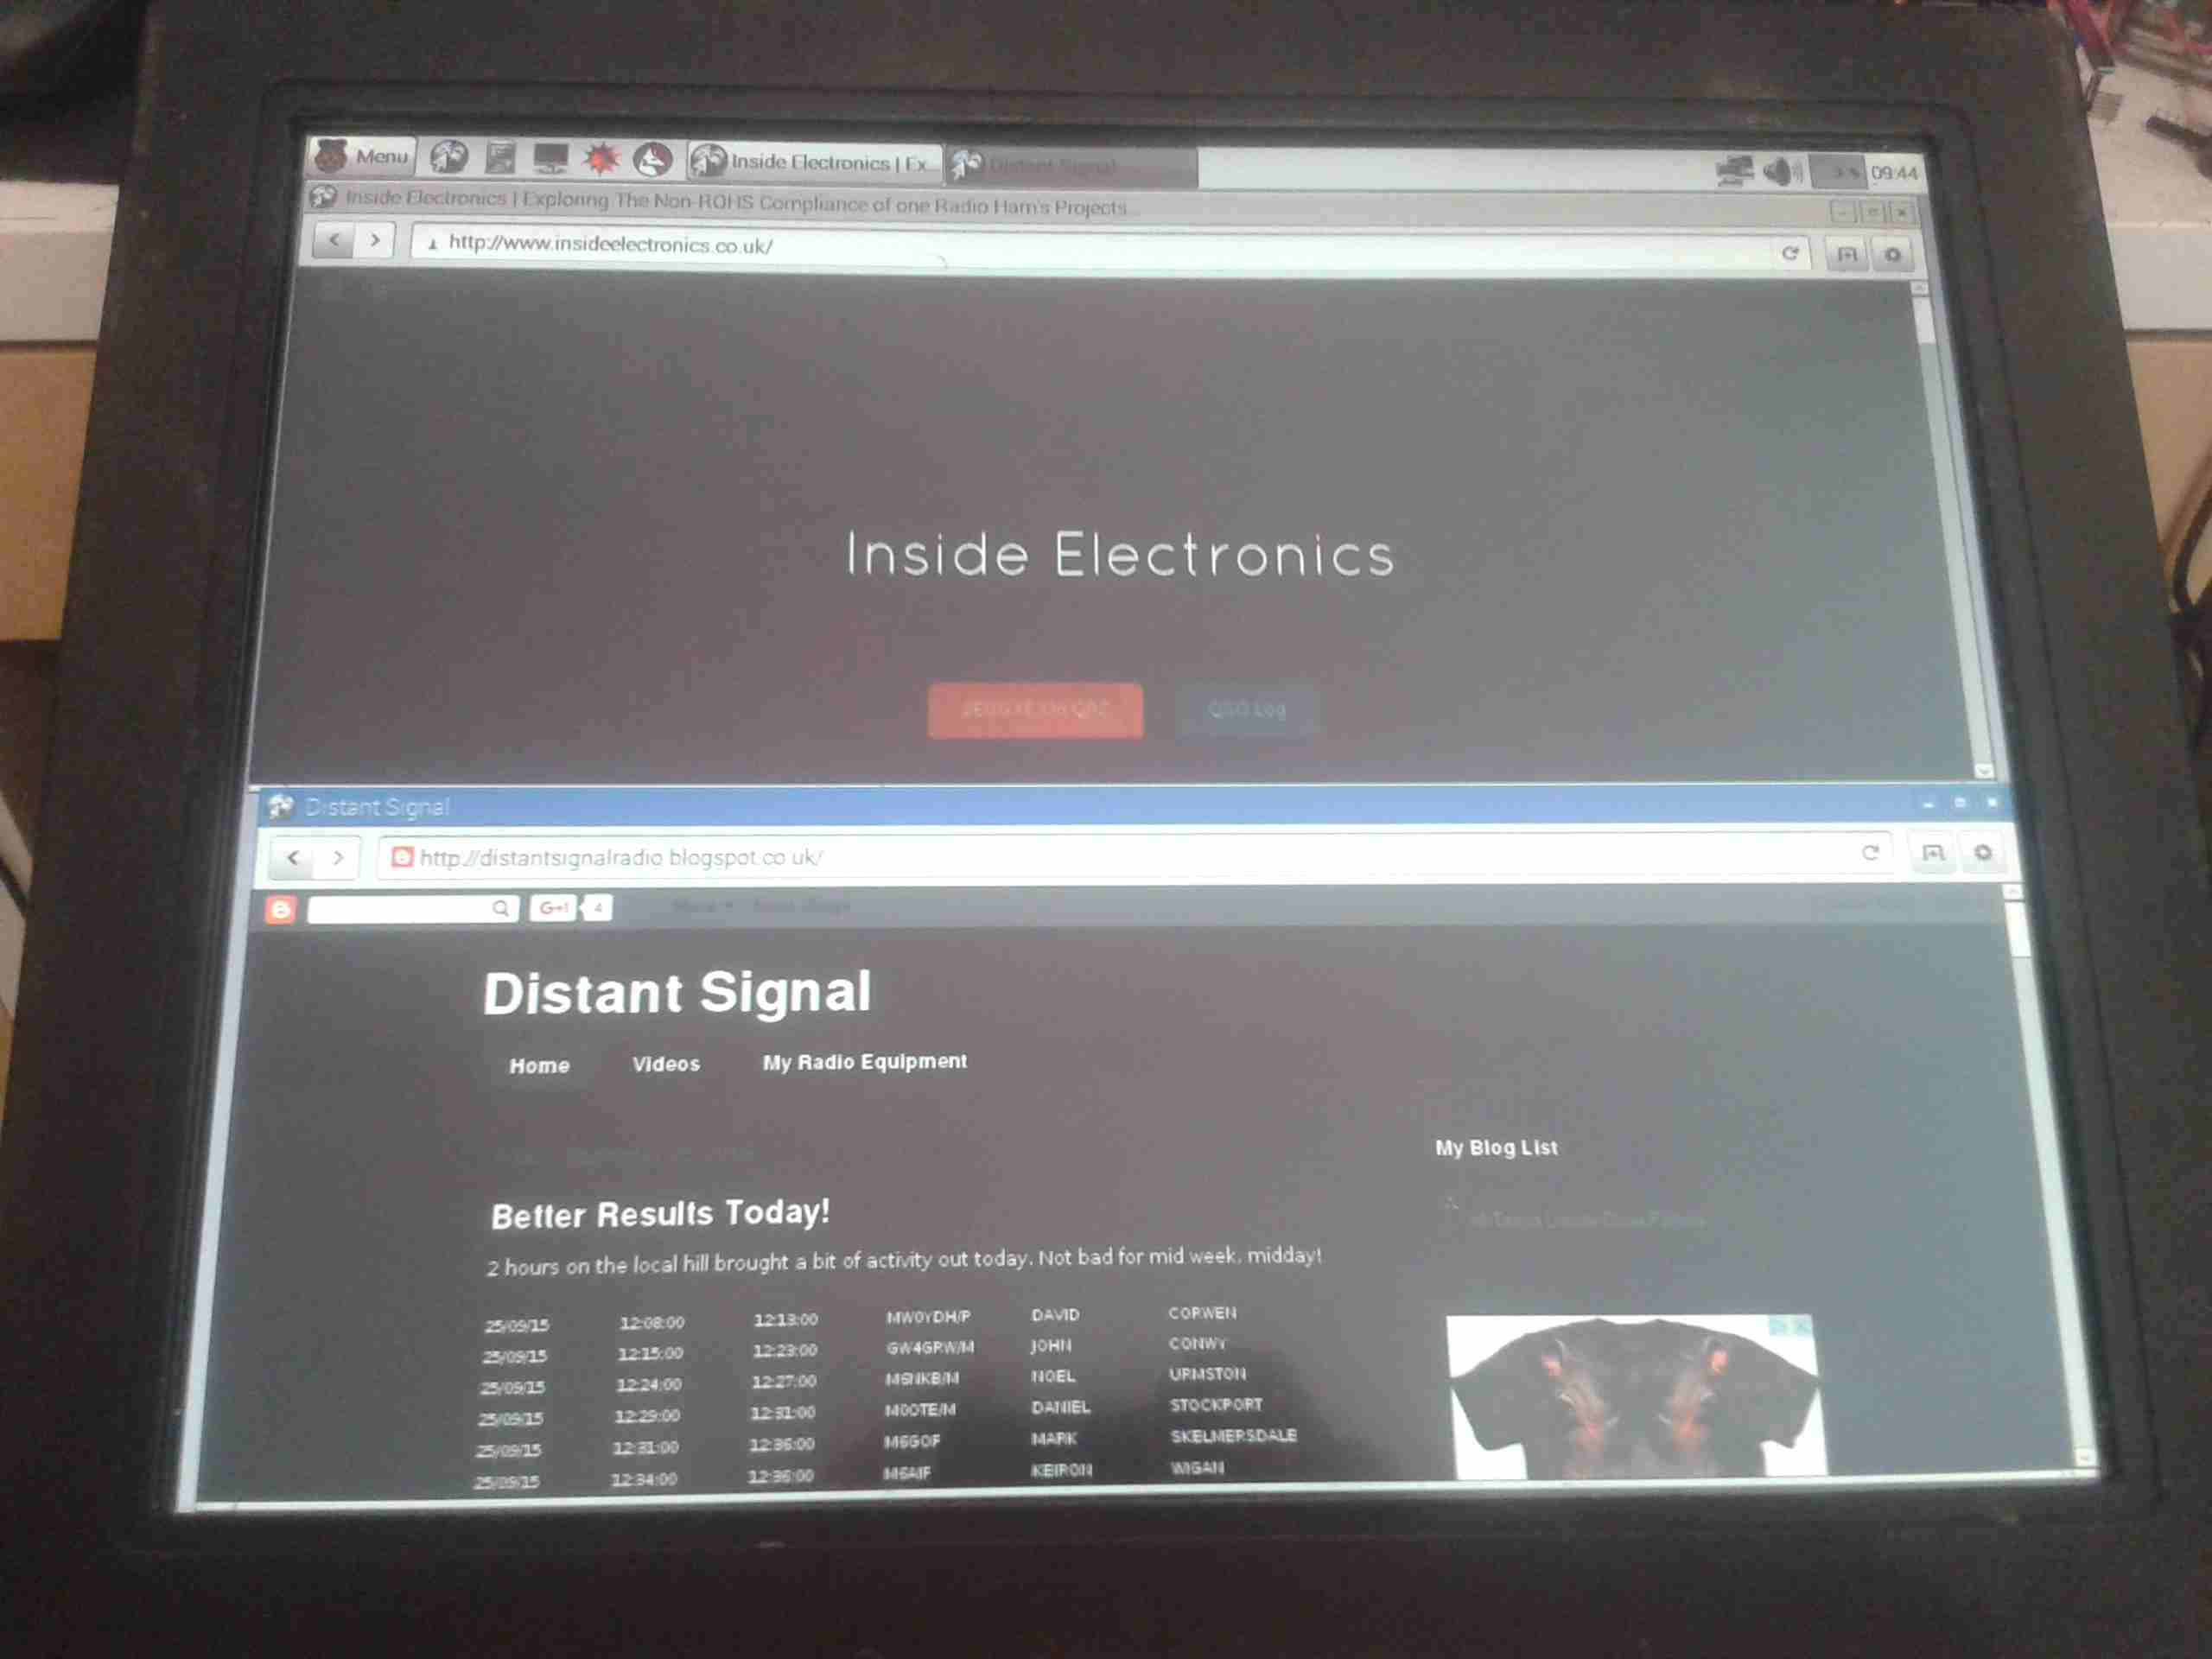
Now the Raspberry Pi 2 has been released, it’s much more responsive for desktop applications, especially with a slight overclock.
A full disk image enabled for Desktop & 3M touch monitors is available below for others that have similar panels. This image only works for the Pi 2!
[download id=”5591″]

Hi there,
thanks a lot for your post. I tried a lot to get this typ of touch screen working. But I failed. With your image it worked instantly.
My only problem: If I run apt-get upgrade it doesn’t work anymore. I’m not a complete linux noob. But with compiling drivers and kernels I’m out of my comfort zone. Maybe you can give me a hint how you managed to create working environment.
Thanks..
Best,
Henning
Hi Henning,
It’s been quite some time since I recompiled the kernel to support the 3M touch controllers, so my memory is a bit hazy, however you can use this tutorial here for recompiling the kernel:
http://simonmcc.blogspot.ae/2013/08/raspberry-pi-rpi-kernel-build-for.html (As far as I can remember I also used this myself to get started).
The only difference would be when you run make menuconfig, select the 3M drivers from the list instead. This would have to be redone at every kernel update though, as it’s not in the standard repos as far as I know. Easy way to keep the drivers is to freeze the kernel with “sudo apt-mark hold”
Cheers,
The Engineer
2E0GXE
Thank you for the very fast reply. I will give it a shot!
In case anybody else wants to do the same: I used the manual on this site as well as the one mentioned above: https://www.raspberrypi.org/documentation/linux/kernel/building.md
Compiling on a Raspberry Pi 2 takes a bit more than an hour. Fairly easy!
Thanks again
Glad you managed to get it sorted!
Hi I would to build the kernel for raspberry 3. I buld it and add the drivers of 3m in menuconfig windows. But it dasn’t work. How can I test if the driver are built-in?
Hi.
I’m not sure how to check compiled in drivers. Did you follow the instructions in the previous comment From Henning?
de 2E0GXE
I follow the cross building and also local building instruction on raspberry official website: https://www.raspberrypi.org/documentation/linux/kernel/building.md
After kernel build I have to configure something to use the drivers? Because with “sudo cat /dev/ttyUSB0” and touch the screen I see the response like this “#ò#½@³#@²½#”, so the touch and usb-serial adapter works.
I didn’t have to do anything else to get the touch screen working, I can’t really be sure on your personal implementation, if you’ve followed the instructions there is no reason why it shouldn’t be working. Some of the commands from this post may be helpful: http://blog.rot13.org/2013/12/touch-screen-configuration-using-xinput.html, along with this Pi Forum thread: https://www.raspberrypi.org/forums/viewtopic.php?f=45&t=111416
Hello! I Have almost the same screen as you do and i cant seem to find the download for the rpi2 image, where is the download link?
Hello! Is there any chance you still have the raspberry pi image with the correct driver? If so could you send it? i am making a touch screen for my home assistant 🙂