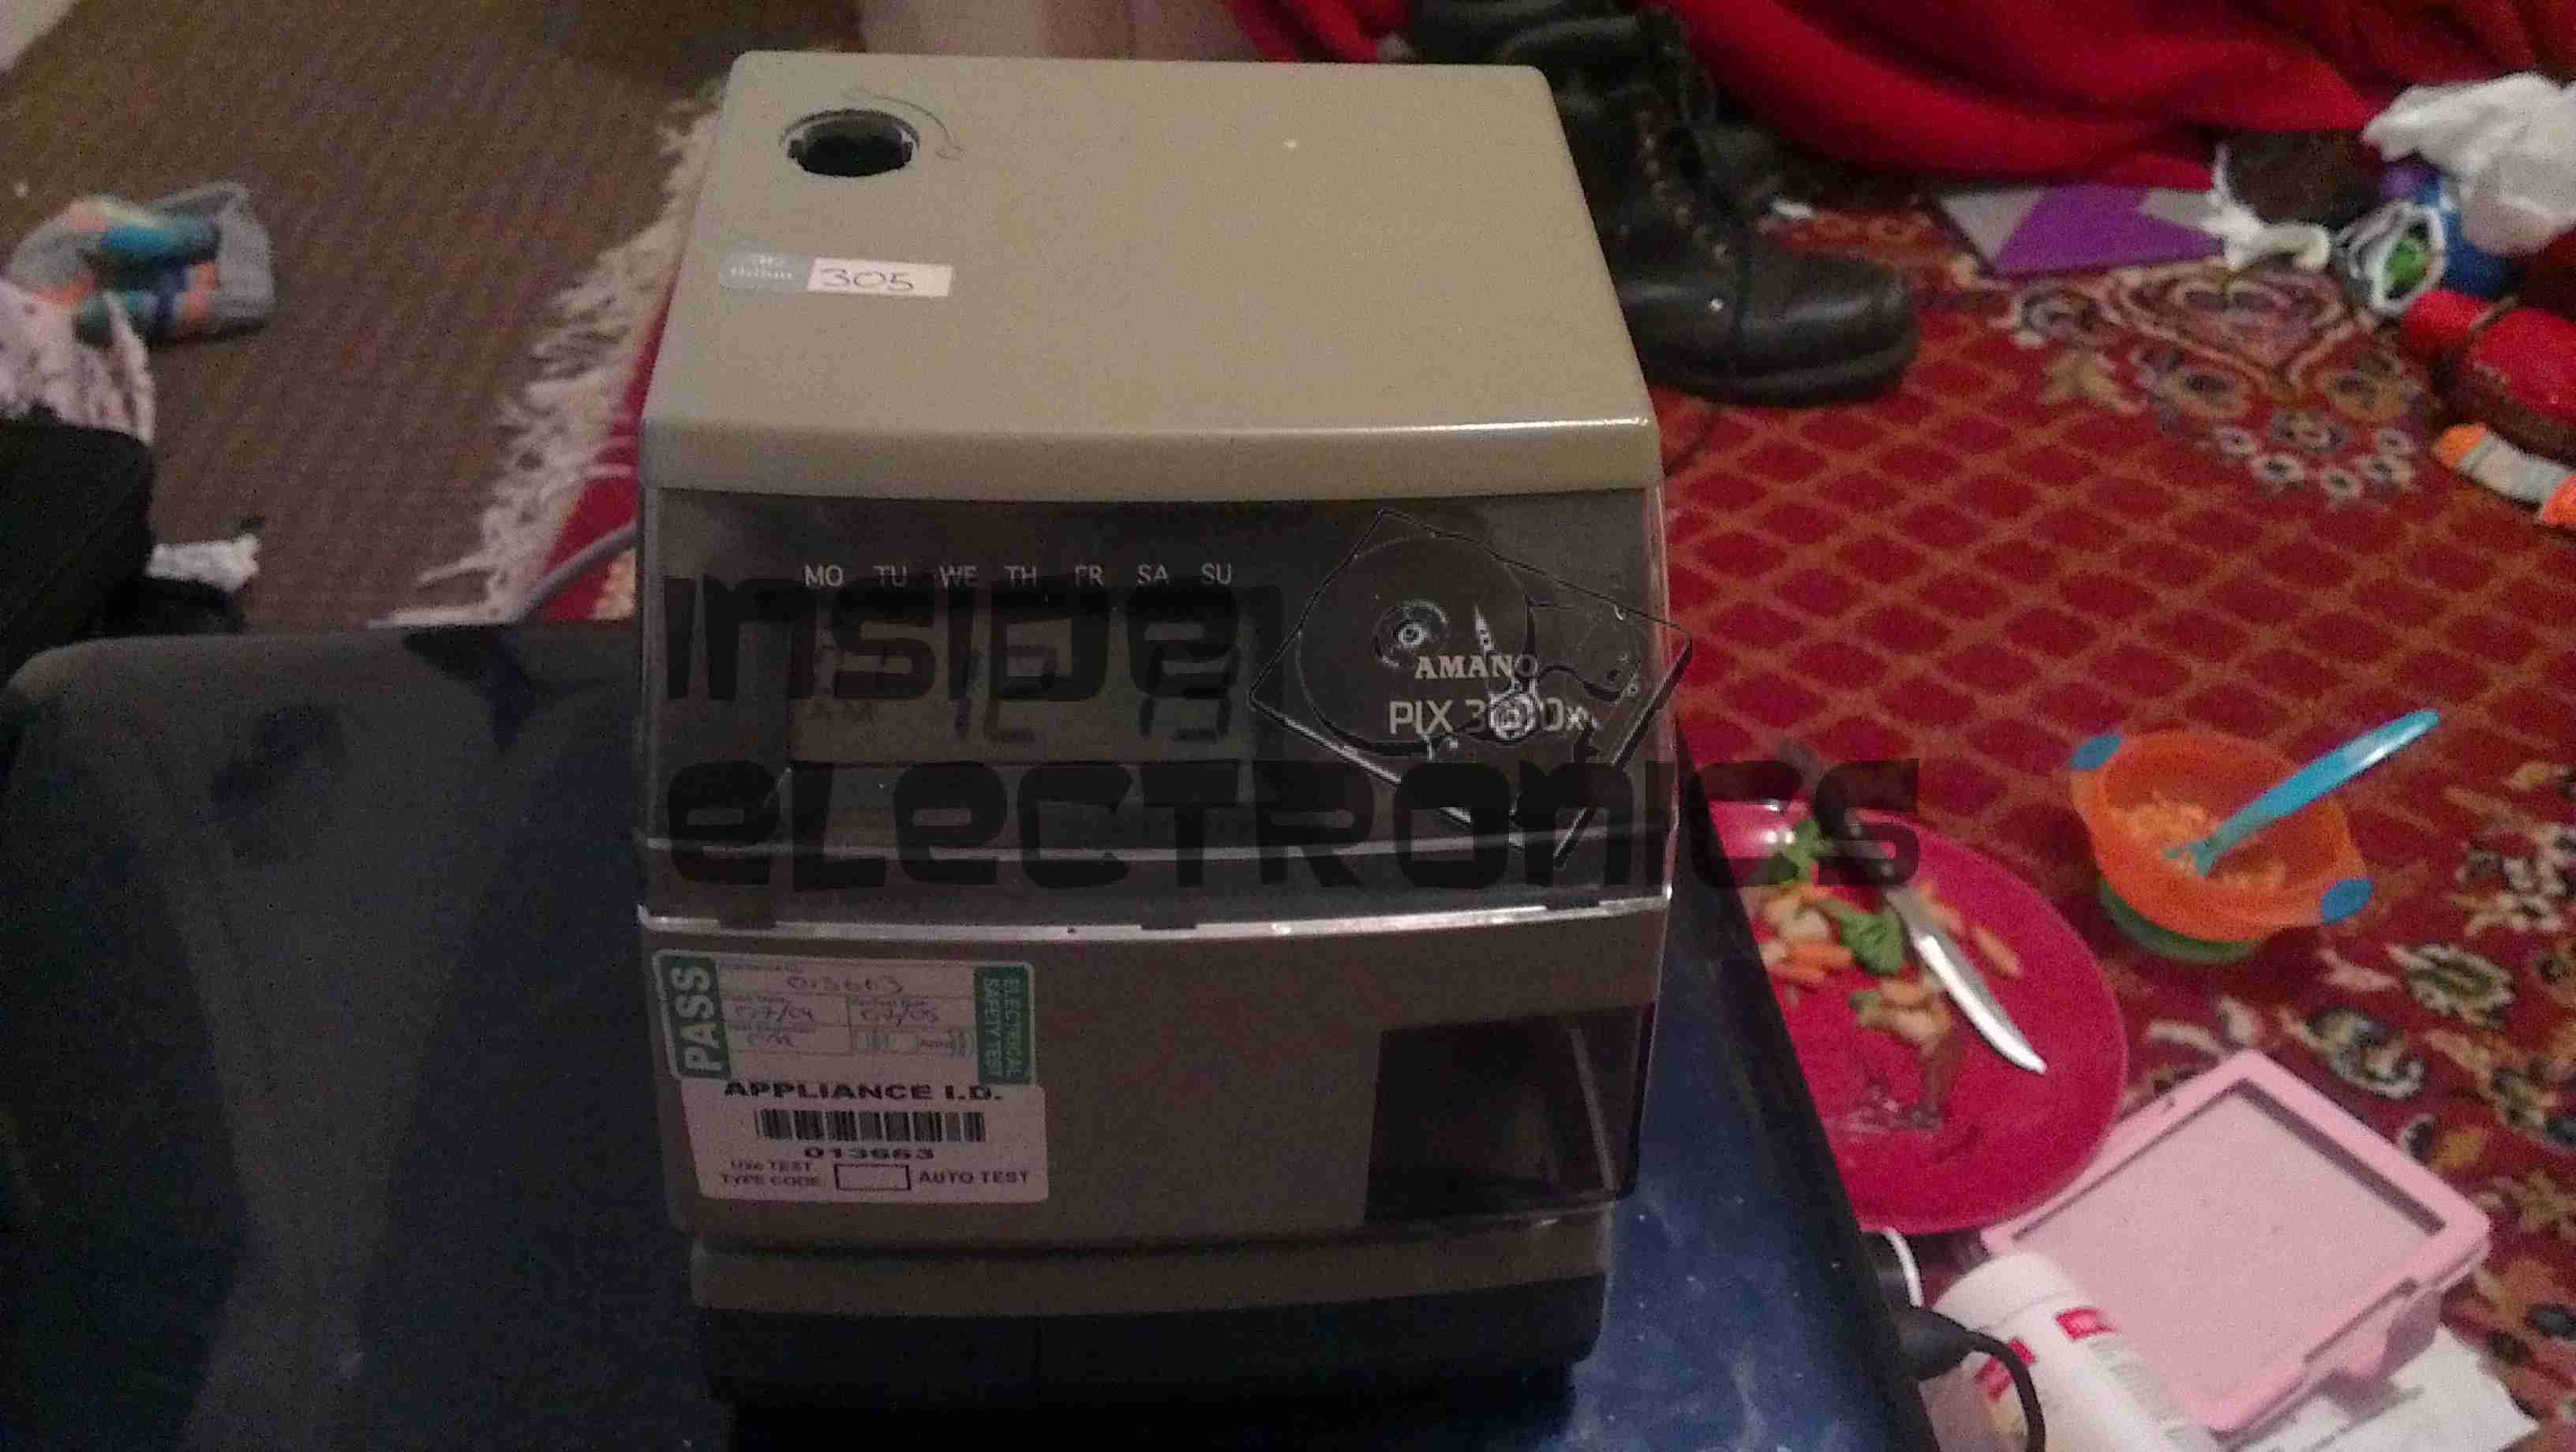
This is a late 90’s business timeclock, used for maintaining records of staff working times, by printing the time when used on a sheet of card.
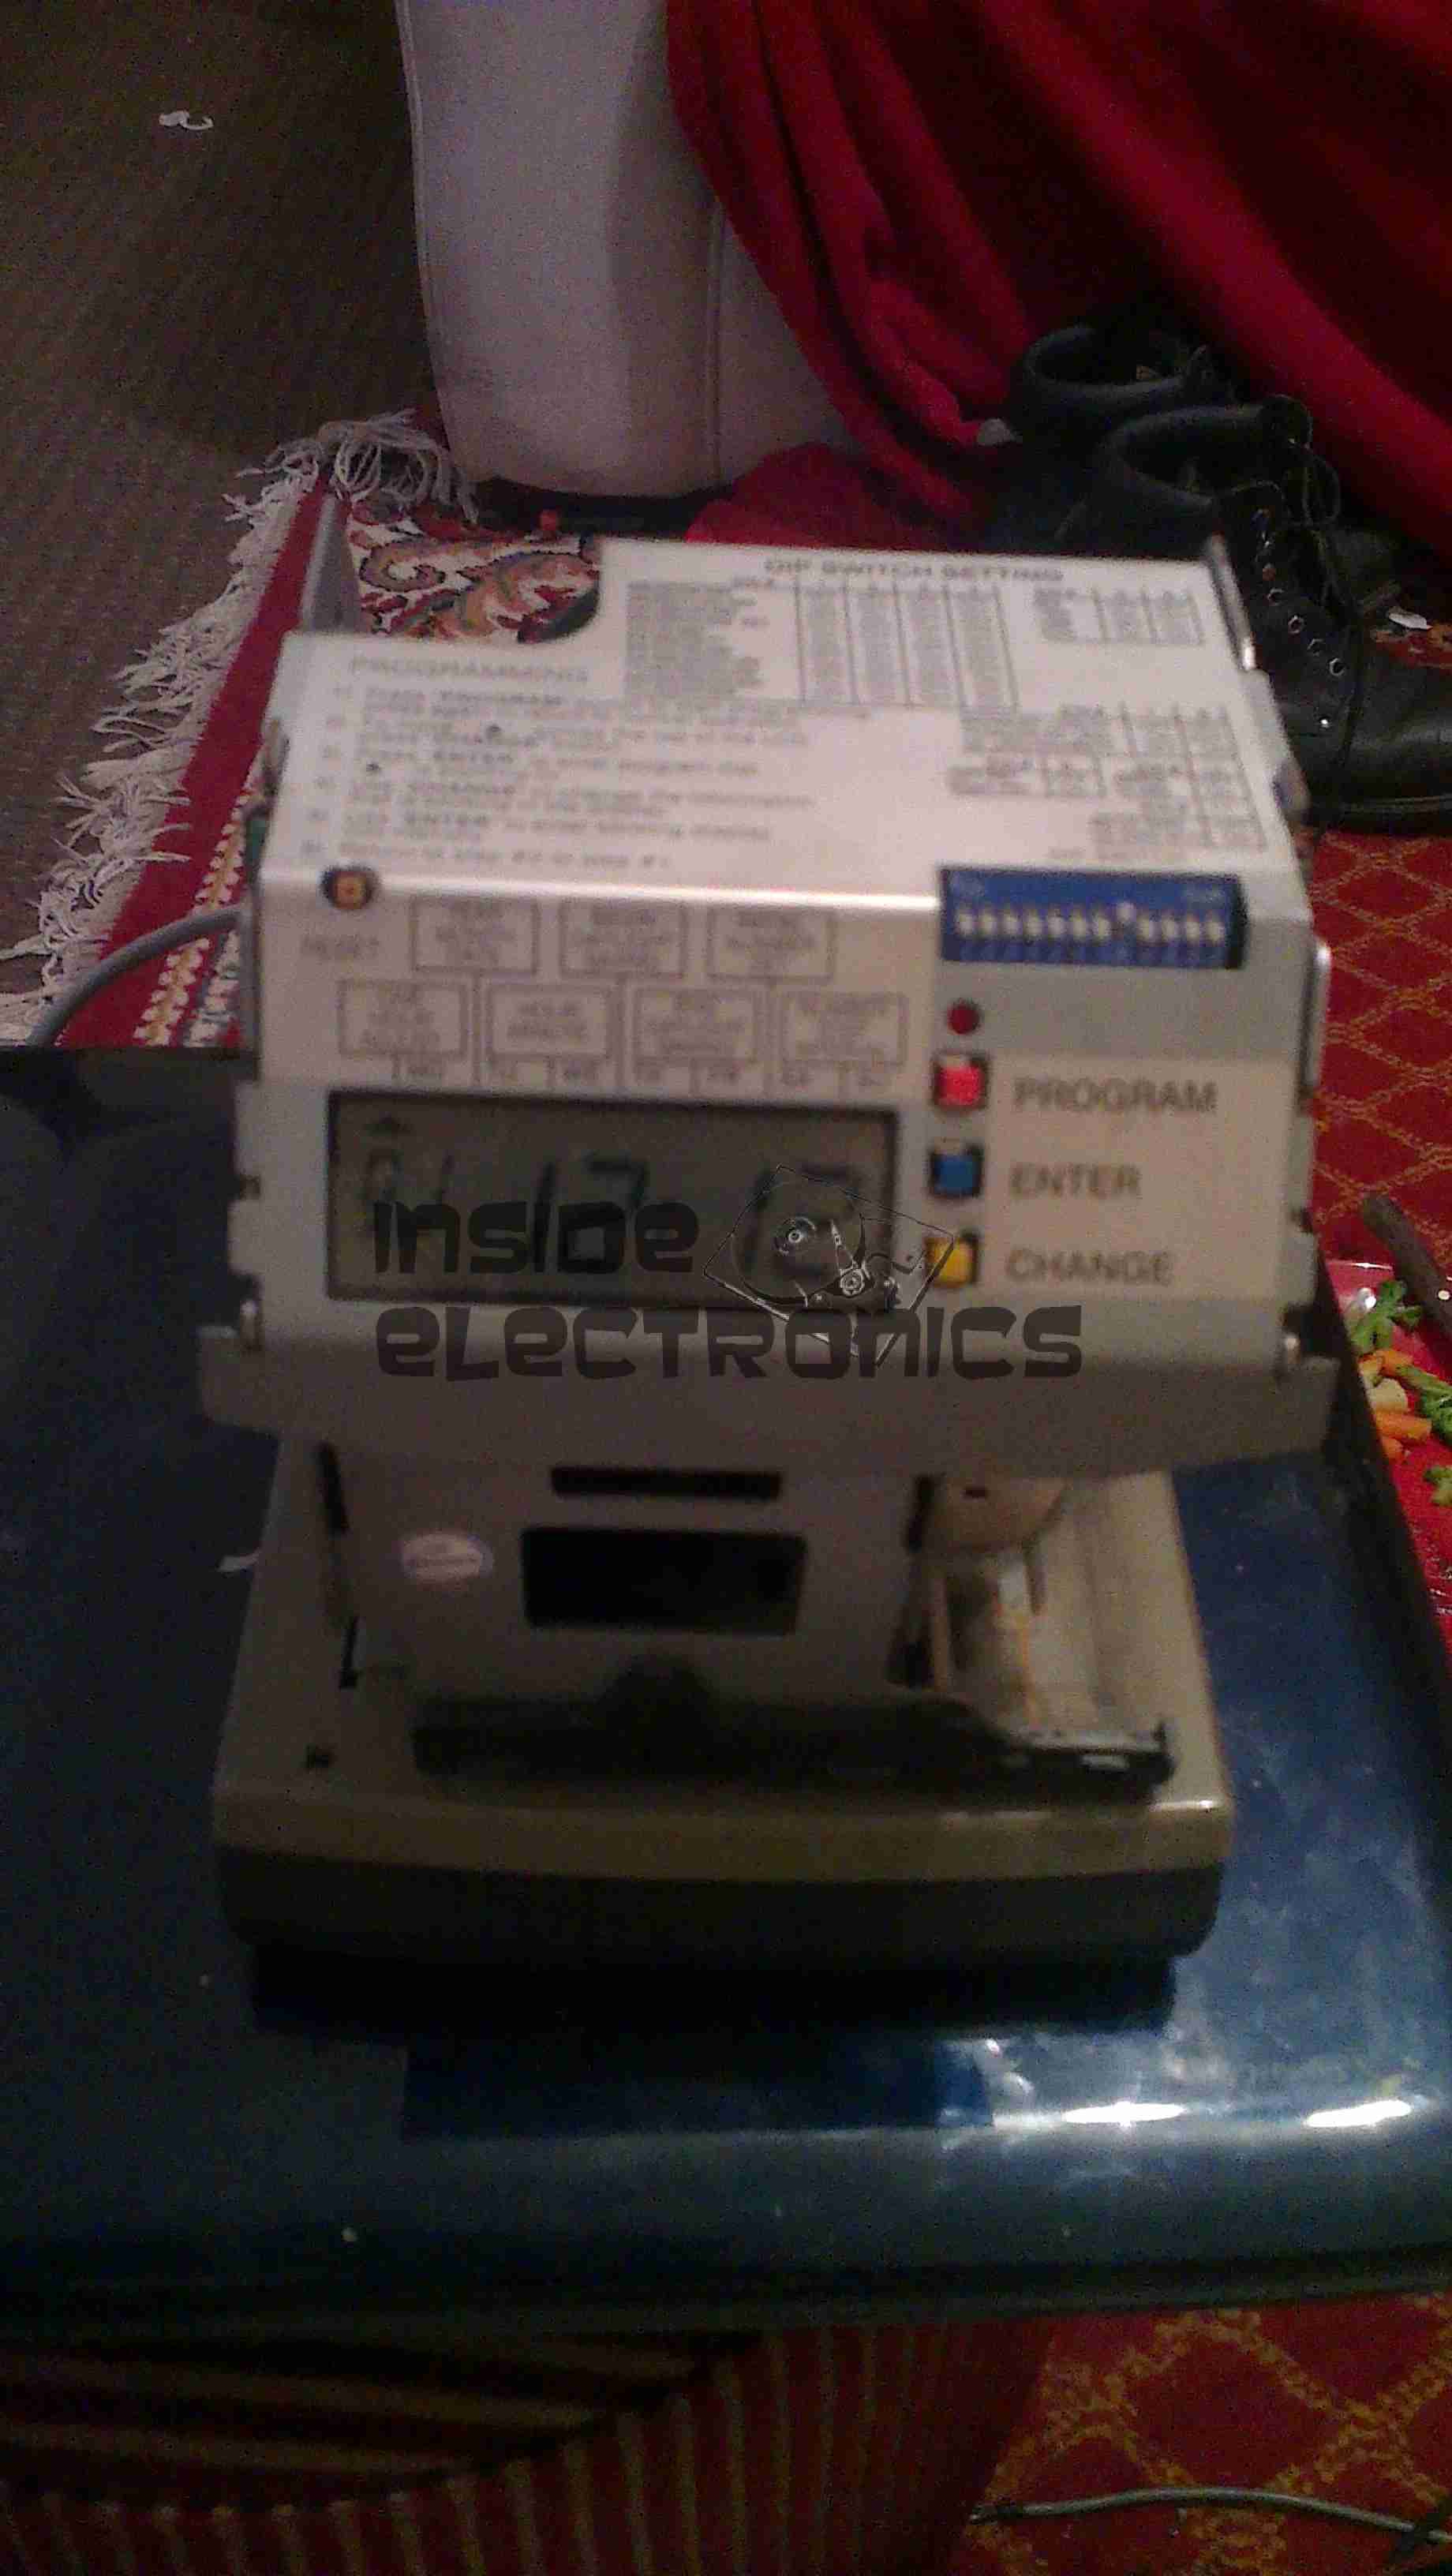
Here is the top cover removed, which is normally locked in place to stop tampering. The unit is programmed with the 3 buttons & the row of DIP switches along the top edge.

Closeup of the settings panel, with all the various DIP switch options.
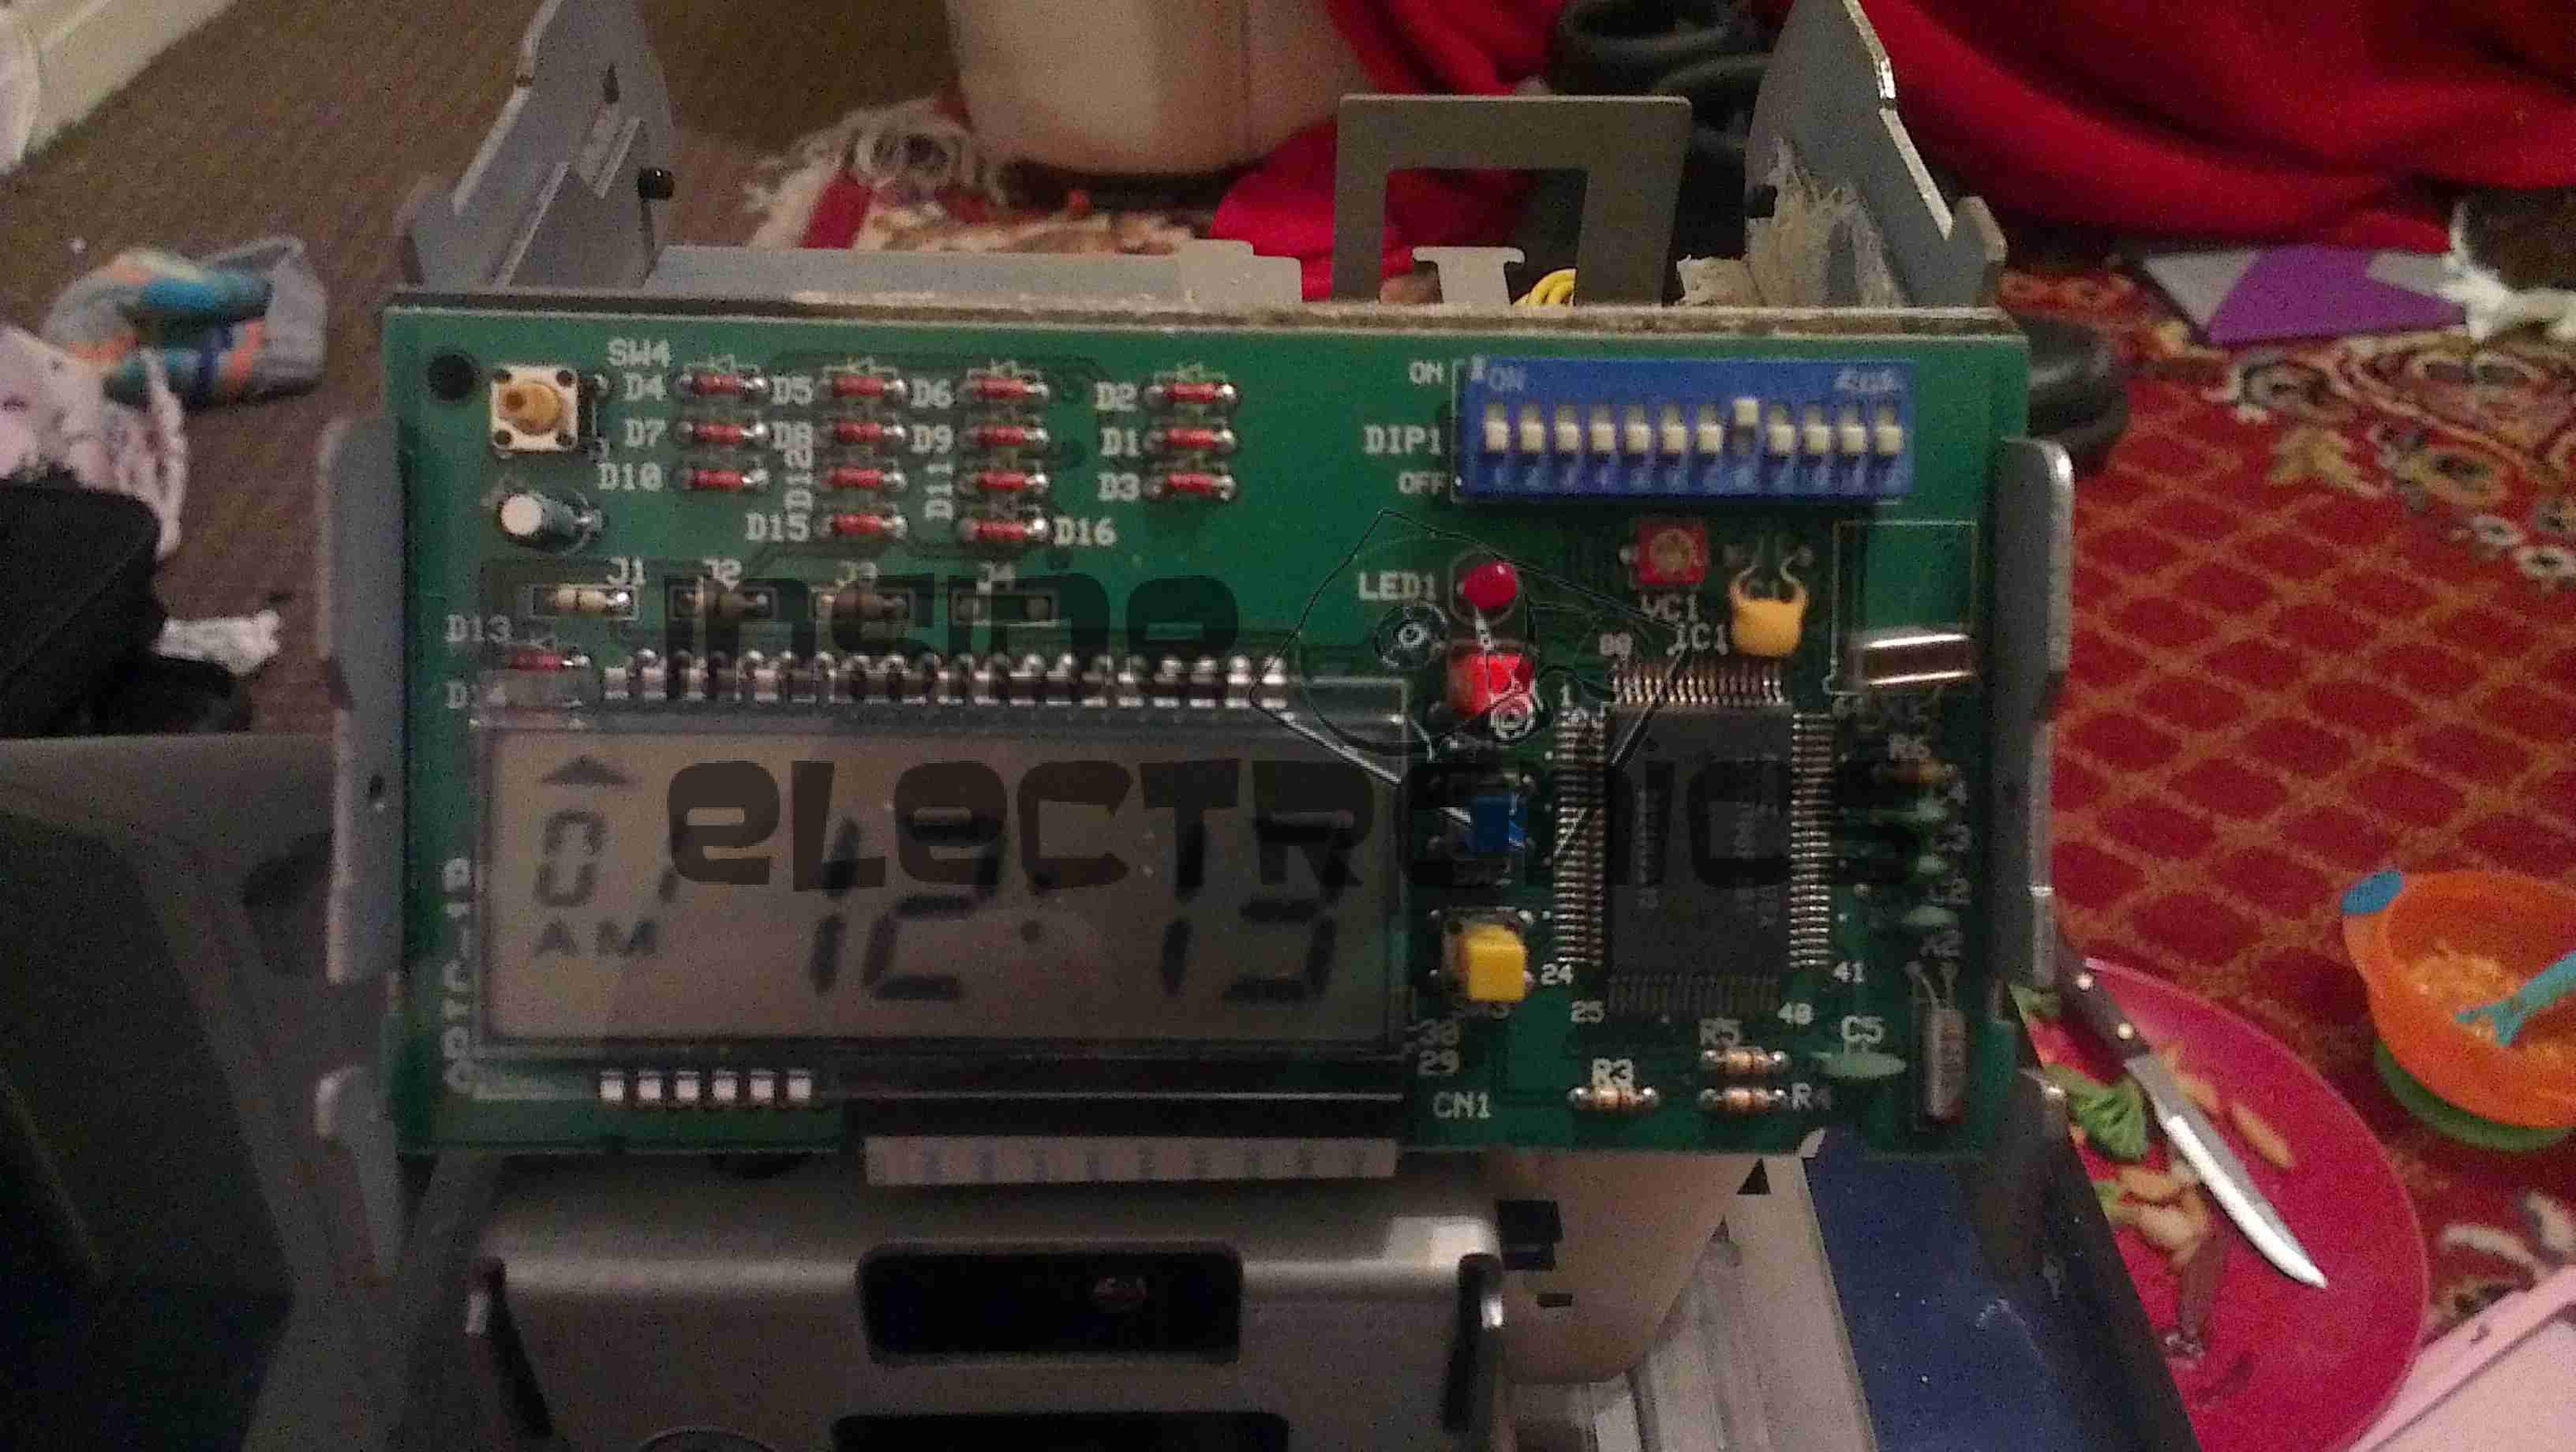
Cover plate removed from the top, showing the LCD & CPU board, the backup battery normally fits behind this. The CPU is a 4-bit microcontroller from NEC, with built in LCD driver.
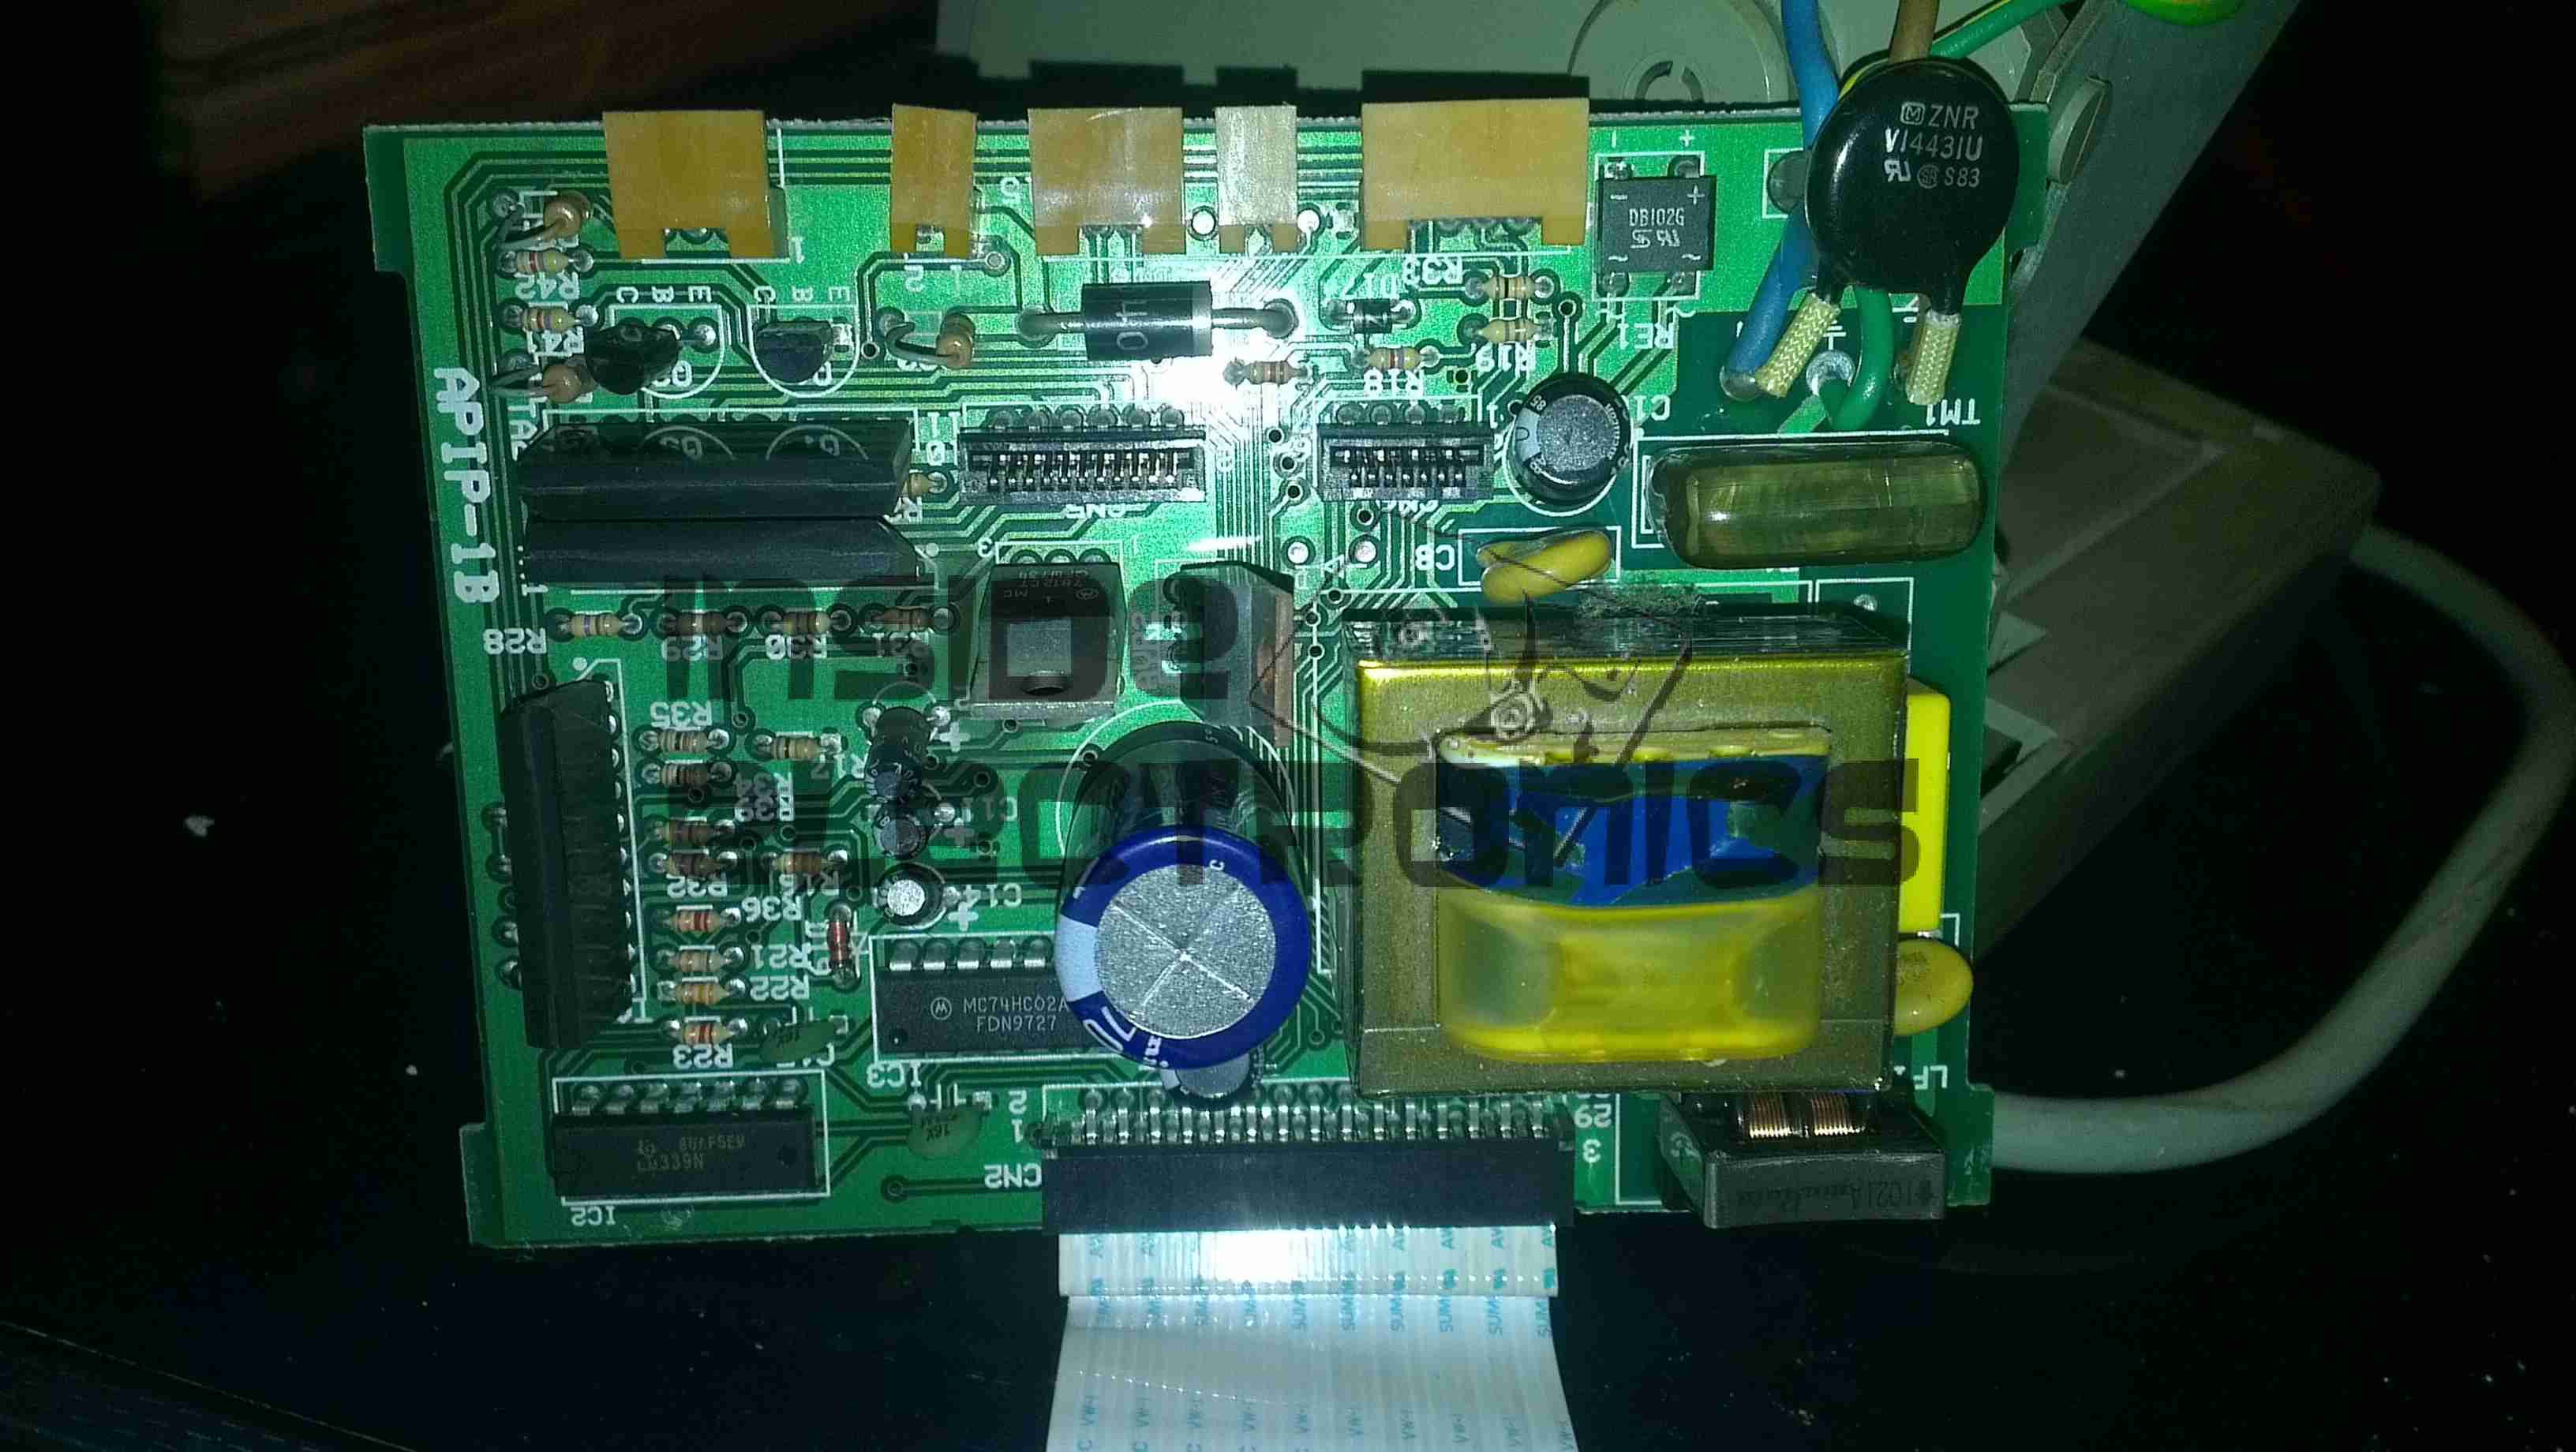
Power Supply & prinhead drivers. This board is fitted with several NPN Darlington transistor arrays for driving the dox matrix printhead.
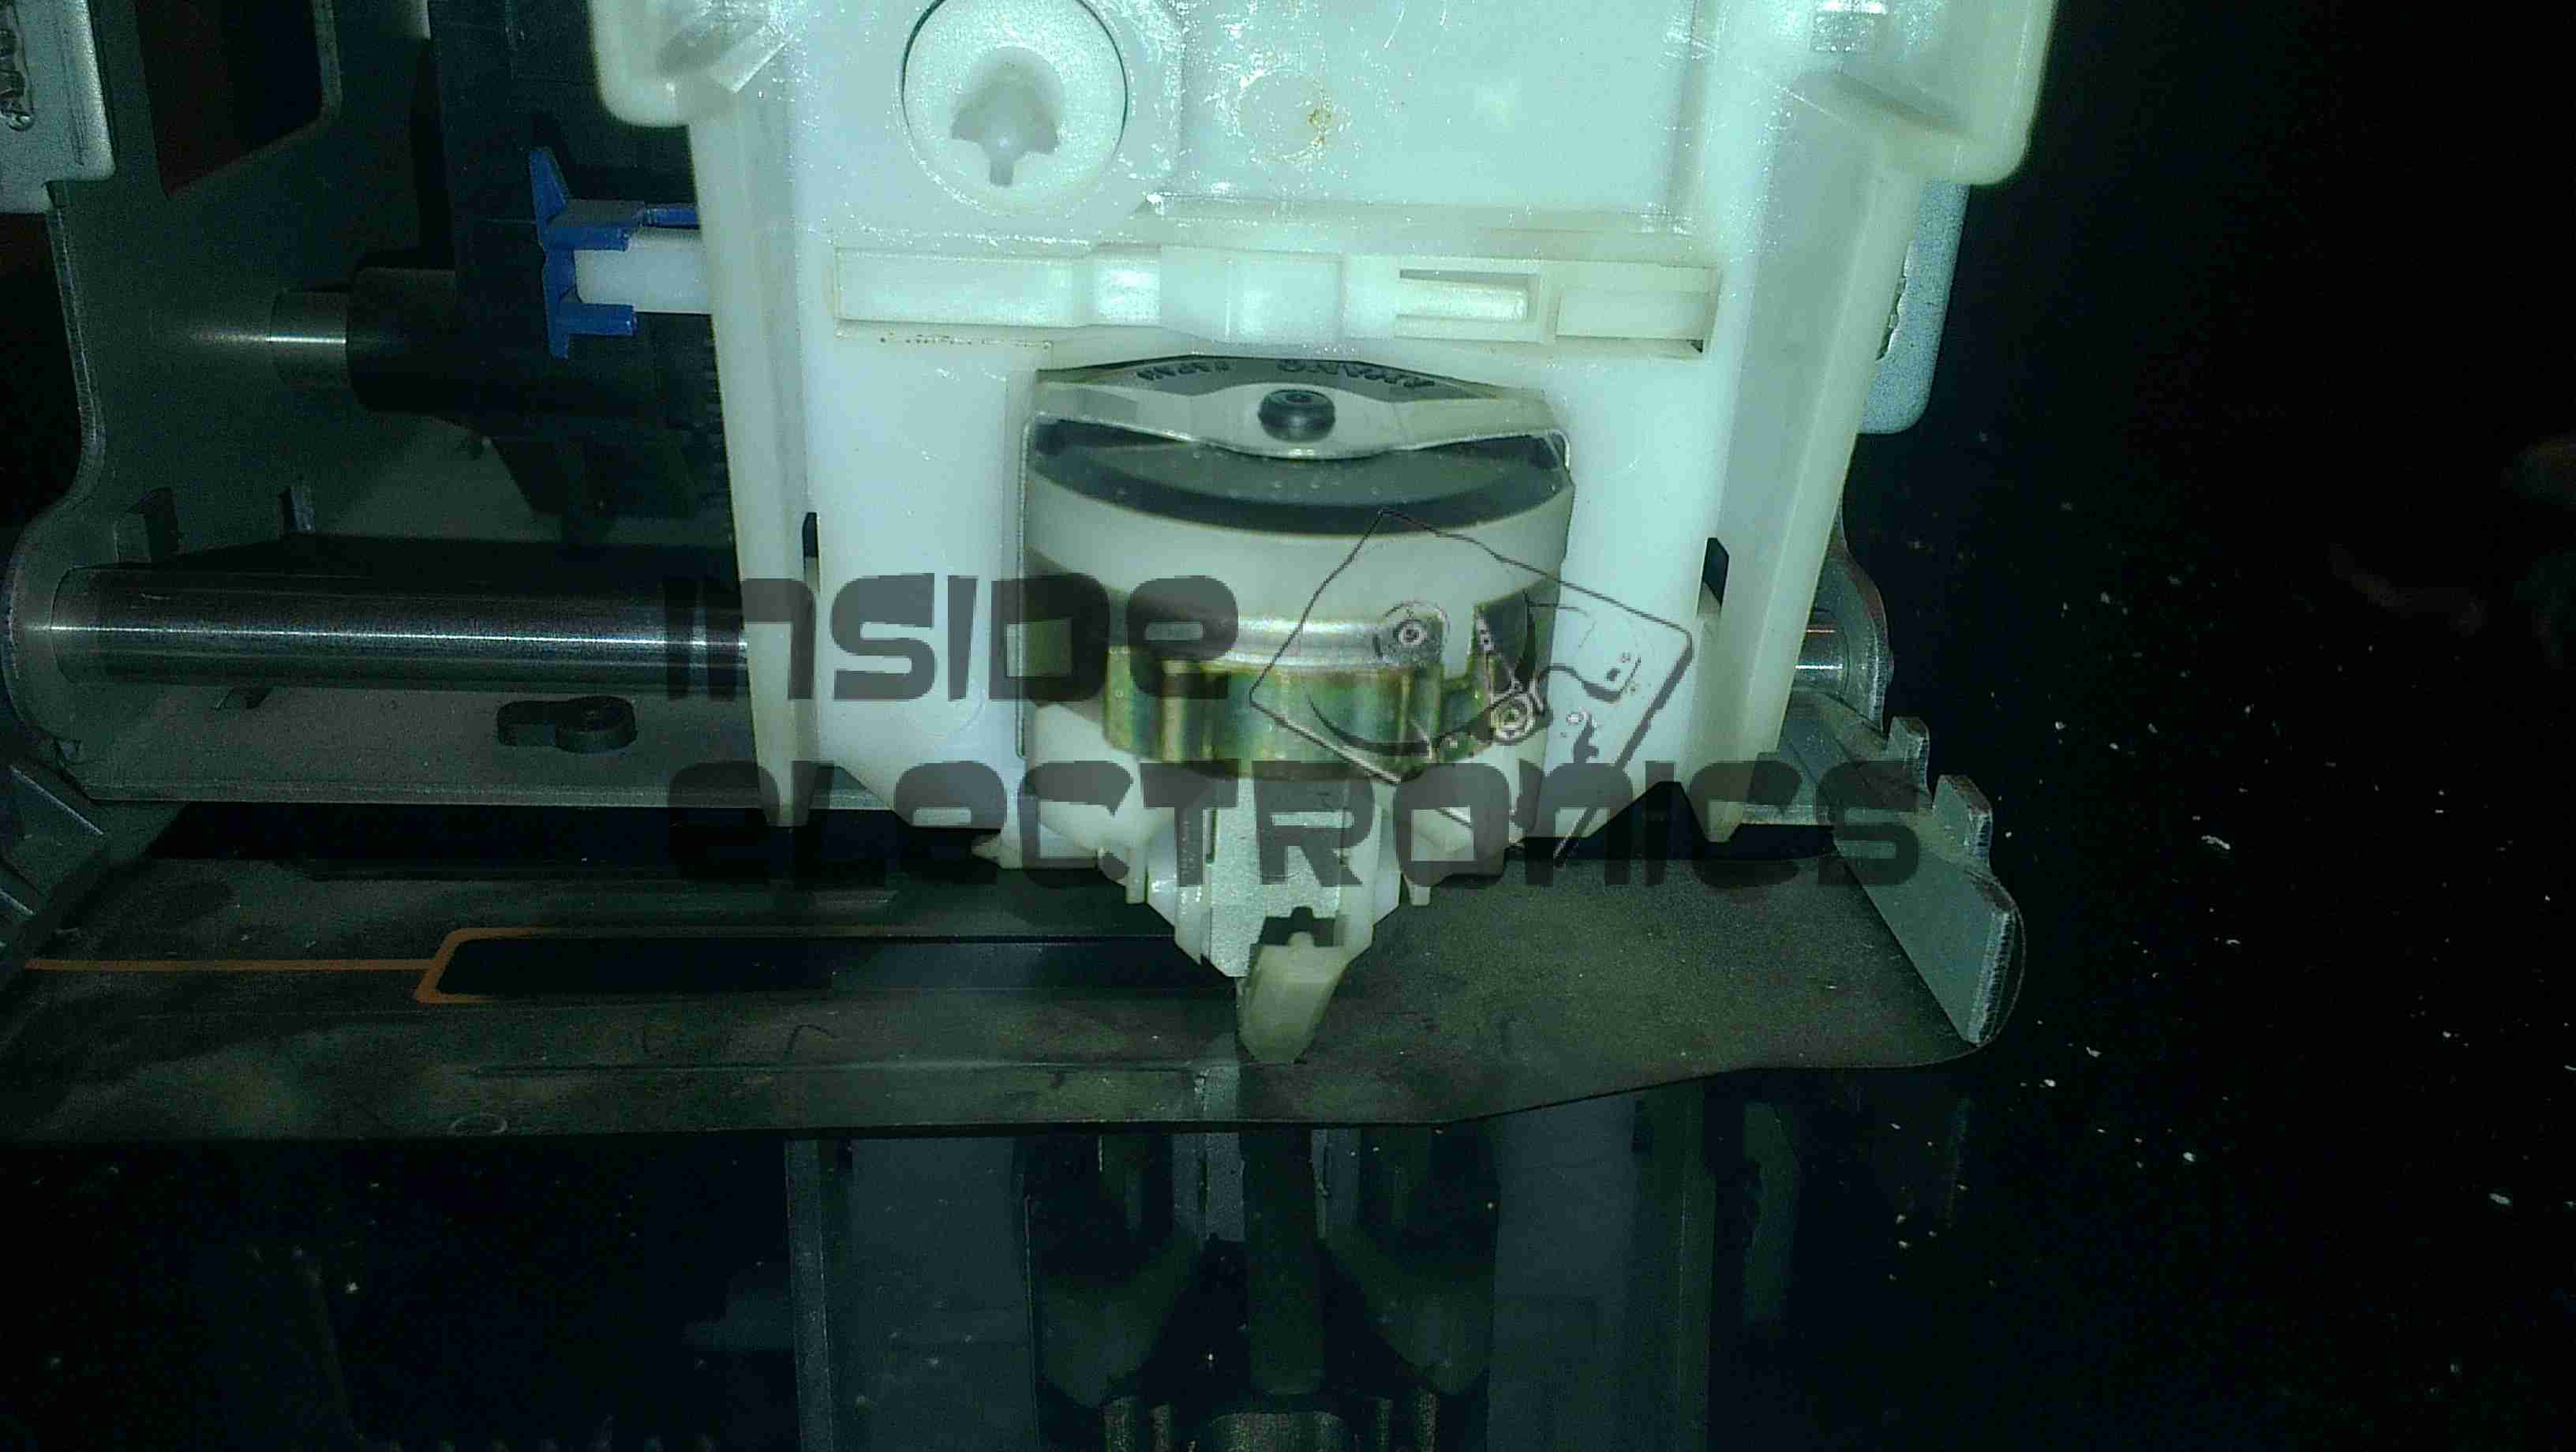
Printhead assembly itself. The print ribbon fits over the top of the head & over the pins at the bottom. The drive hammers & solenoids are housed in the circular top of the unit.
Bottom of the print head showing the row of impact pins used to create the printout.
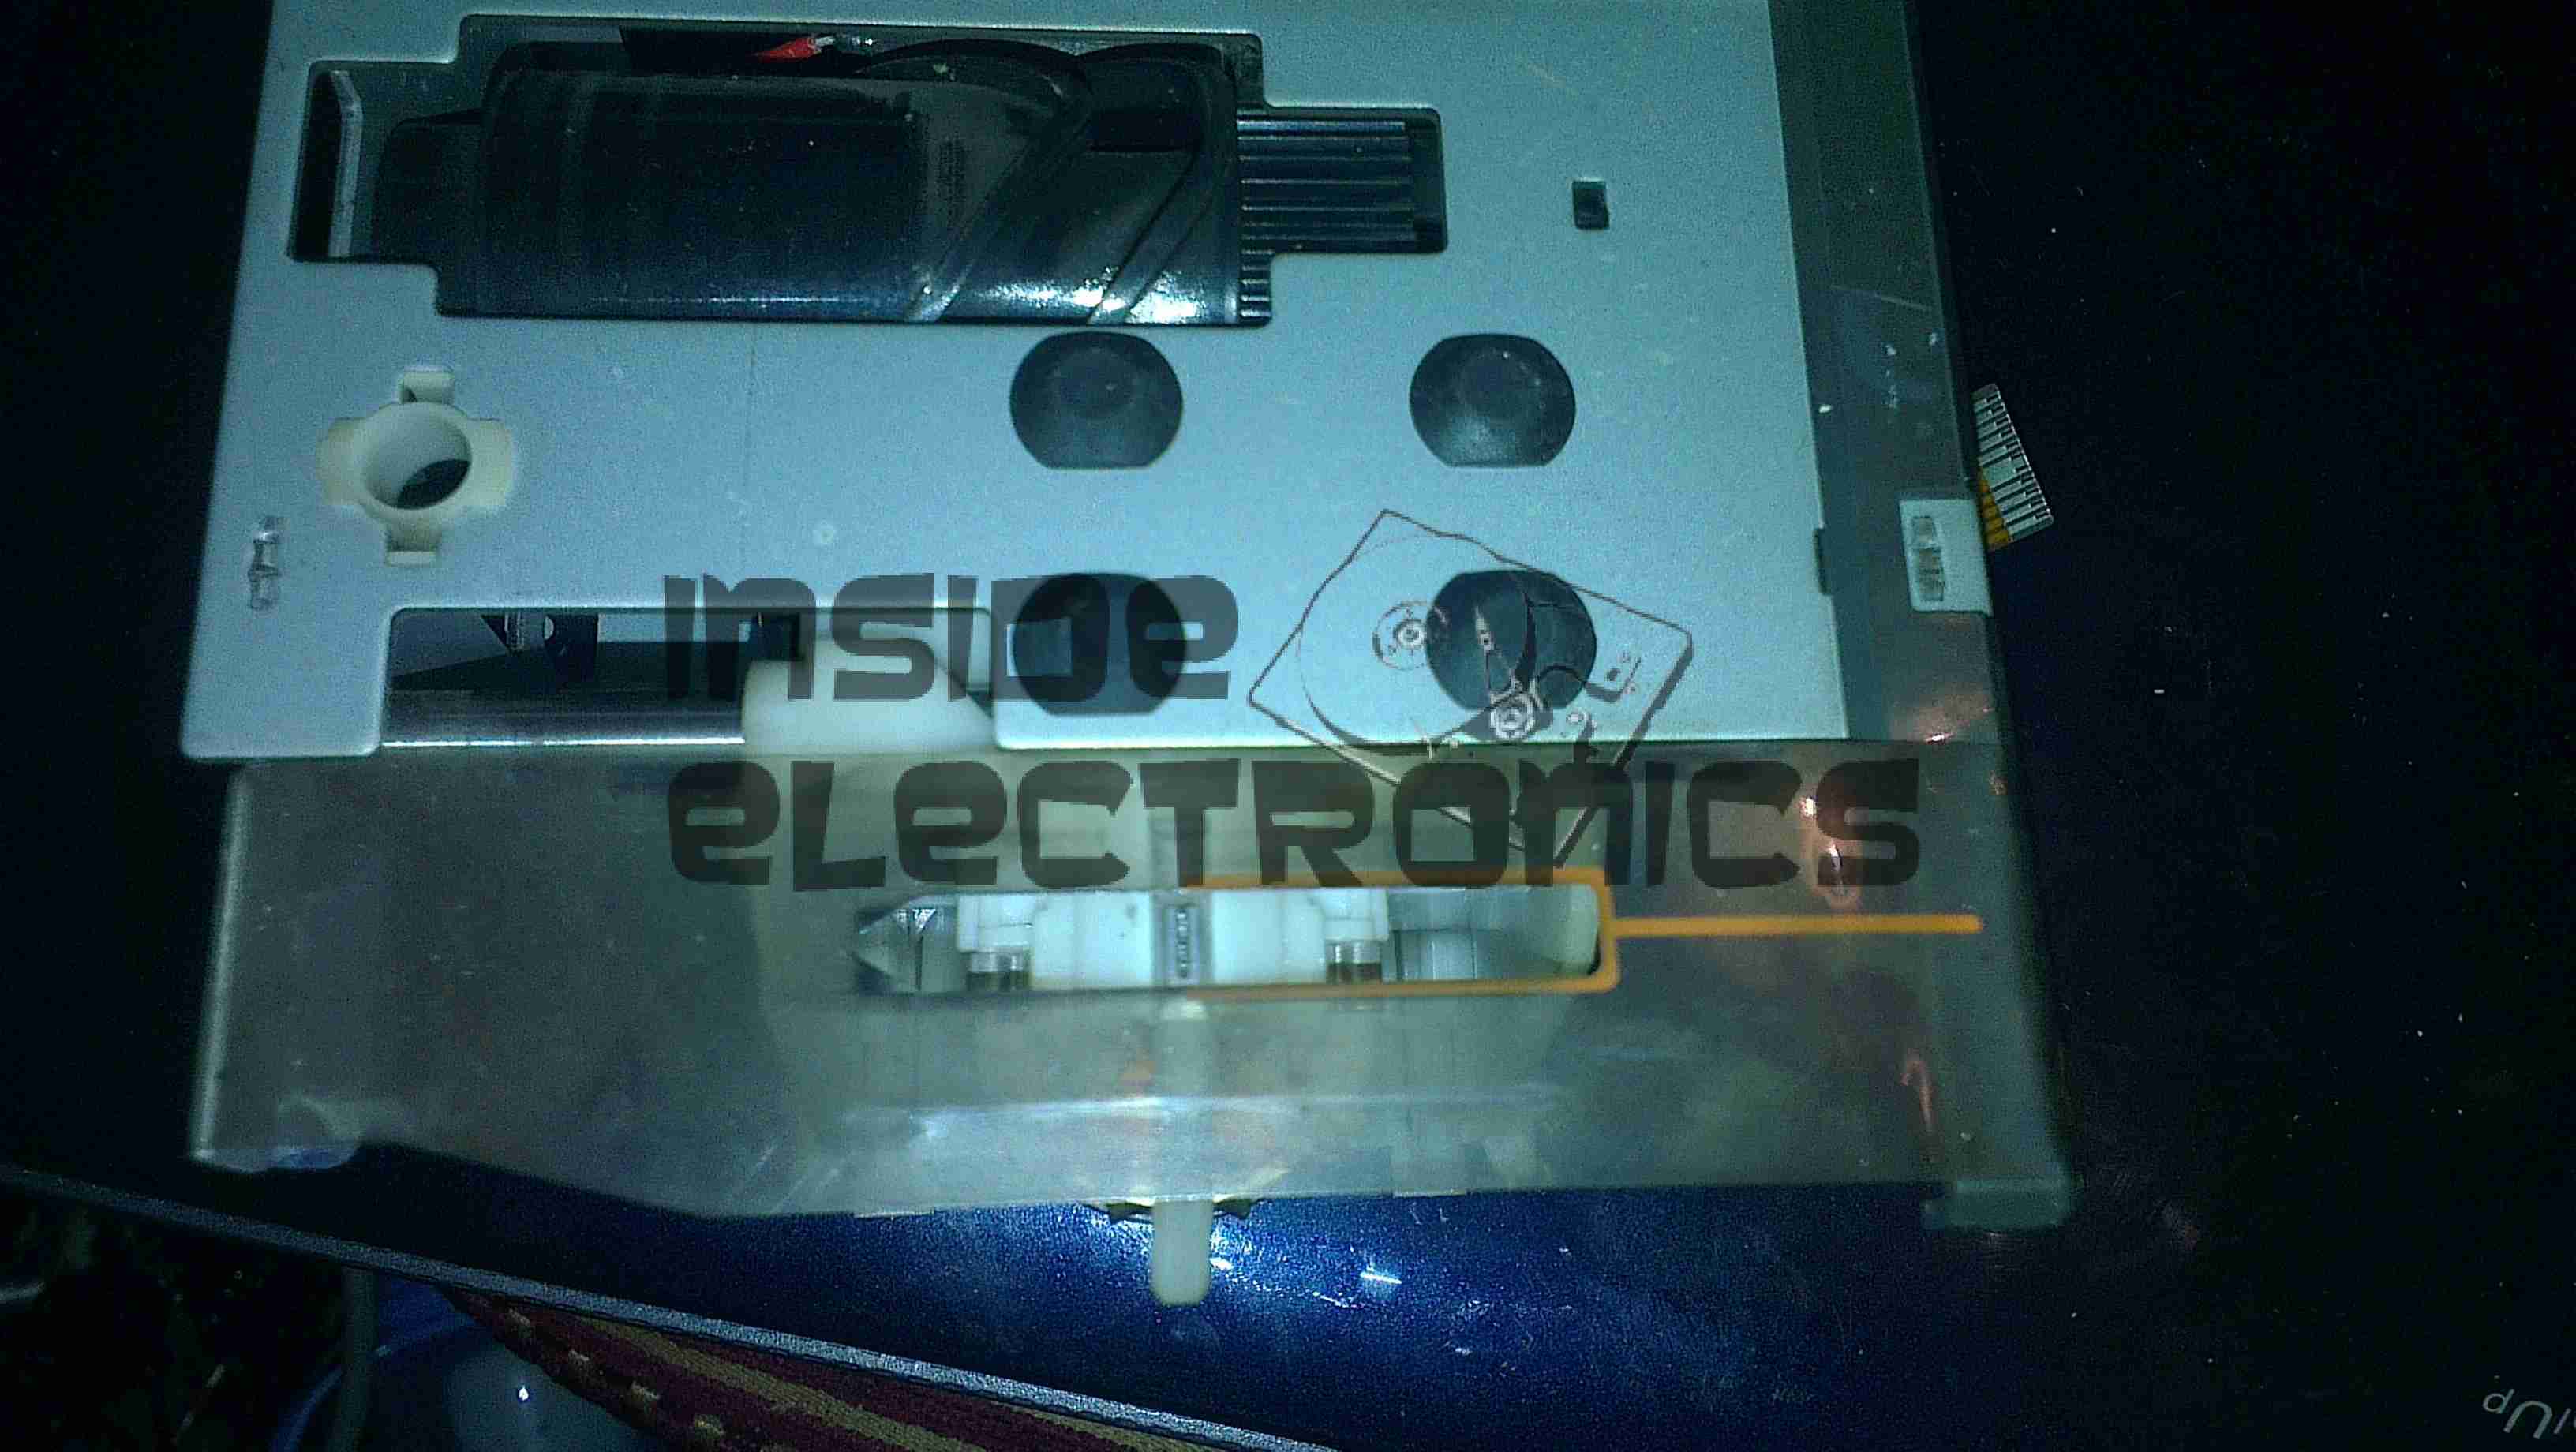
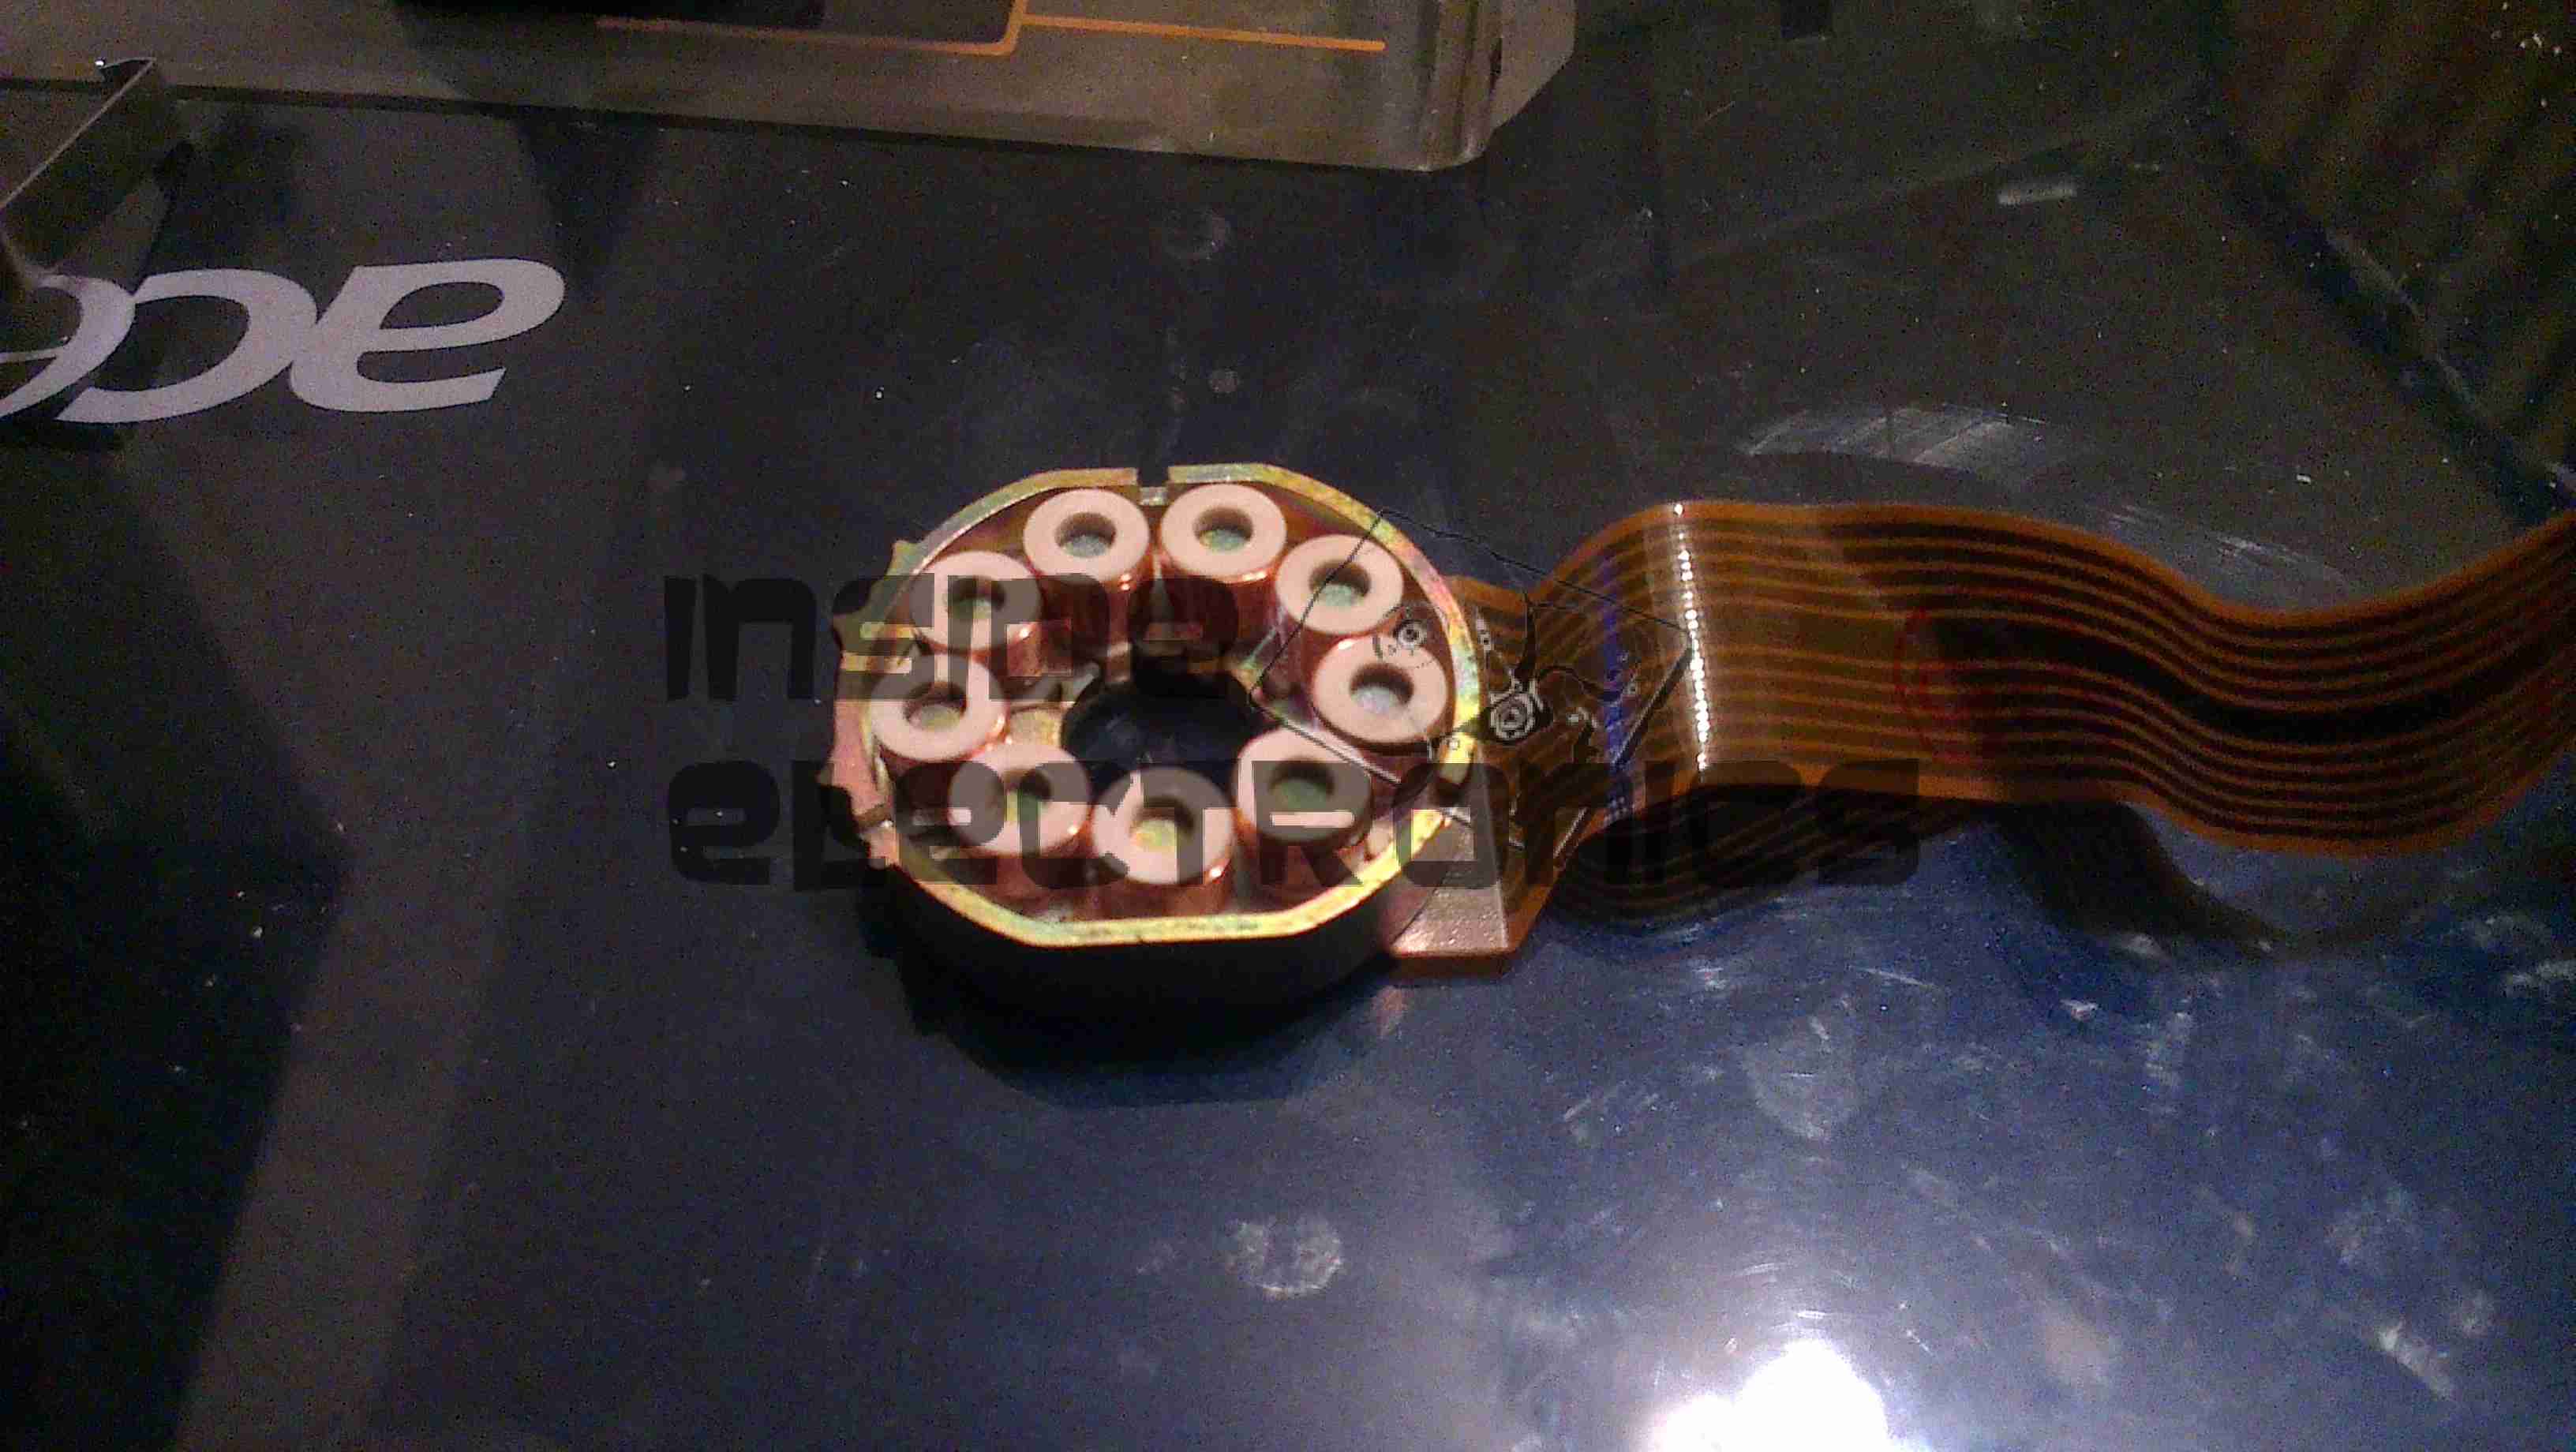
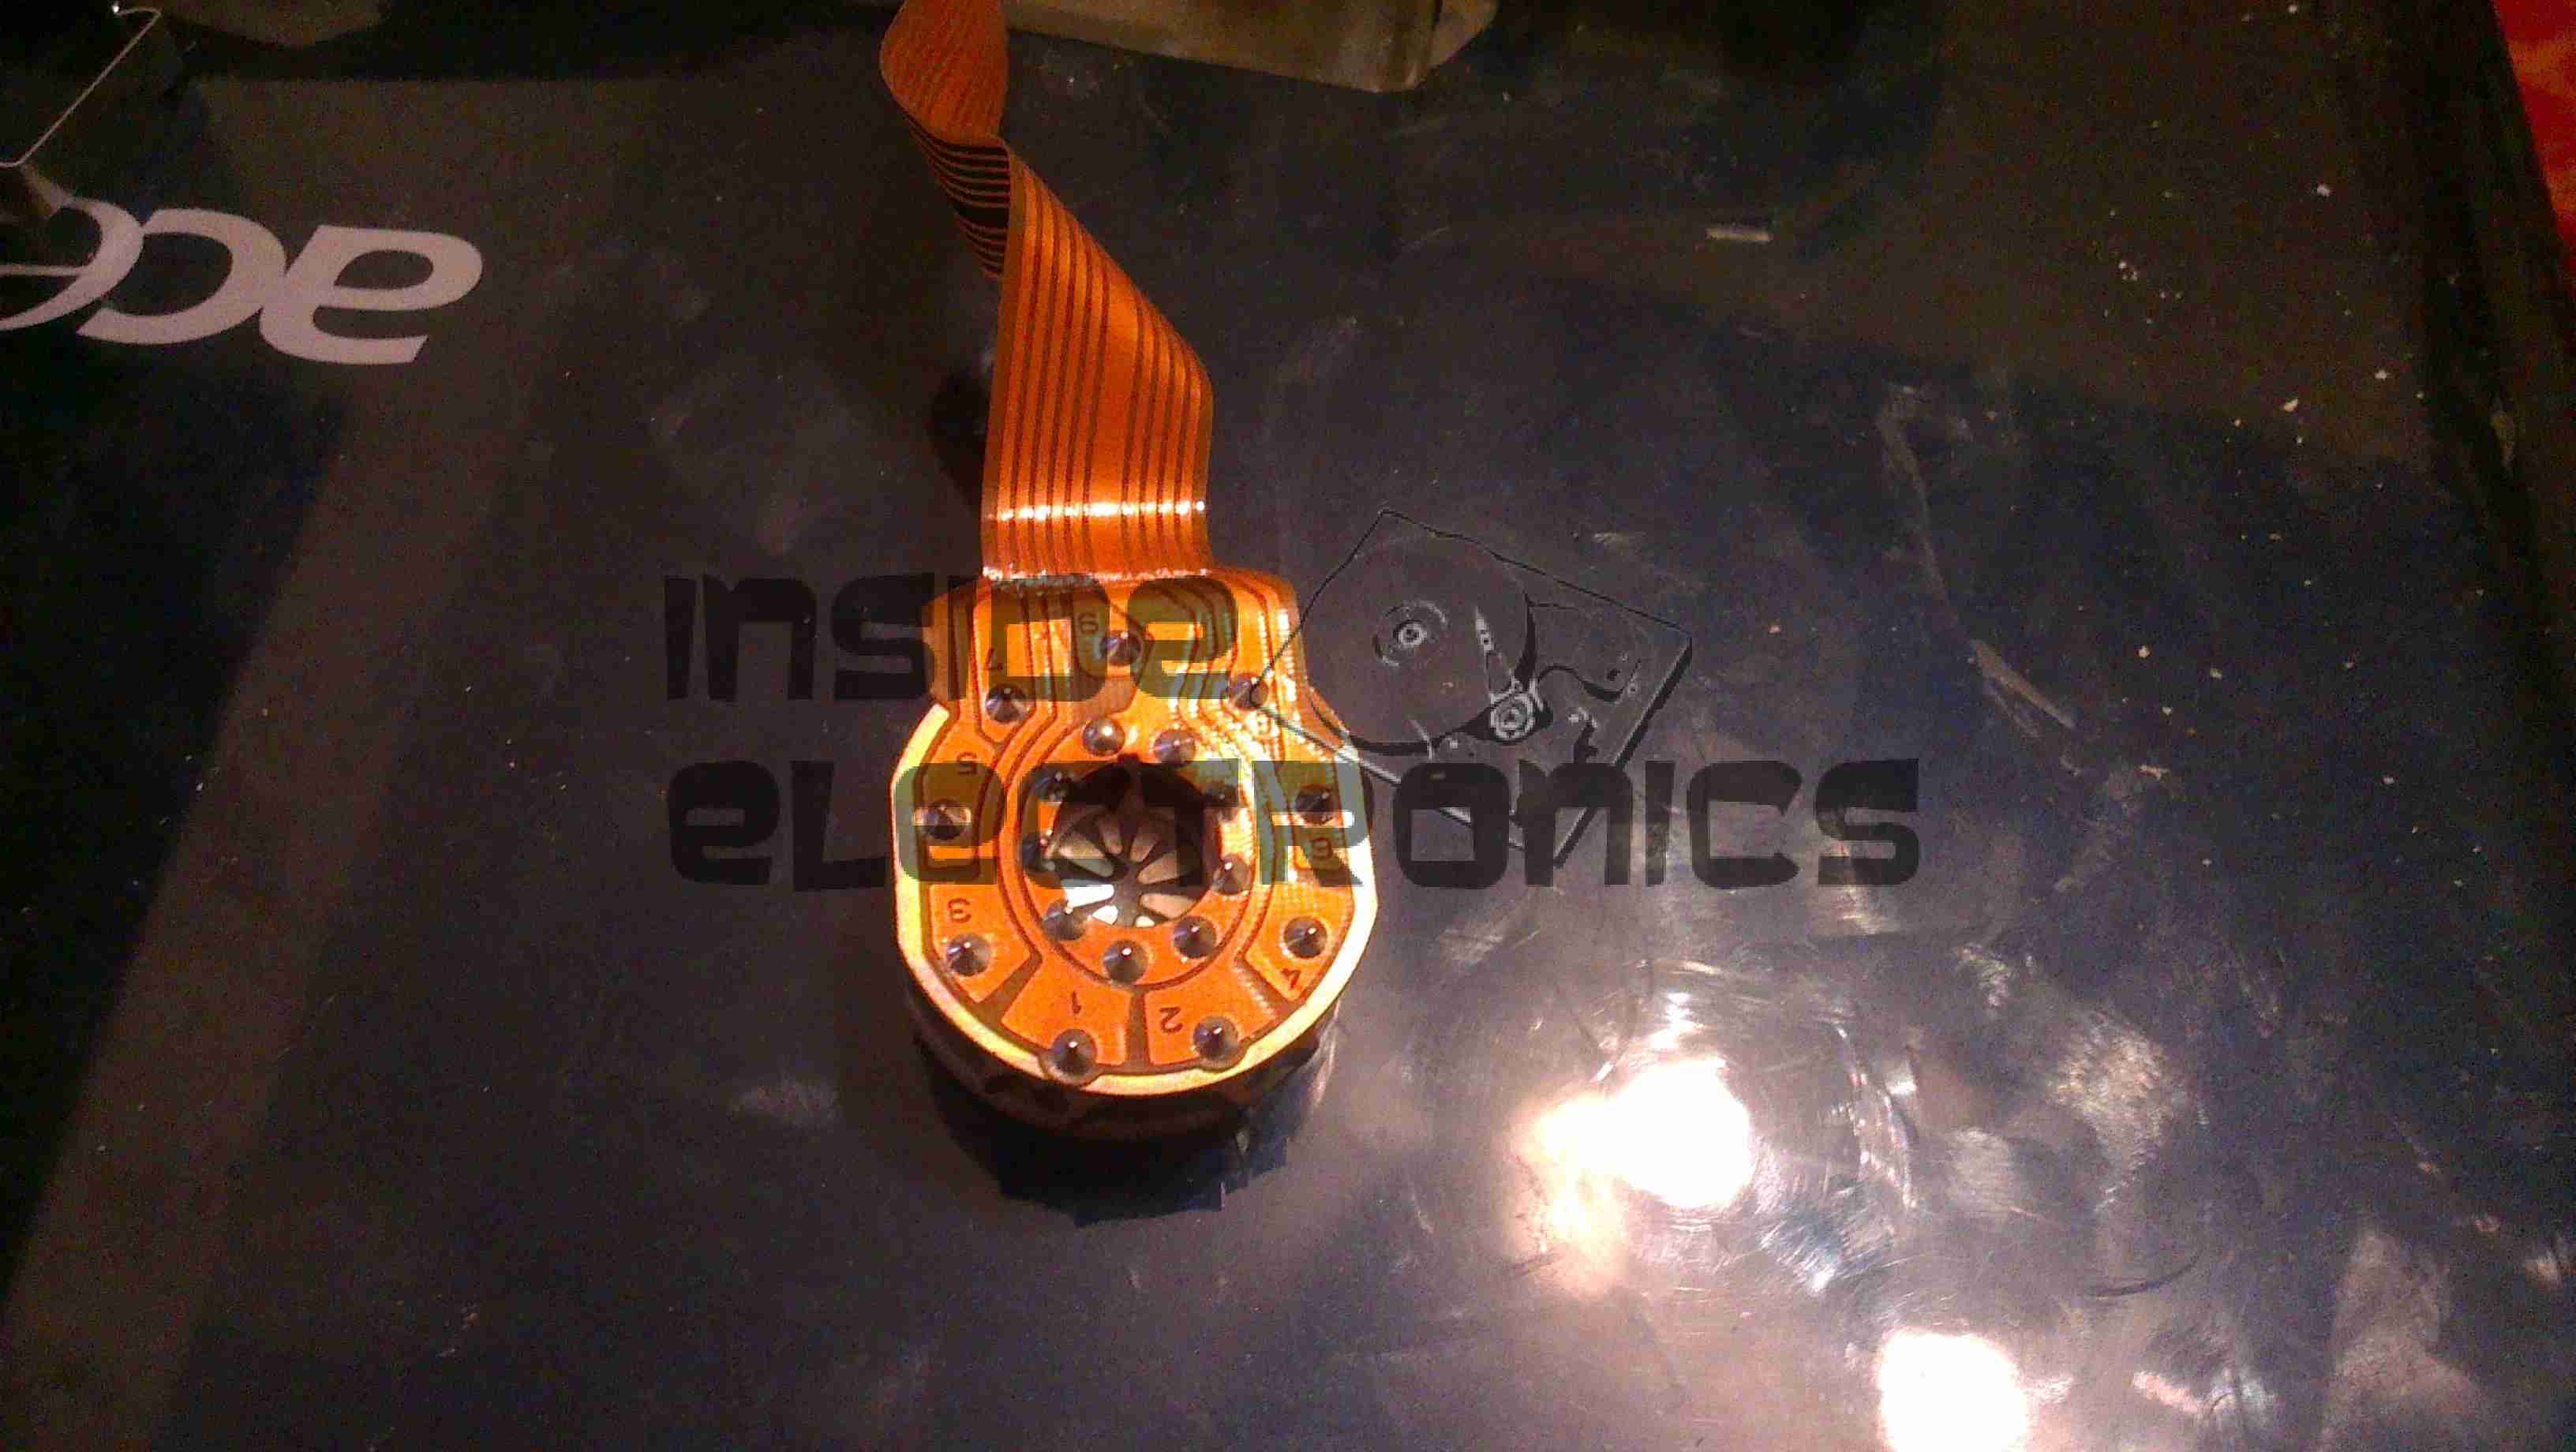 Bottom of the solenoid assembly with the ribbon cable for power. There are 9 solenoids, to operate the 9 pins in the head.
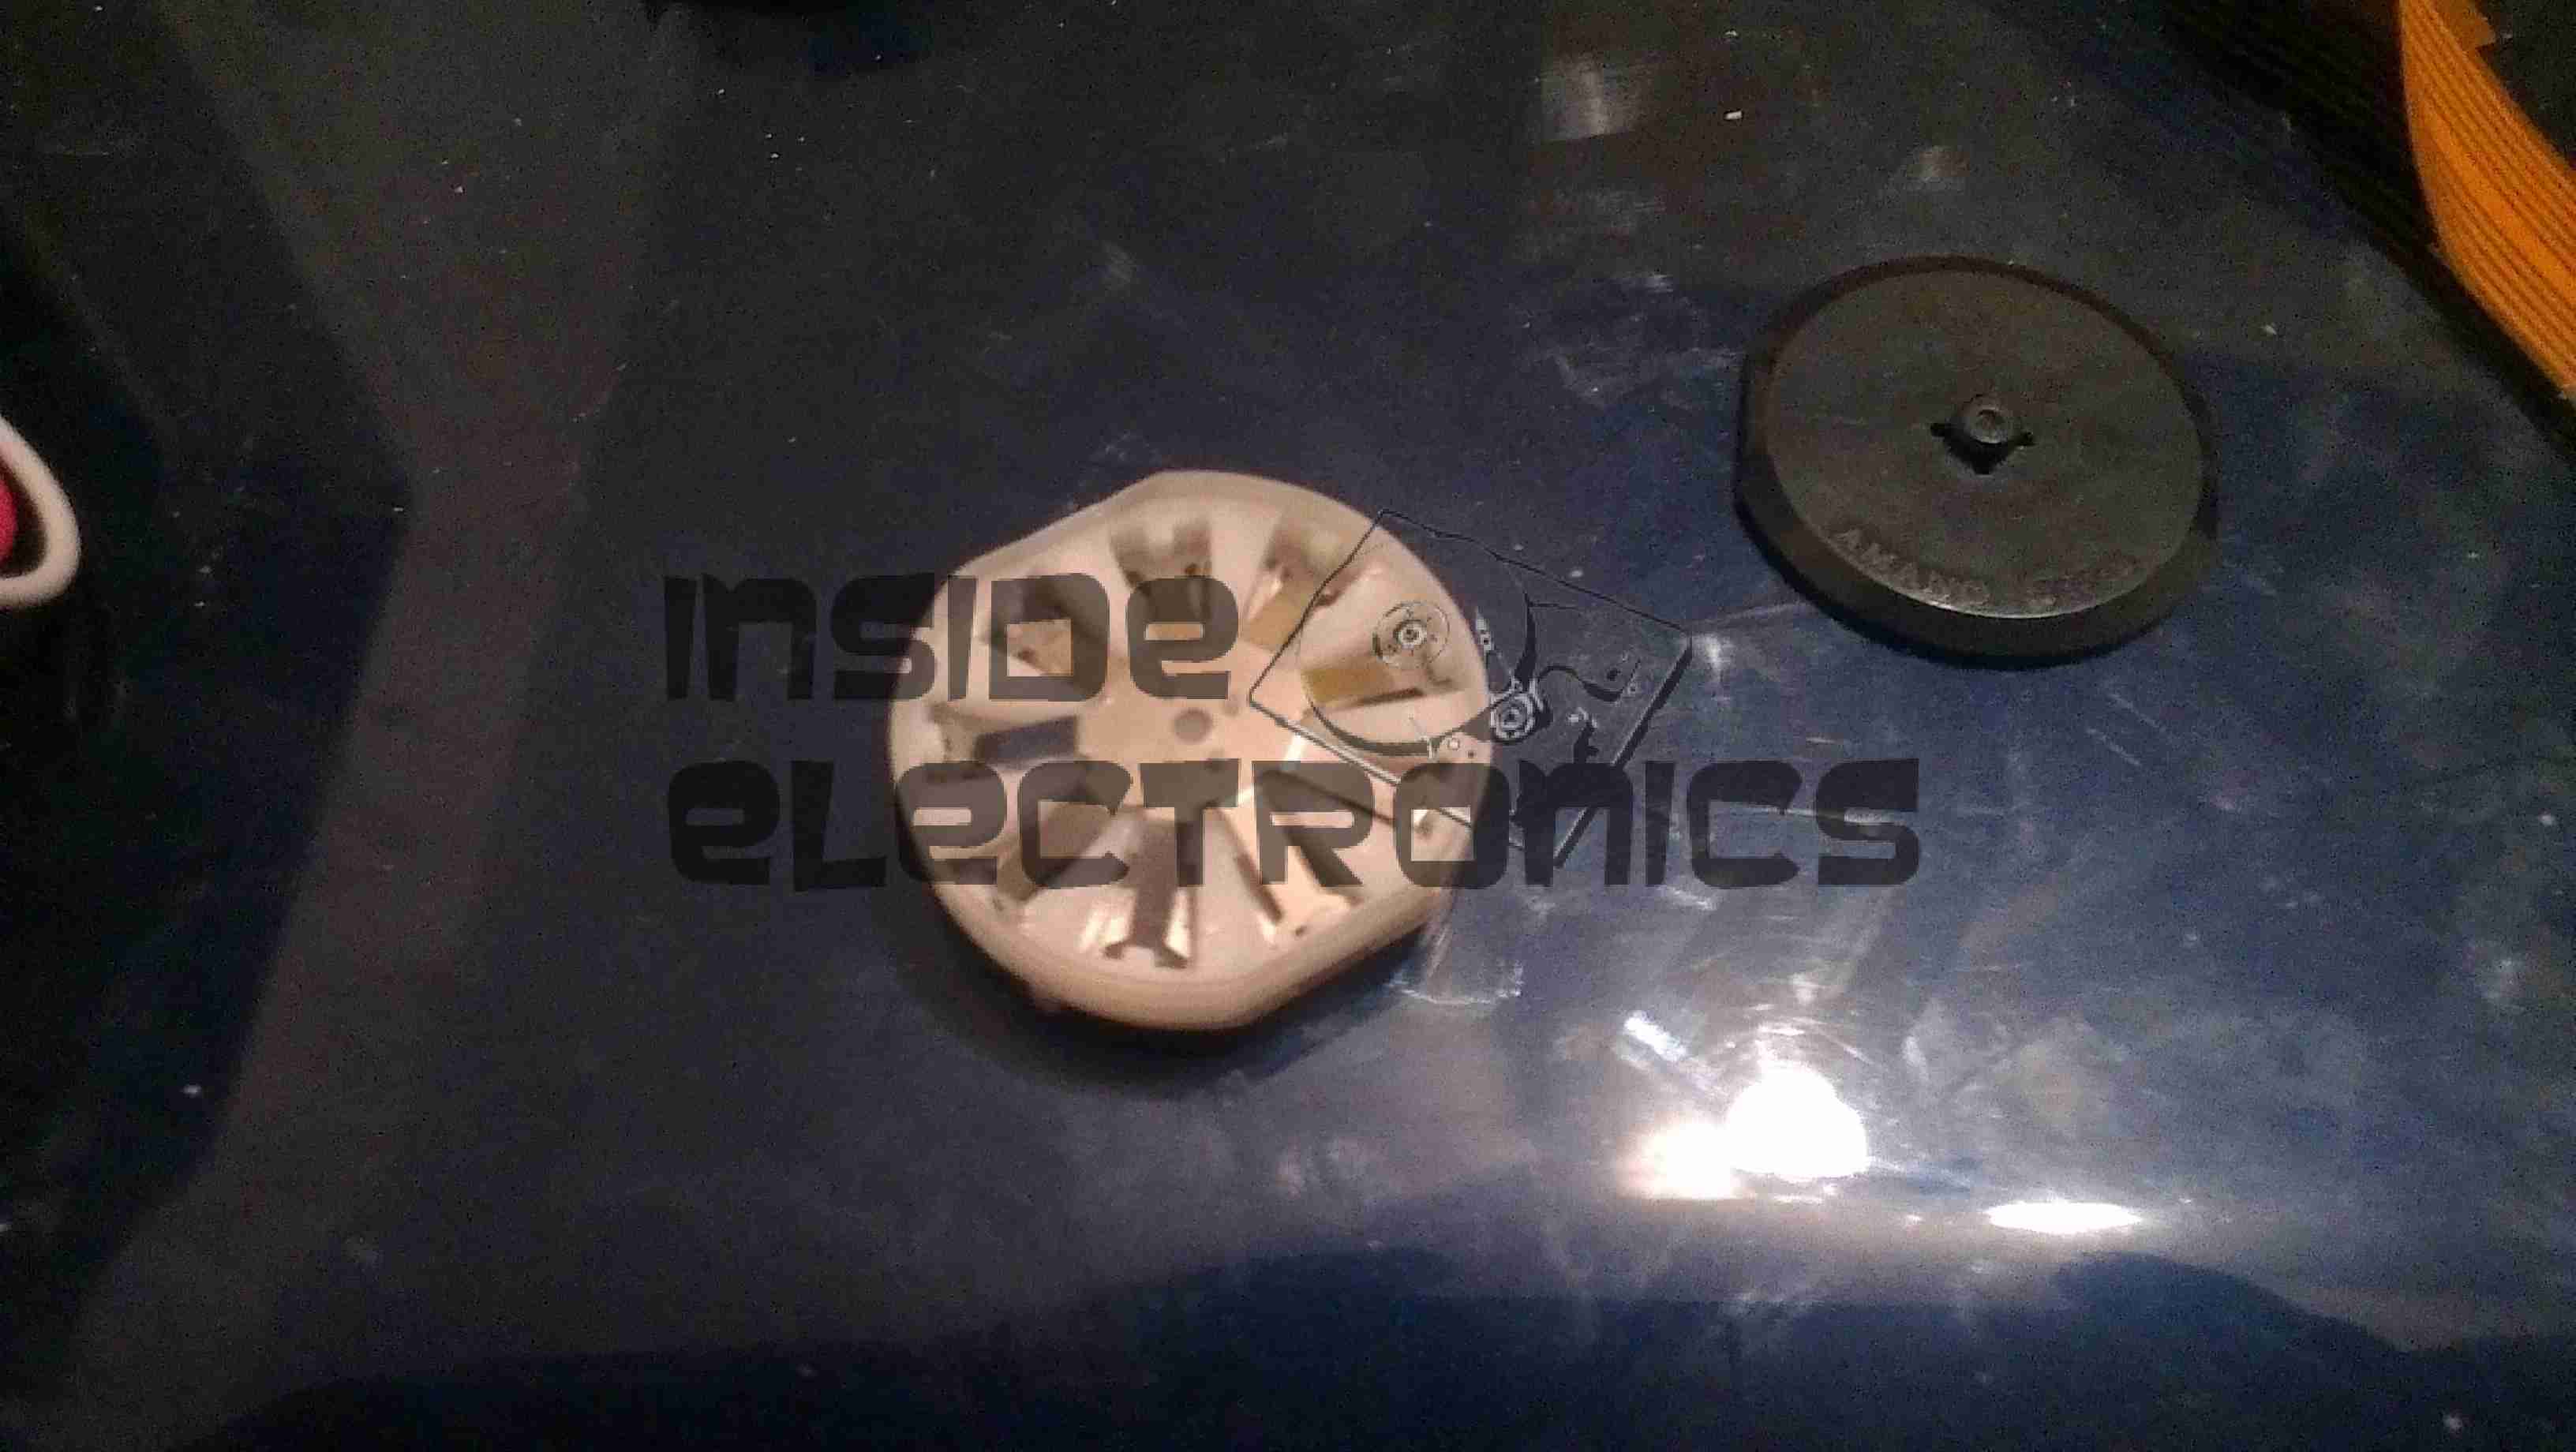
Top layer of the printhead assembly, showing the leaf spring used to hold the hammers in the correct positions.
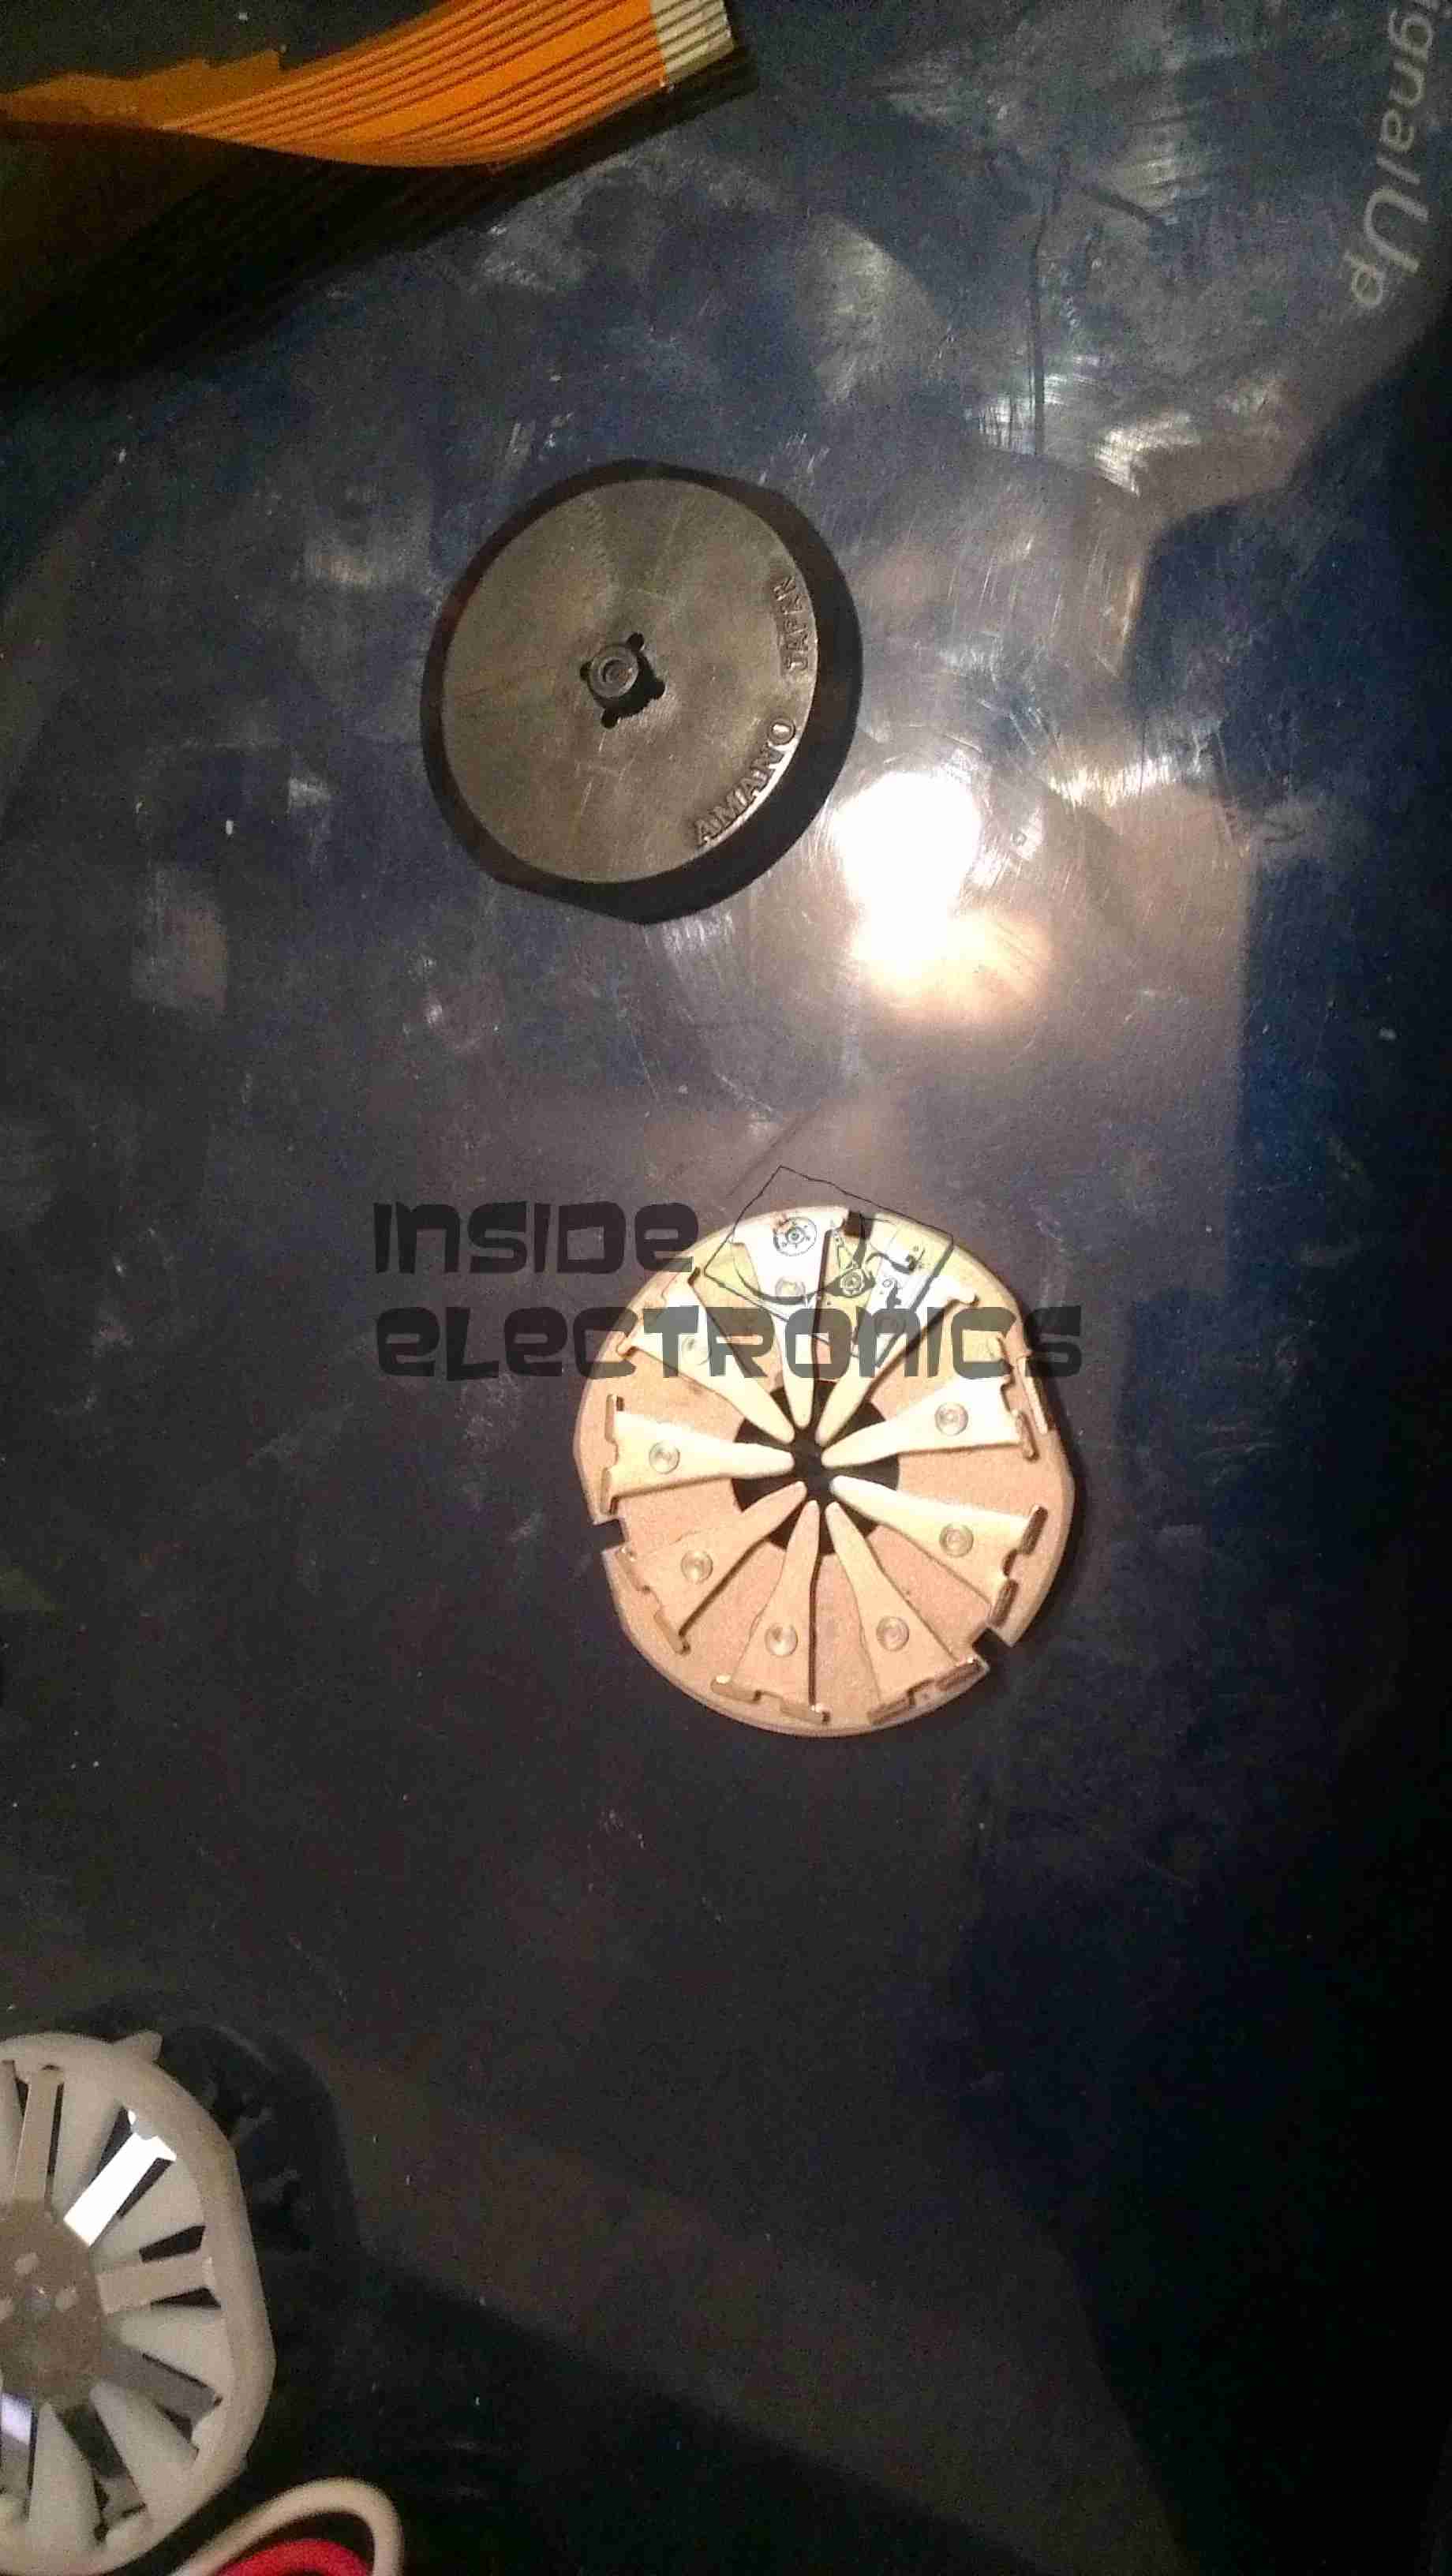
Hammer assembly. The fingers on the ends of the arms push on the pins to strike through the ribbon onto the card.
The ring of solenoids at the centre of the assembly. These are driven with 3A darlington power arrays on the PSU board.
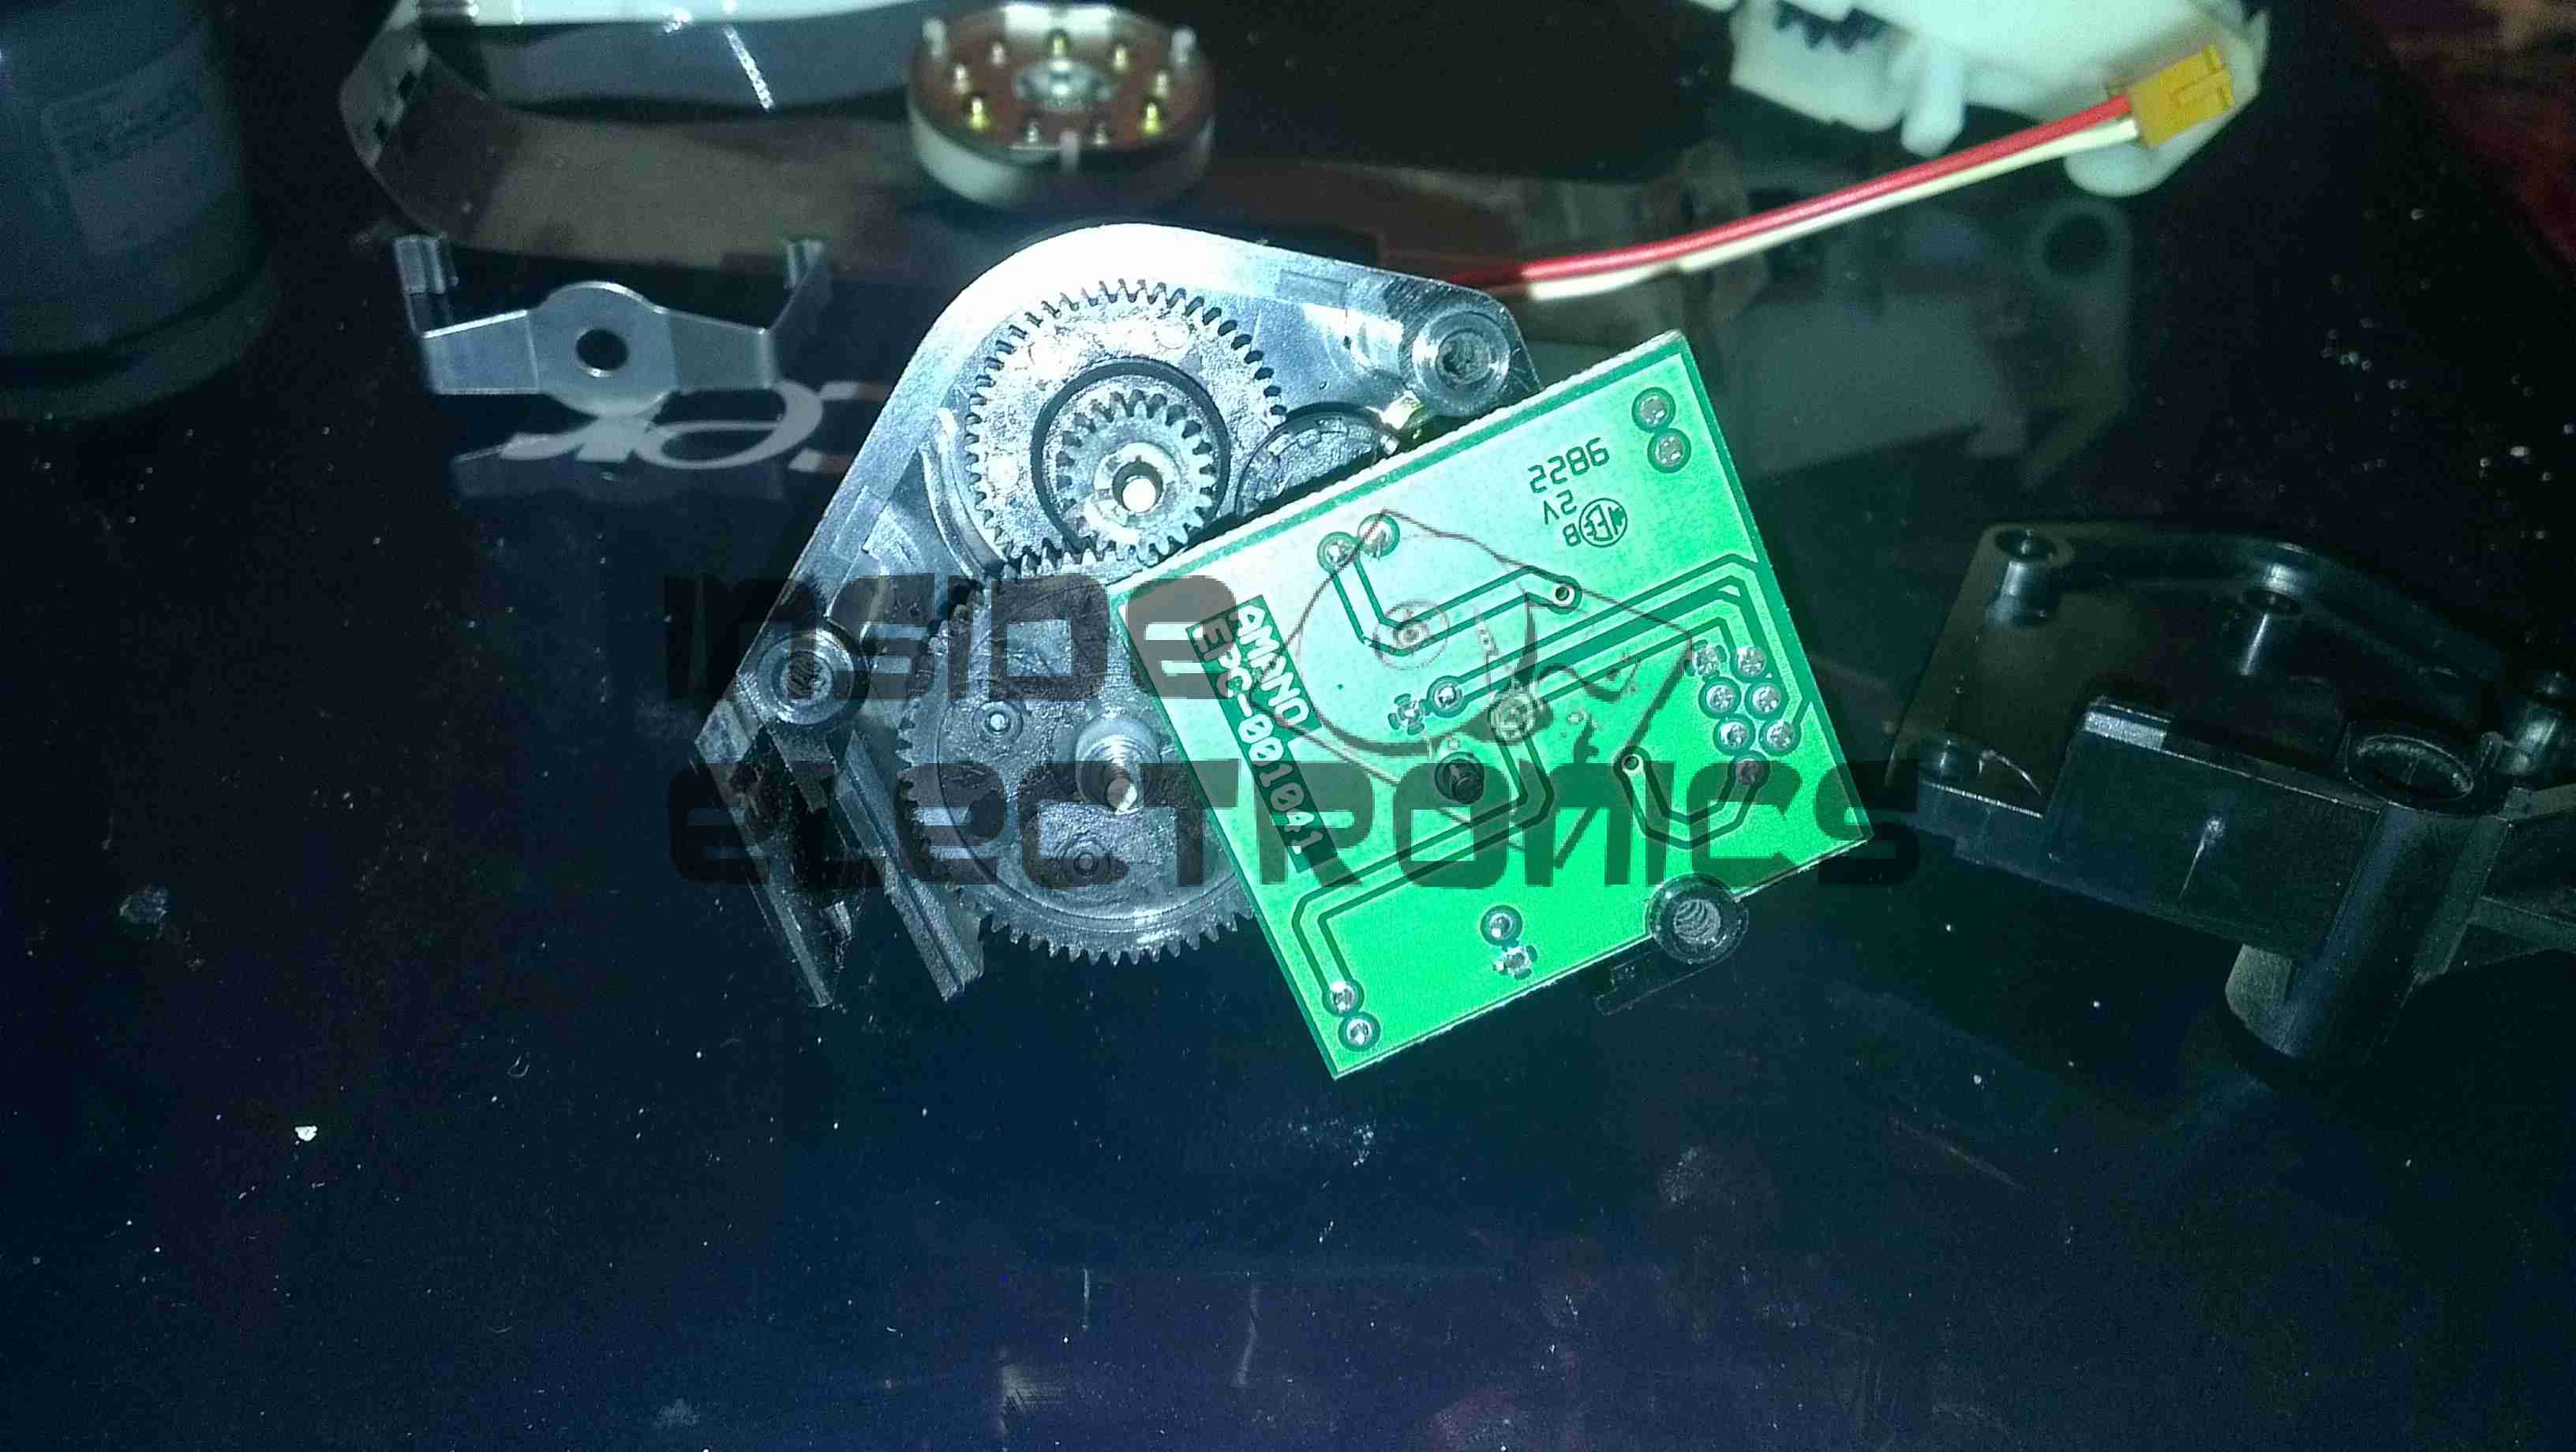
There is only a single drive motor in the entire unit, that both clamps the card for printing & moves the printhead laterally across the card. Through a rack & pinion this also advances the ribbon with each print.


