Posted on 2 Comments

Tool Review – eBay Terminal Crimps

Soft Case
Soft Case

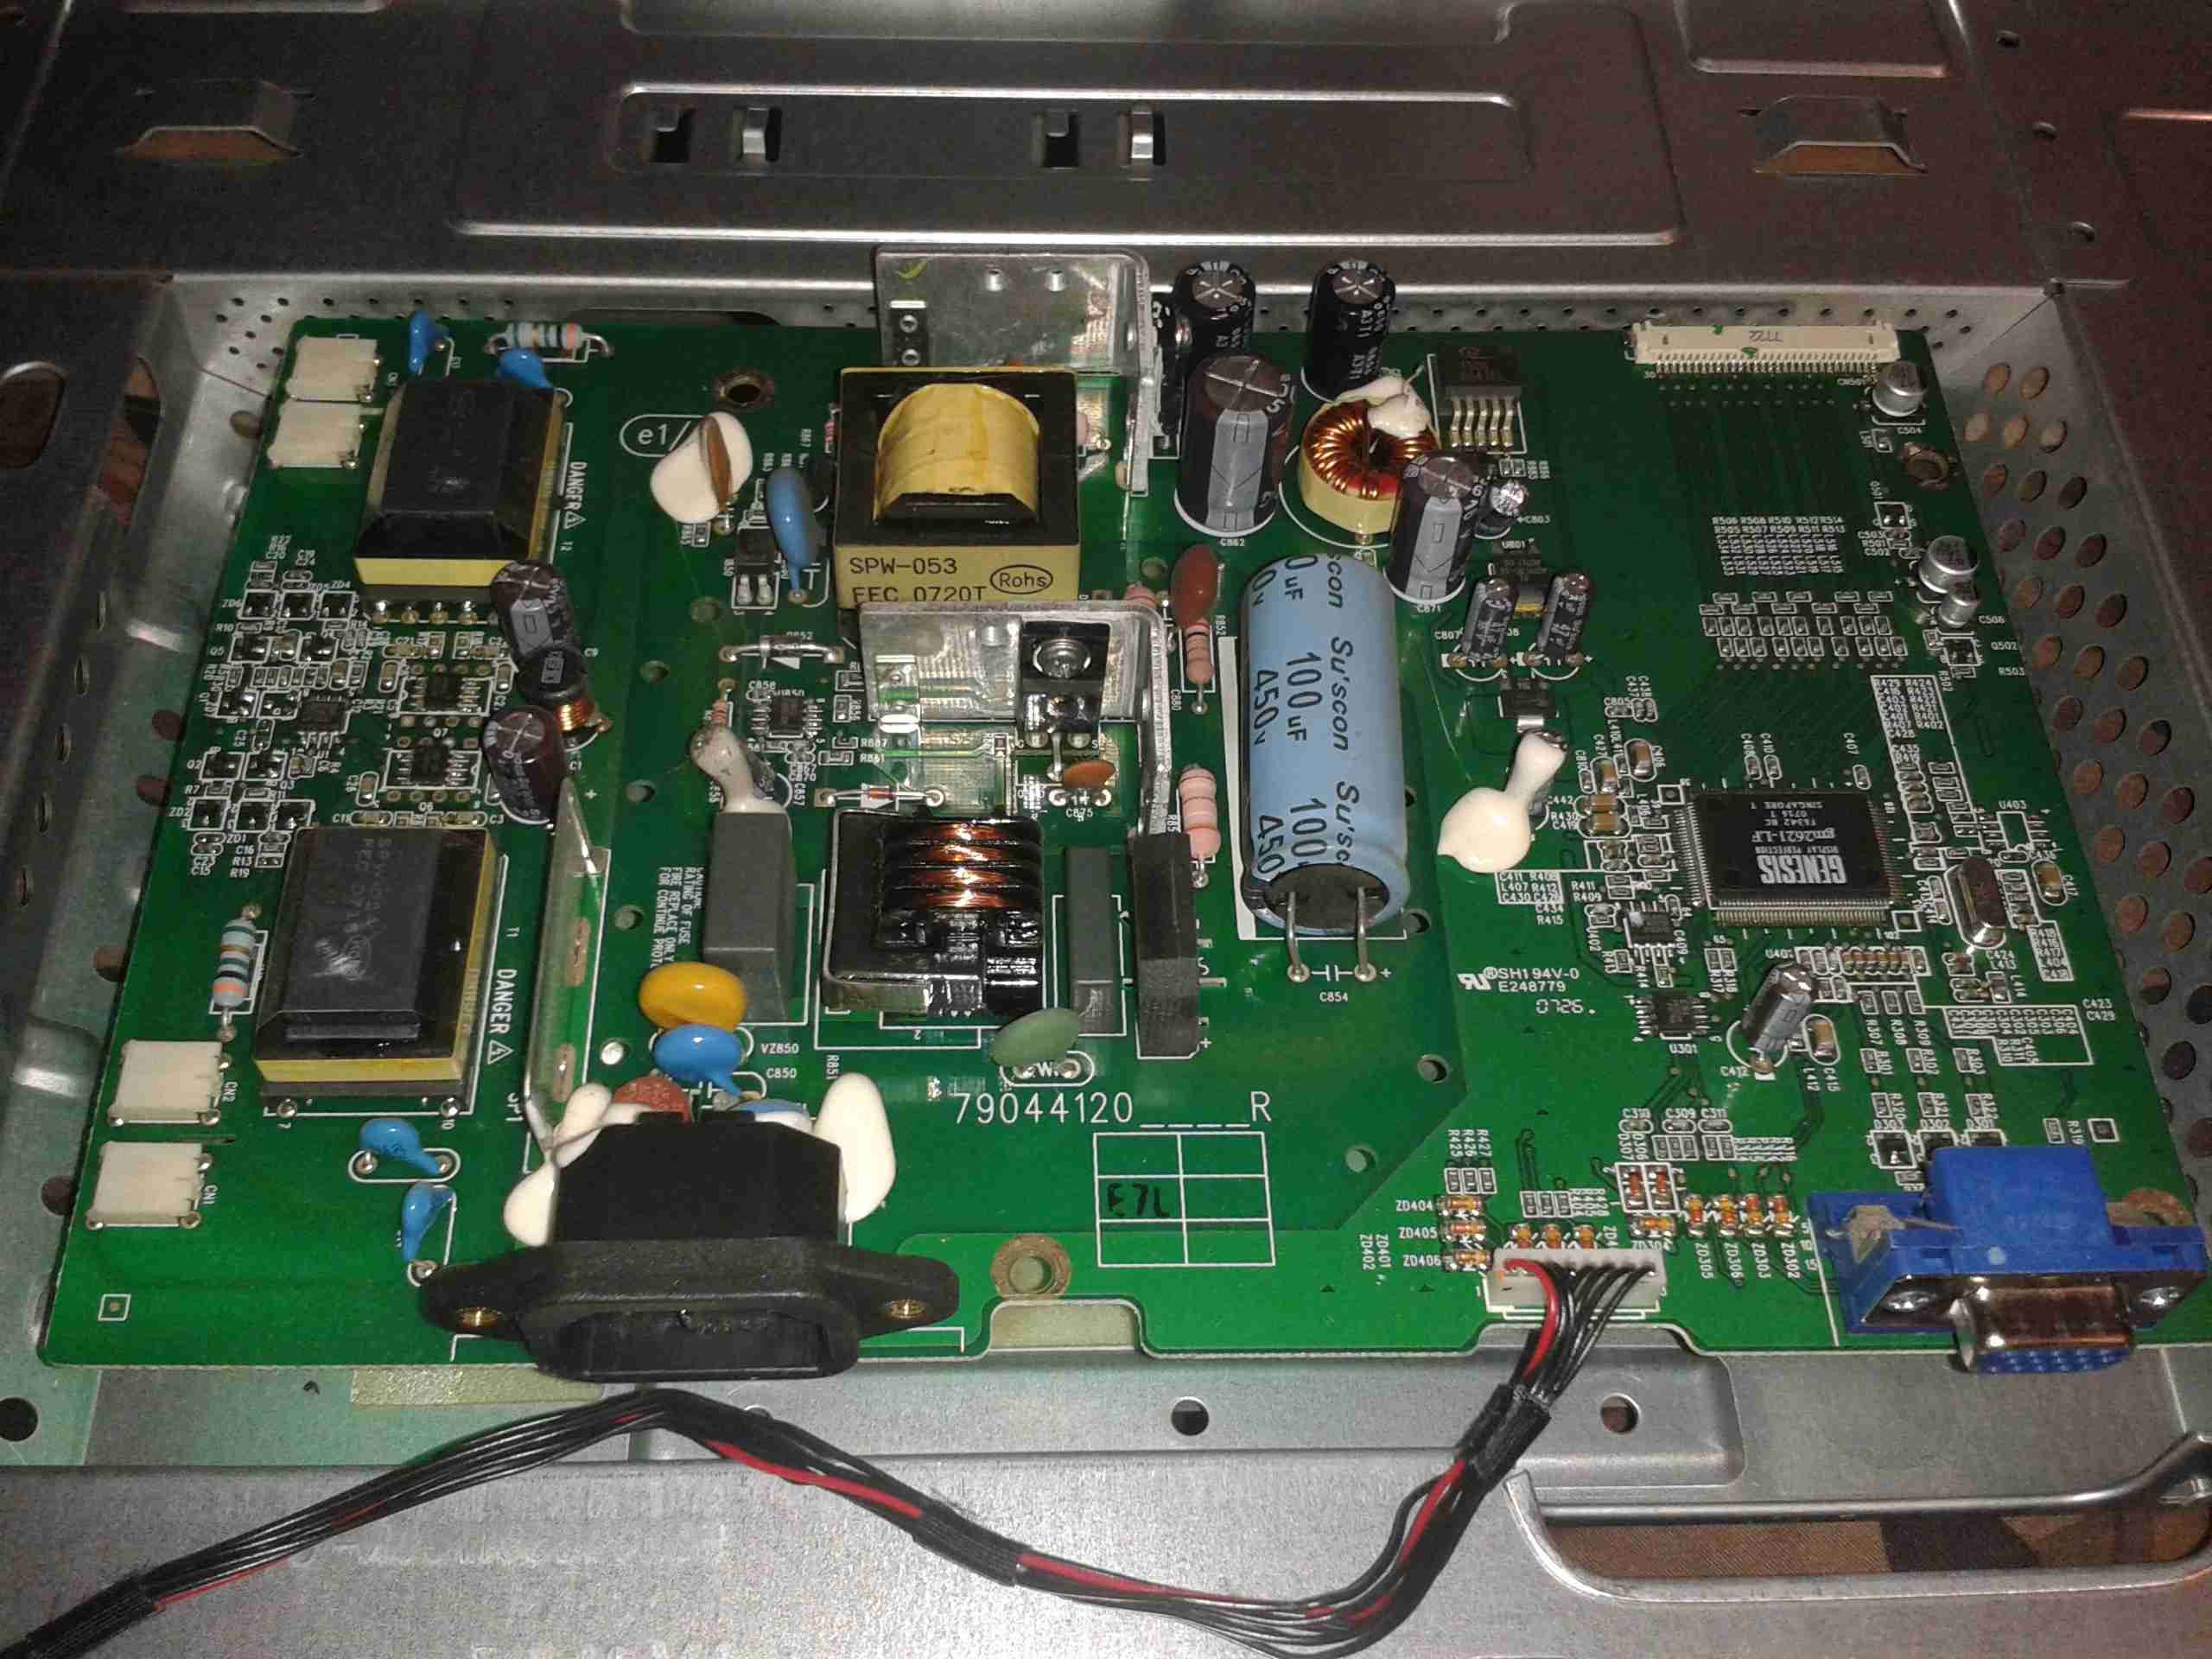
I recently decided to restock my toolkit, as there are plenty of jobs I need to sort that require the use of crimp terminals, so eBay again came to the rescue.
In my experience, cheap tools of any flavour are usually universally shite – I’ve had drill bits made out of a metal softer than aluminium, that unwind back into a straight flute bits as soon as they’re presented with anything harder to drill through than Cheese. Ditto for screwdrivers. But for once the far eastern factories seem to have done a reasonable job on this crimp tool set.

eBay Crimping Tools
eBay Crimping Tools

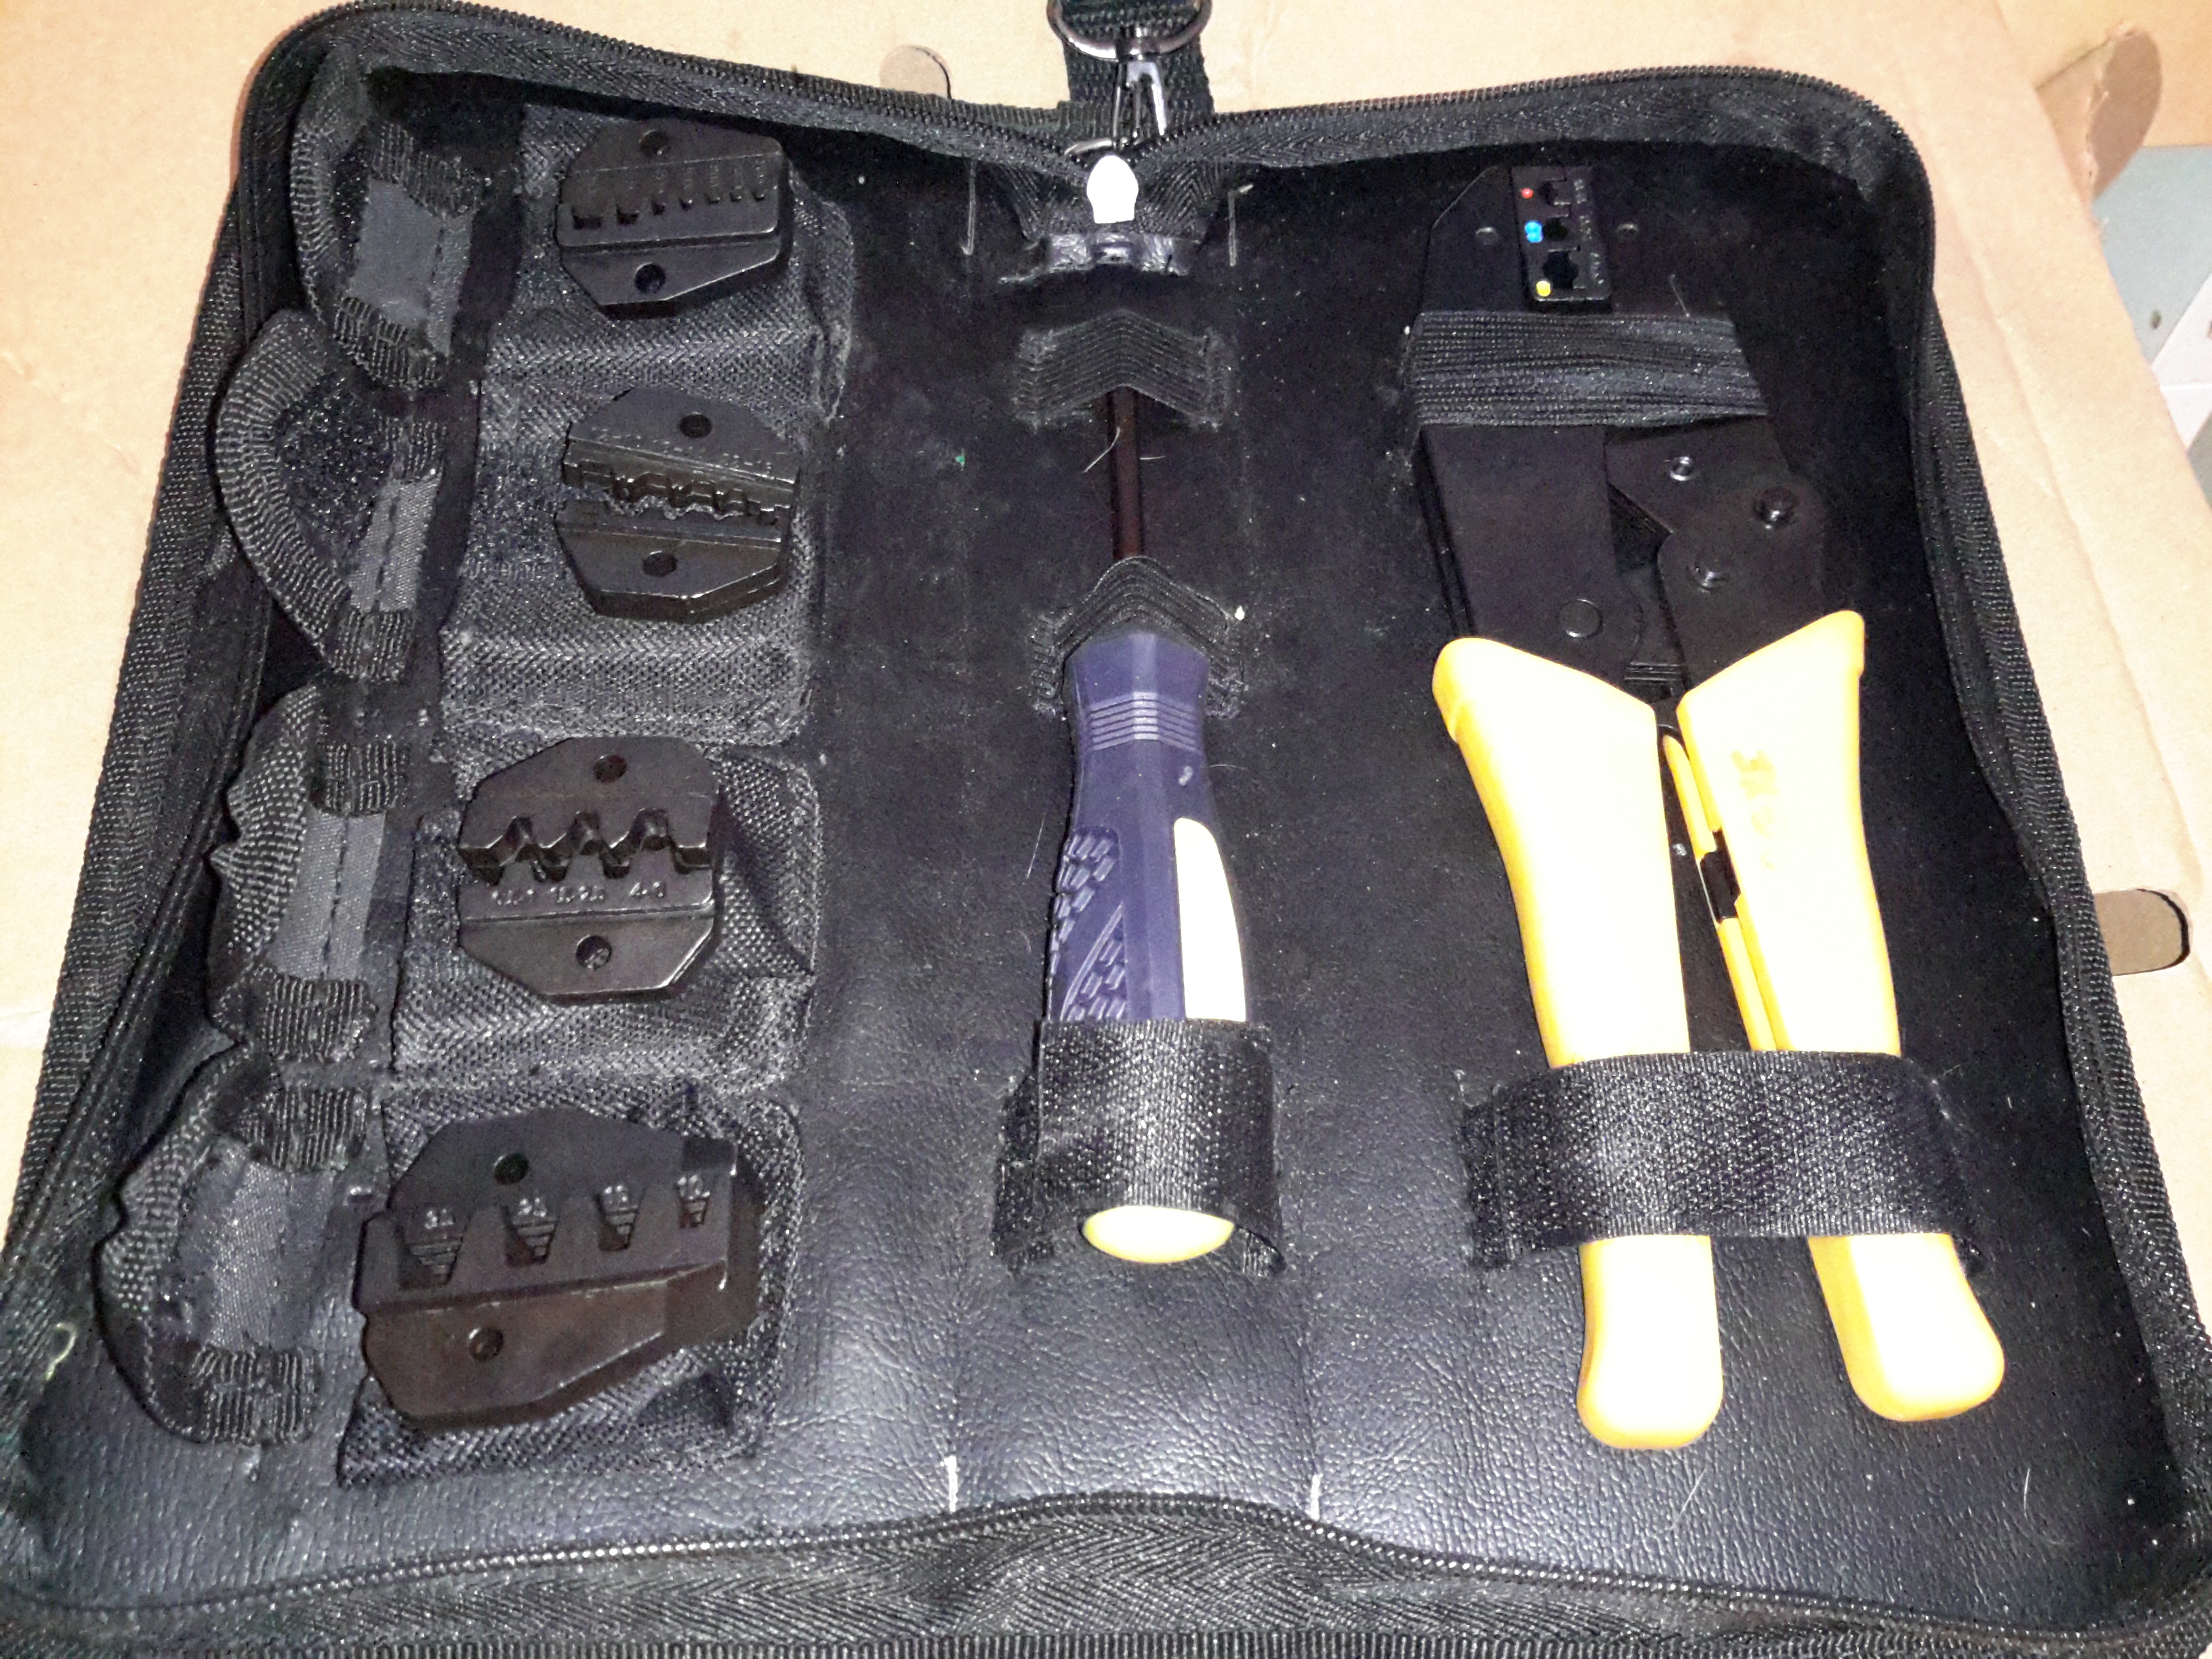
These are ratchet type crimping pliers, with interchangable heads so many different types of terminals can be used. A handy Philips screwdriver is included in the kit for changing the dies.

Large Dies
Large Dies

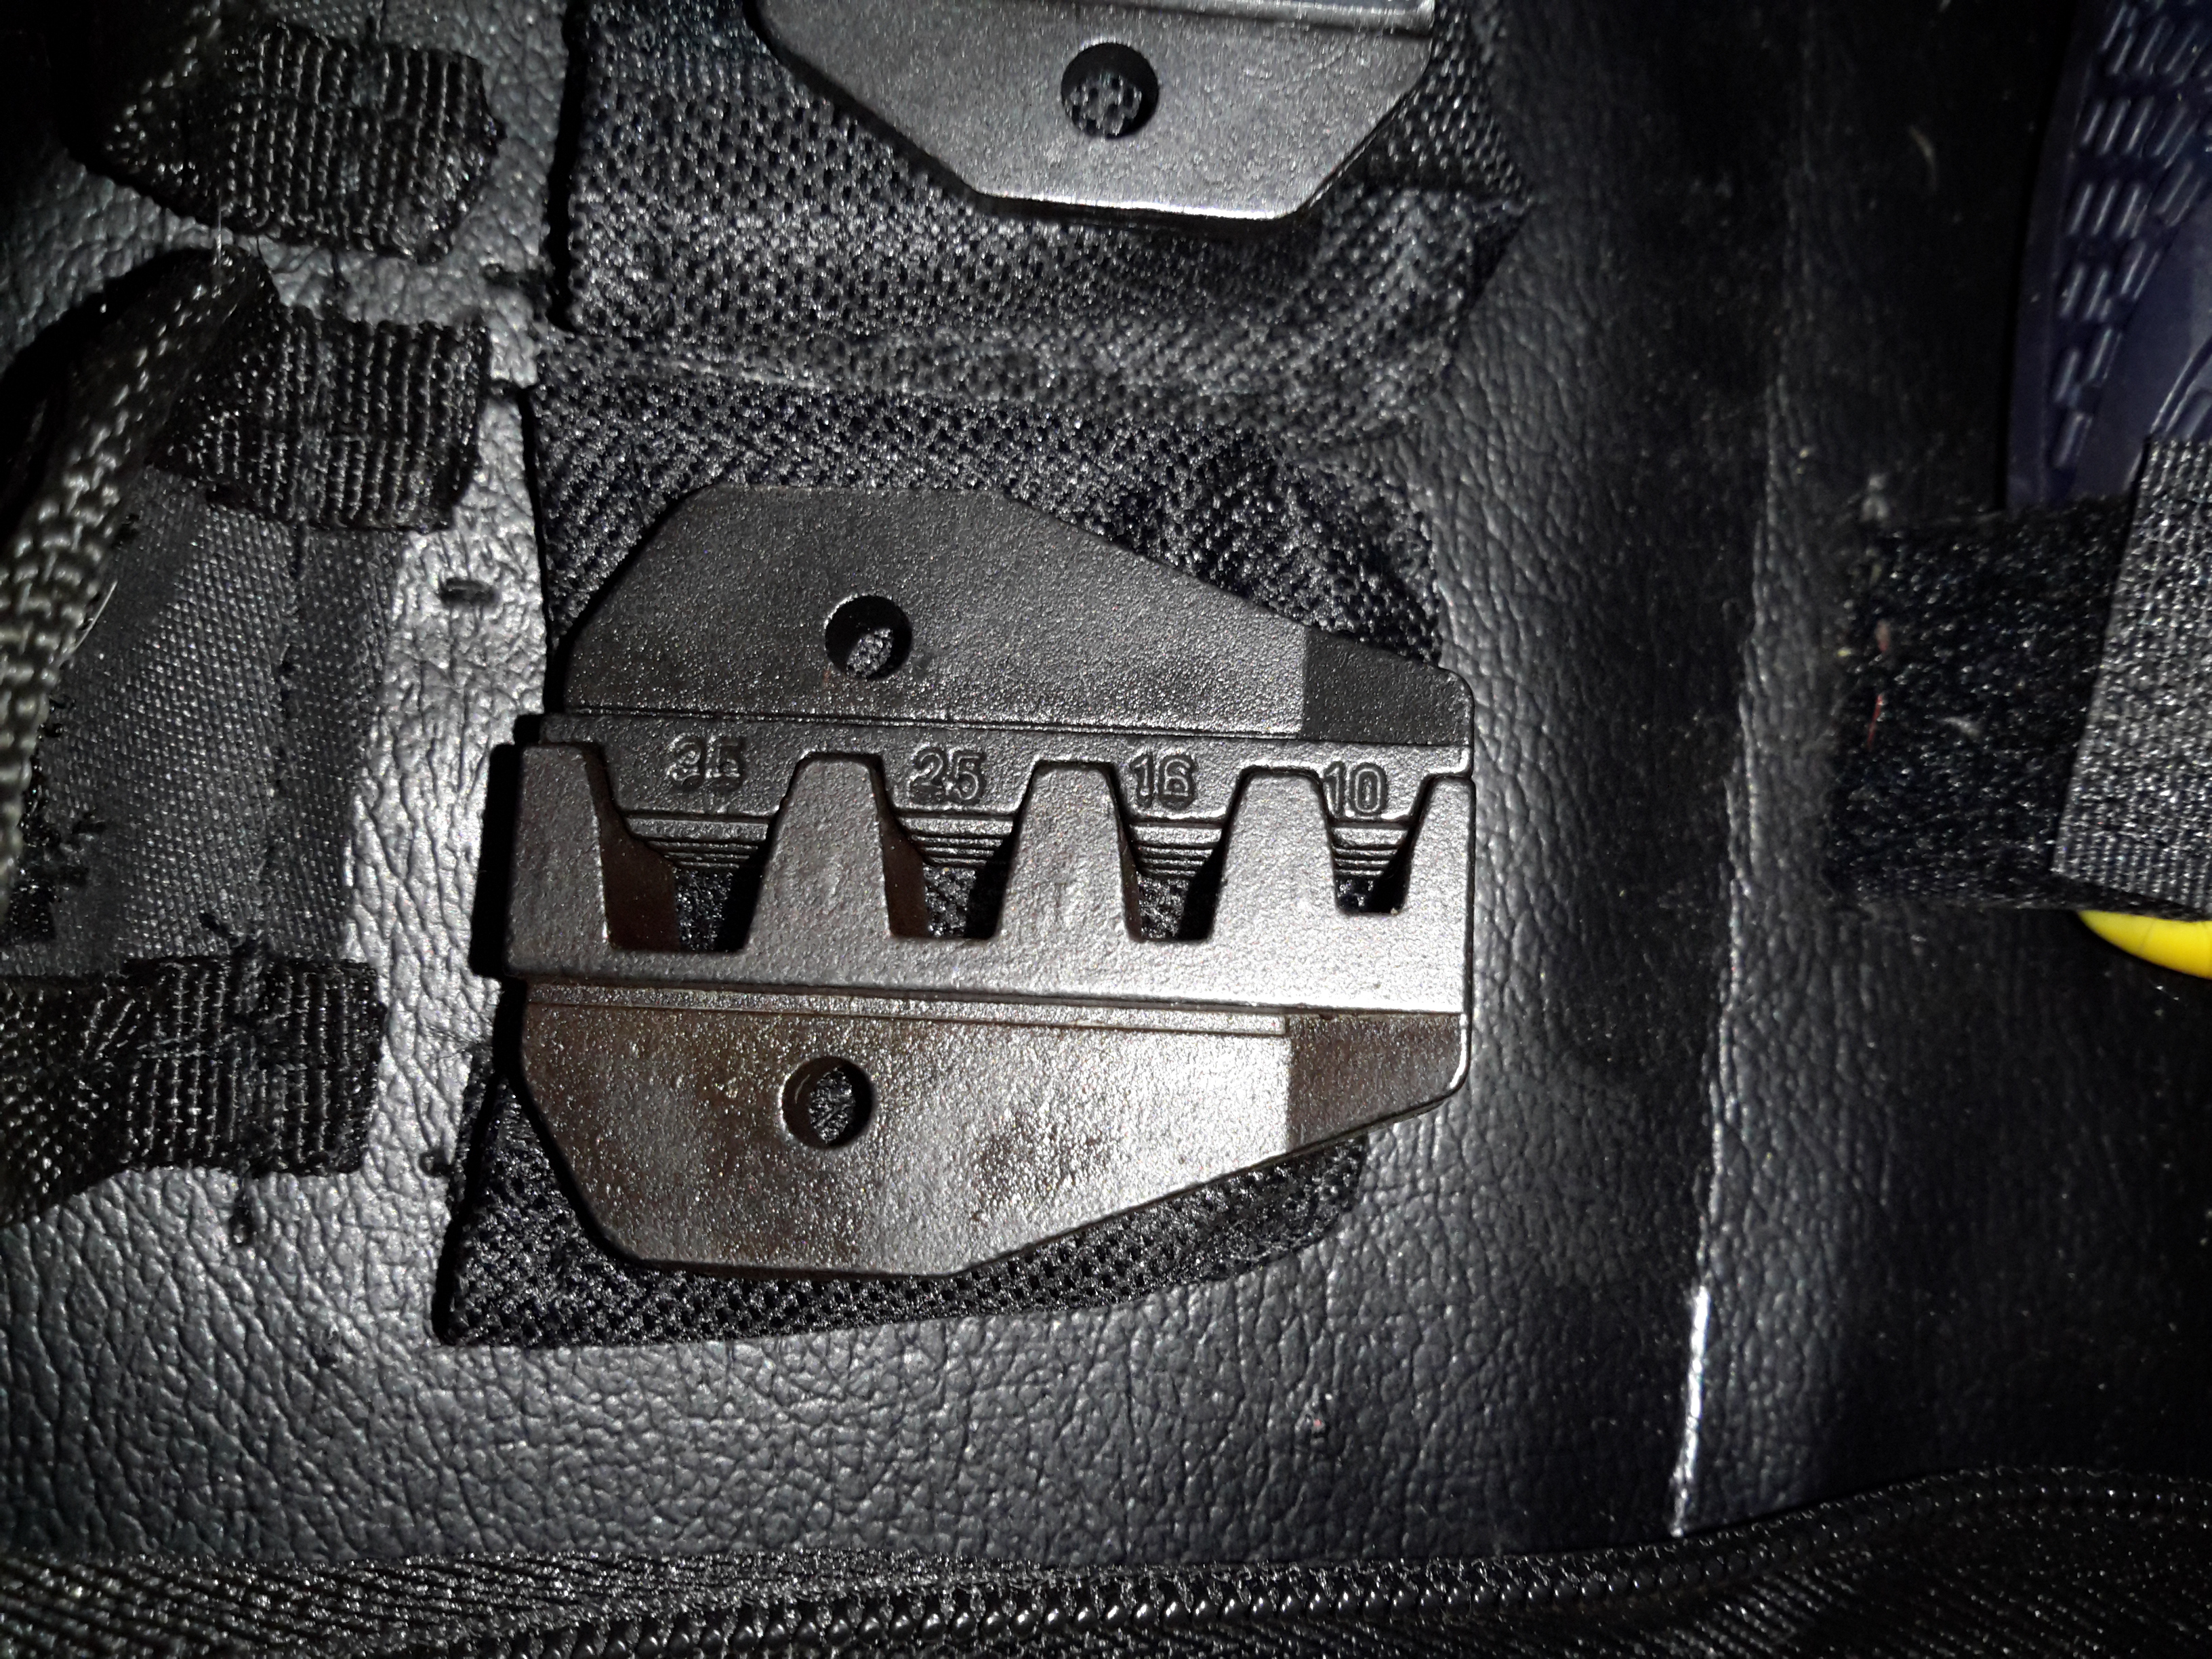
The largest dies in the set can handle cable up to 25mm² – just about the bottom end of main battery cables, which is very handy.

Medium Dies
Medium Dies

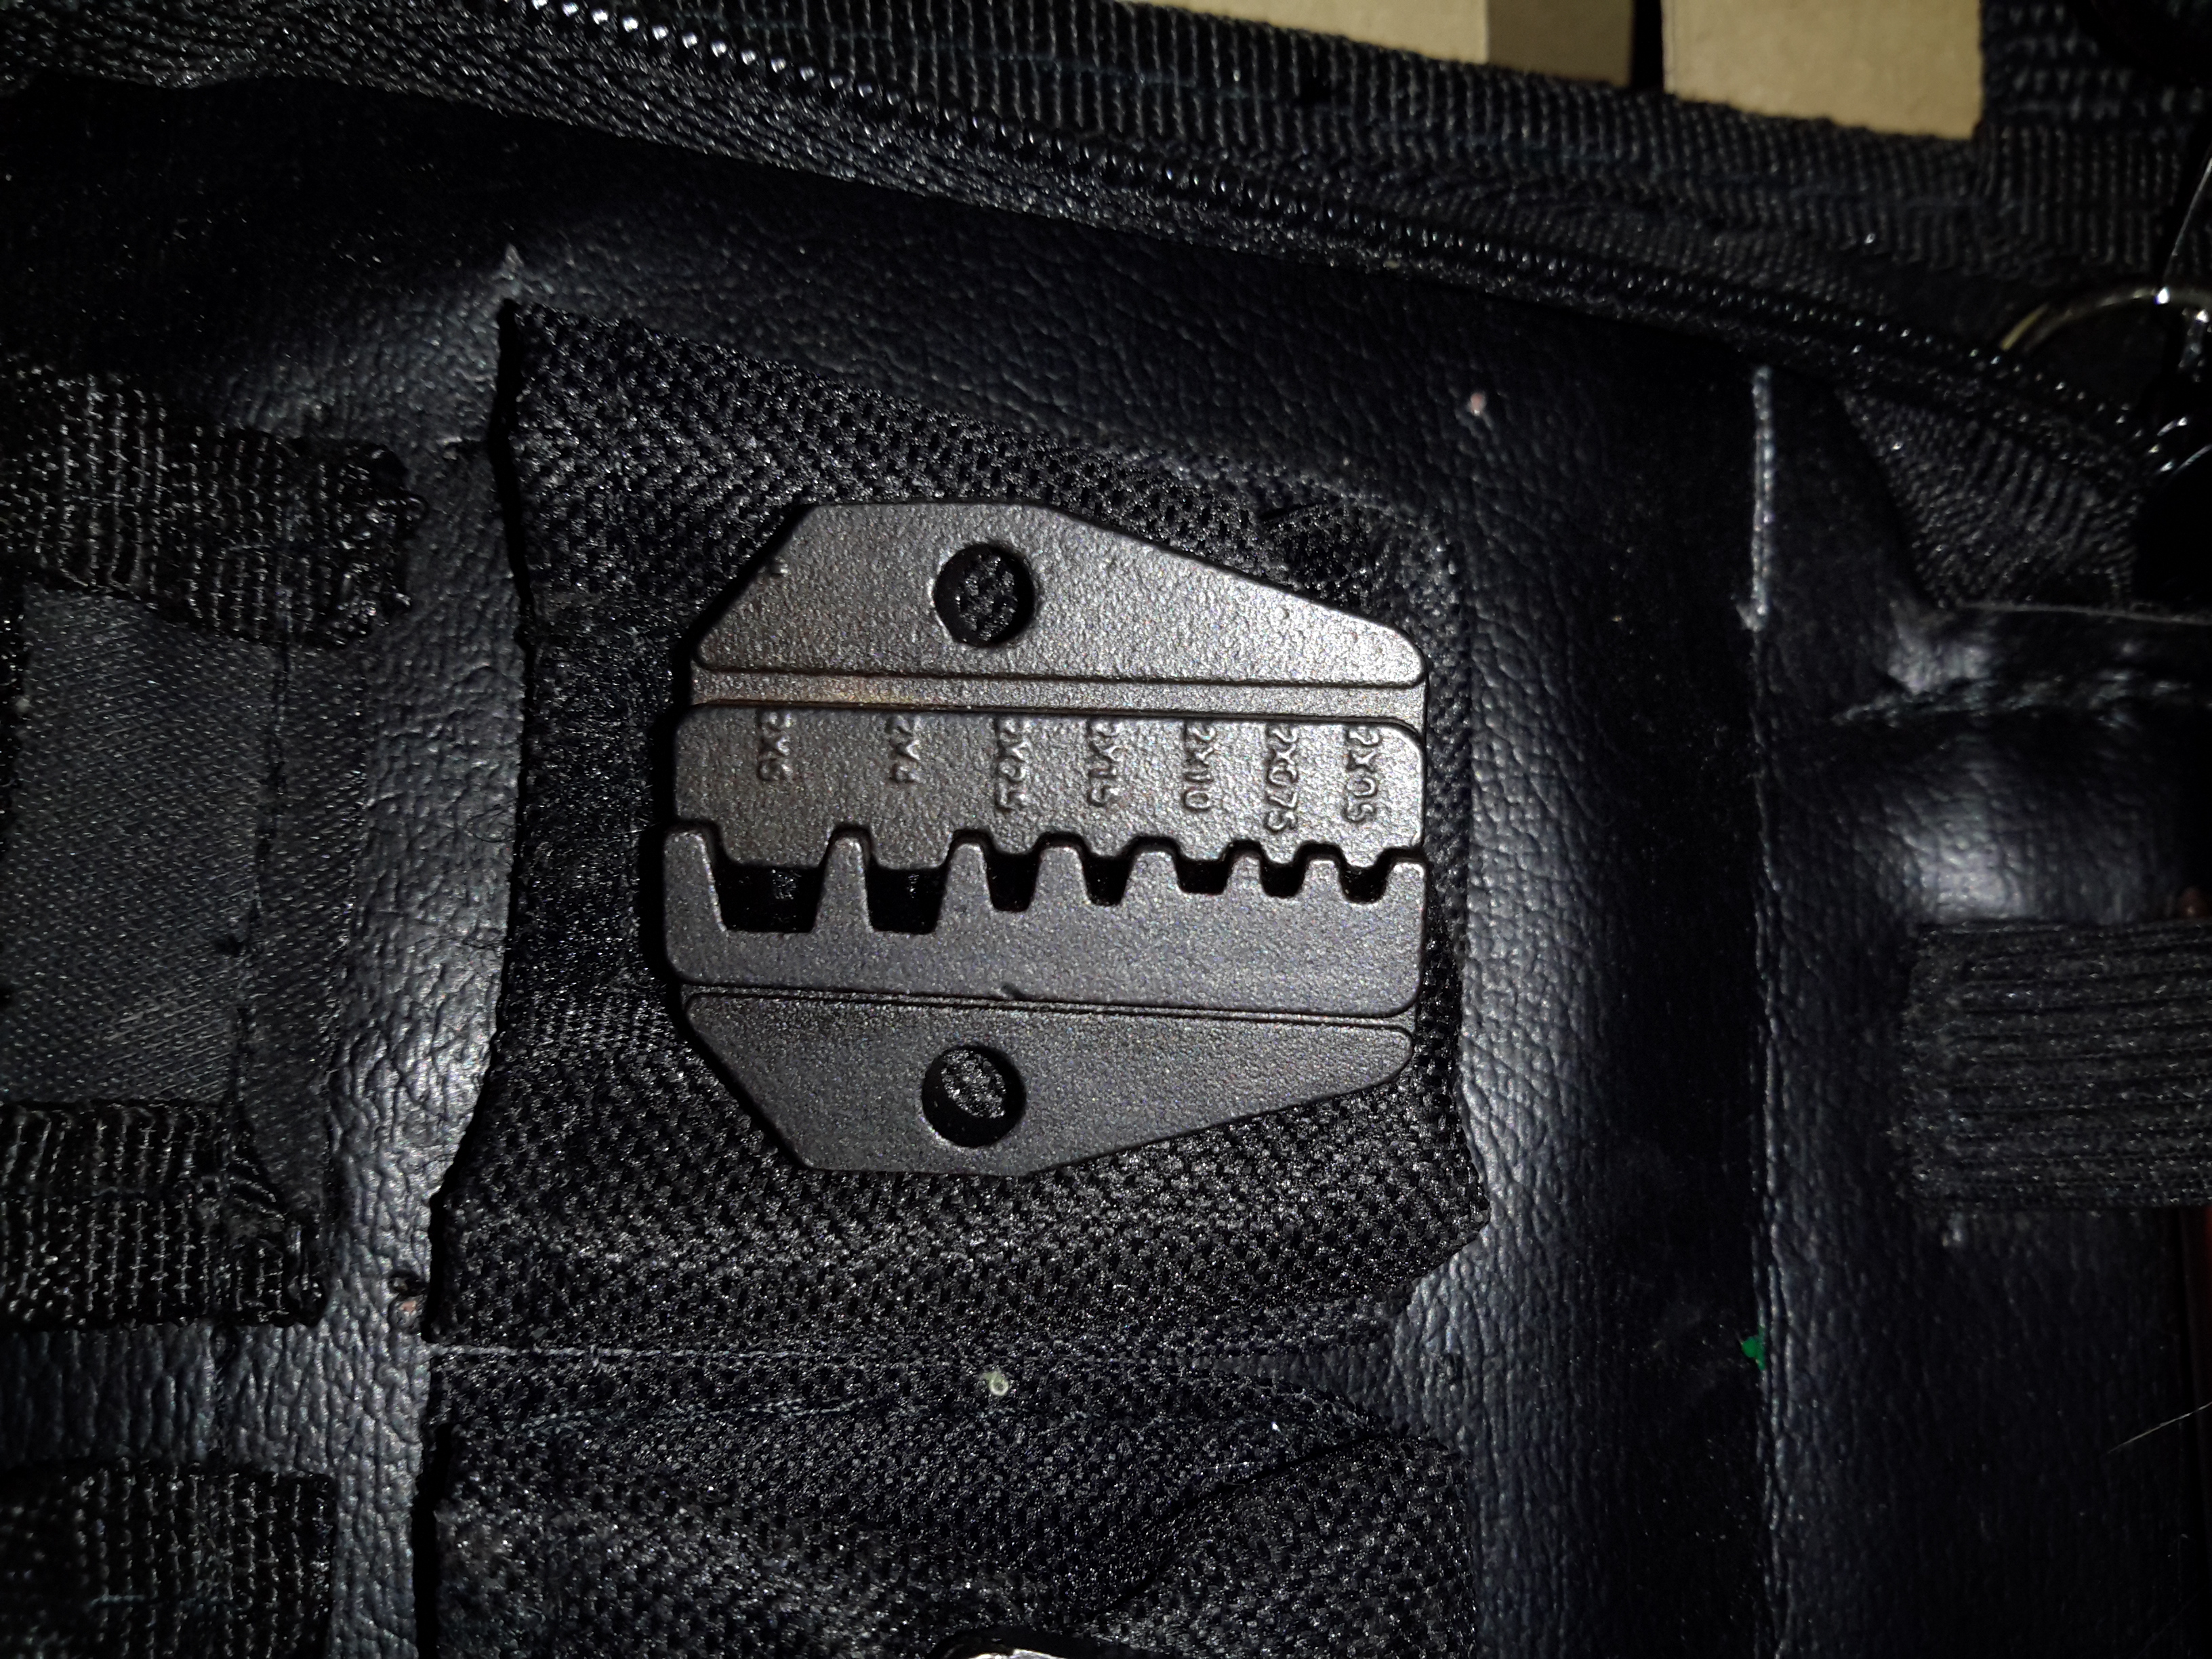
Smaller sets of dies are provided for other types of terminals.

Small Dies
Small Dies

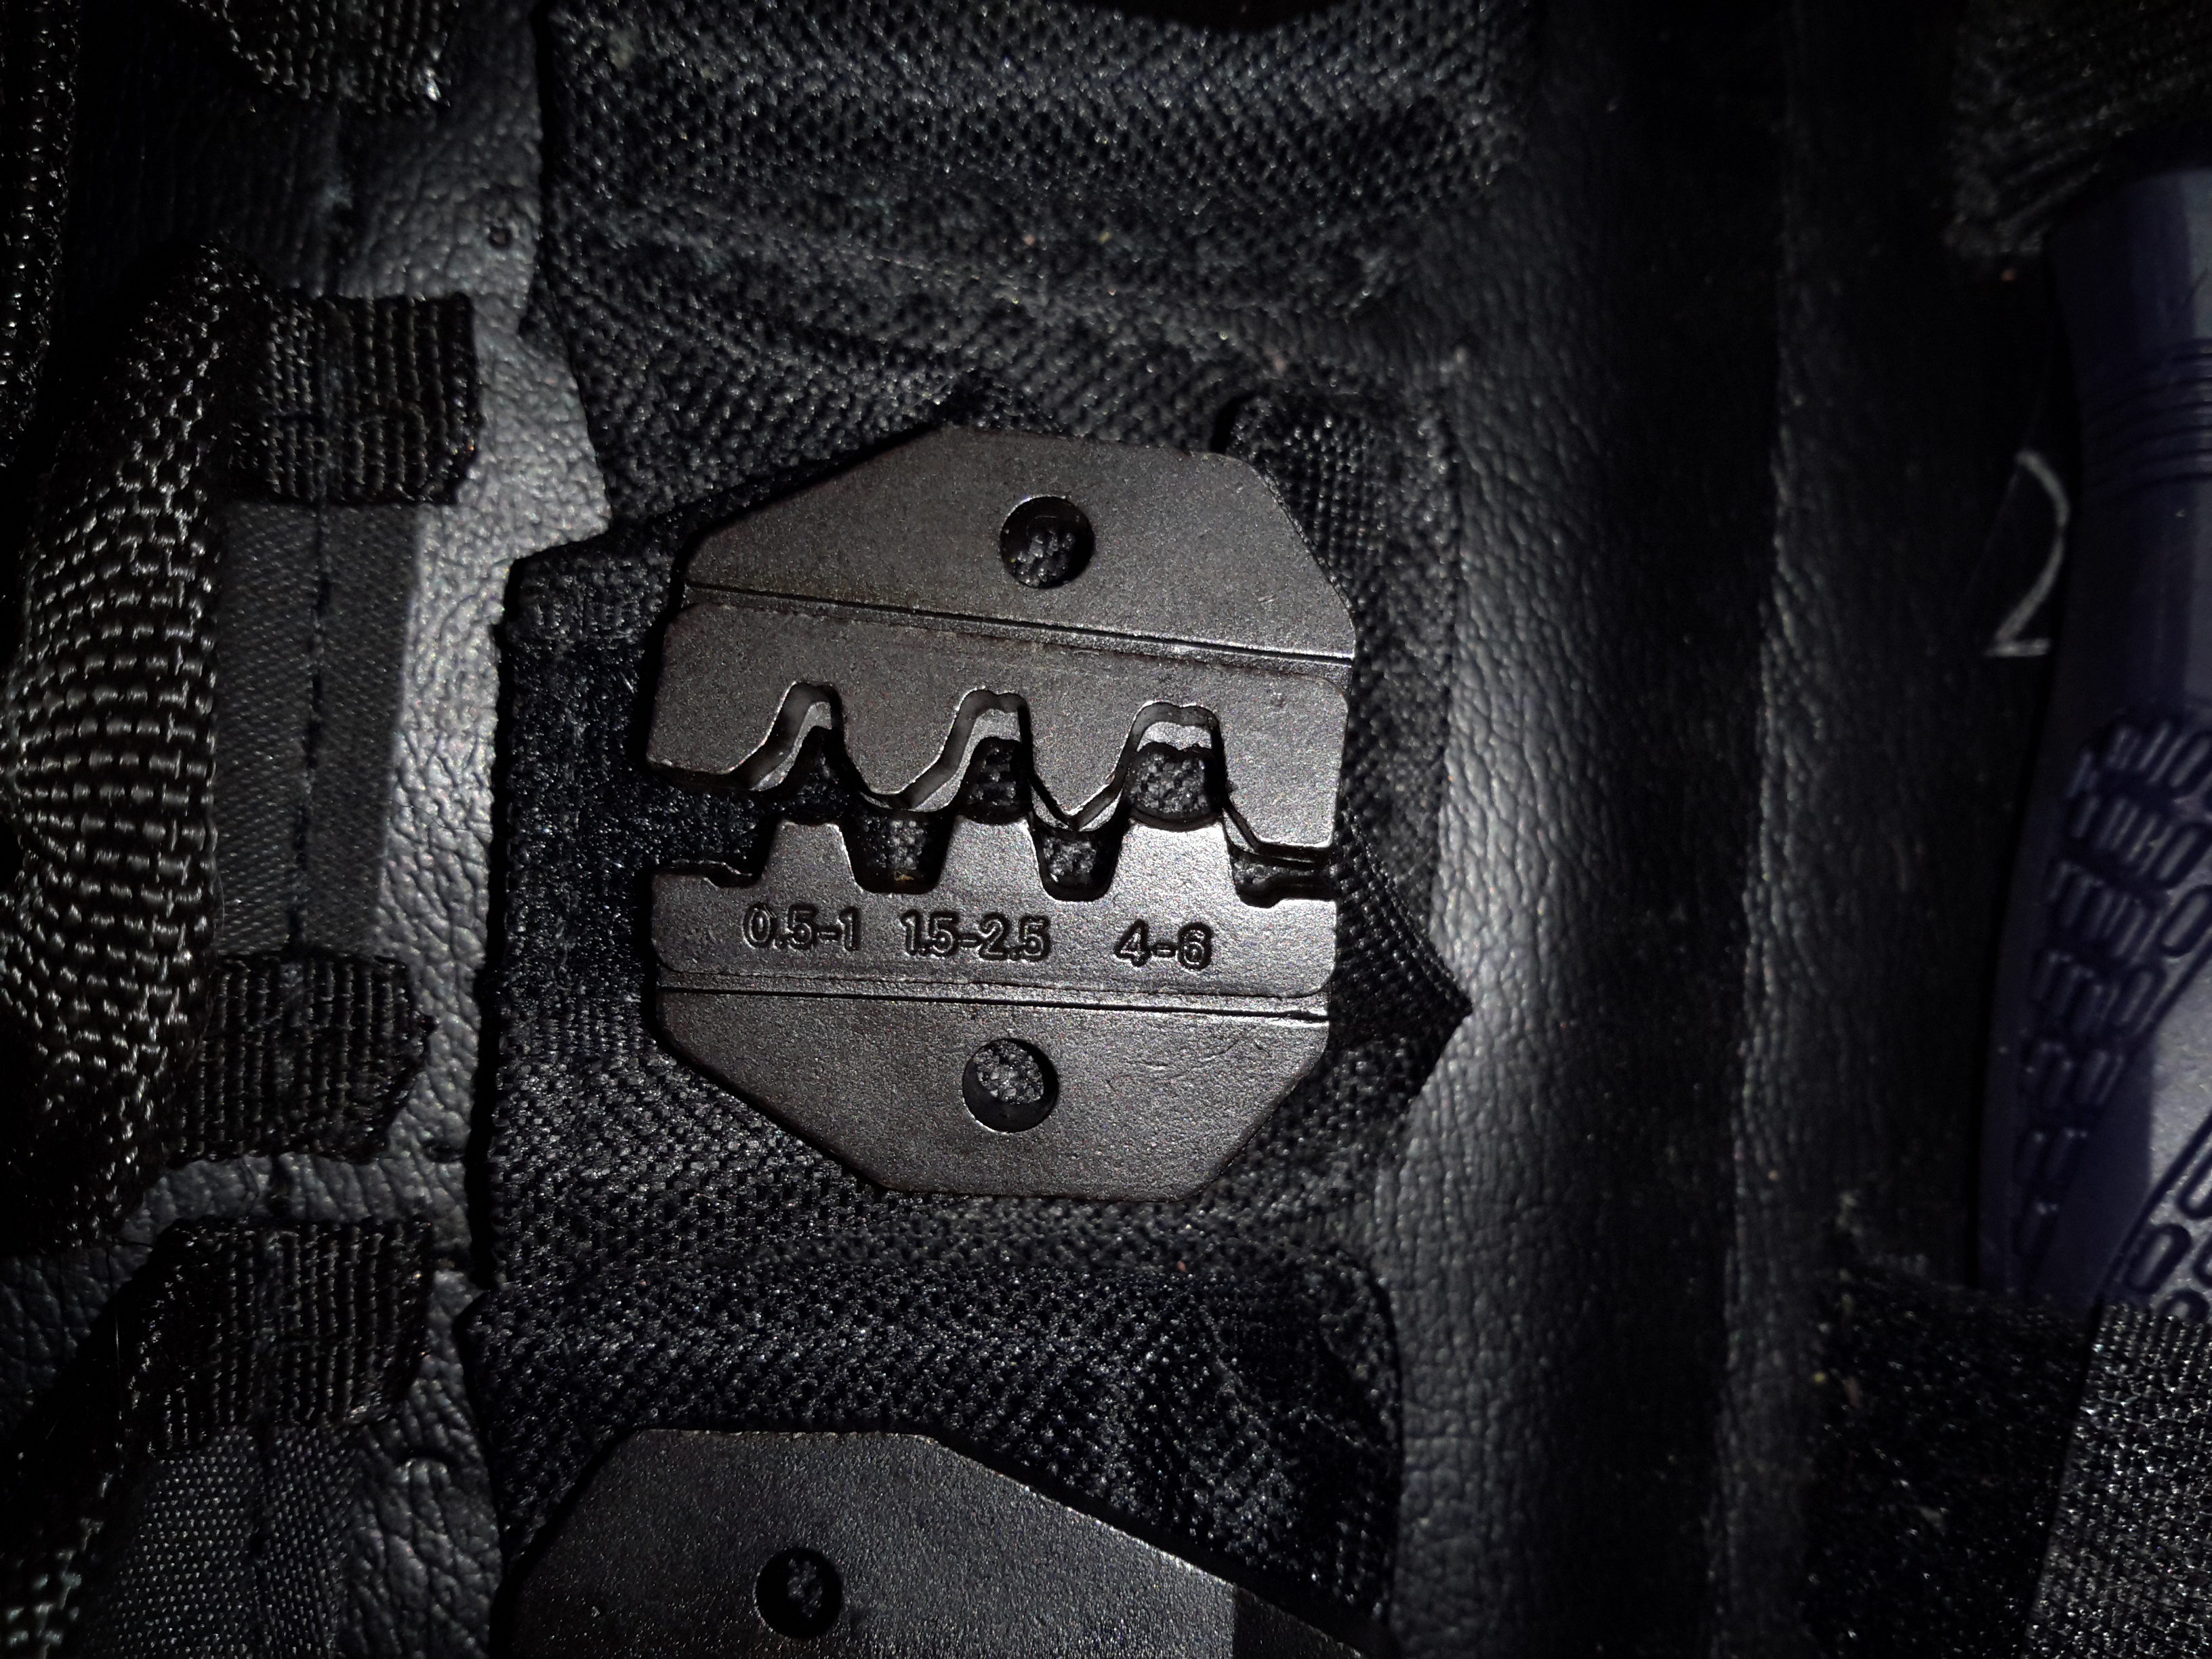
I’m not precisely sure which type of terminals these dies fit – the profile is a bit unusual.

Tiny Dies
Tiny Dies

The smallest dies in the set are good for extremely small wires – down to 0.5mm

Automotive Dies
Automotive Dies

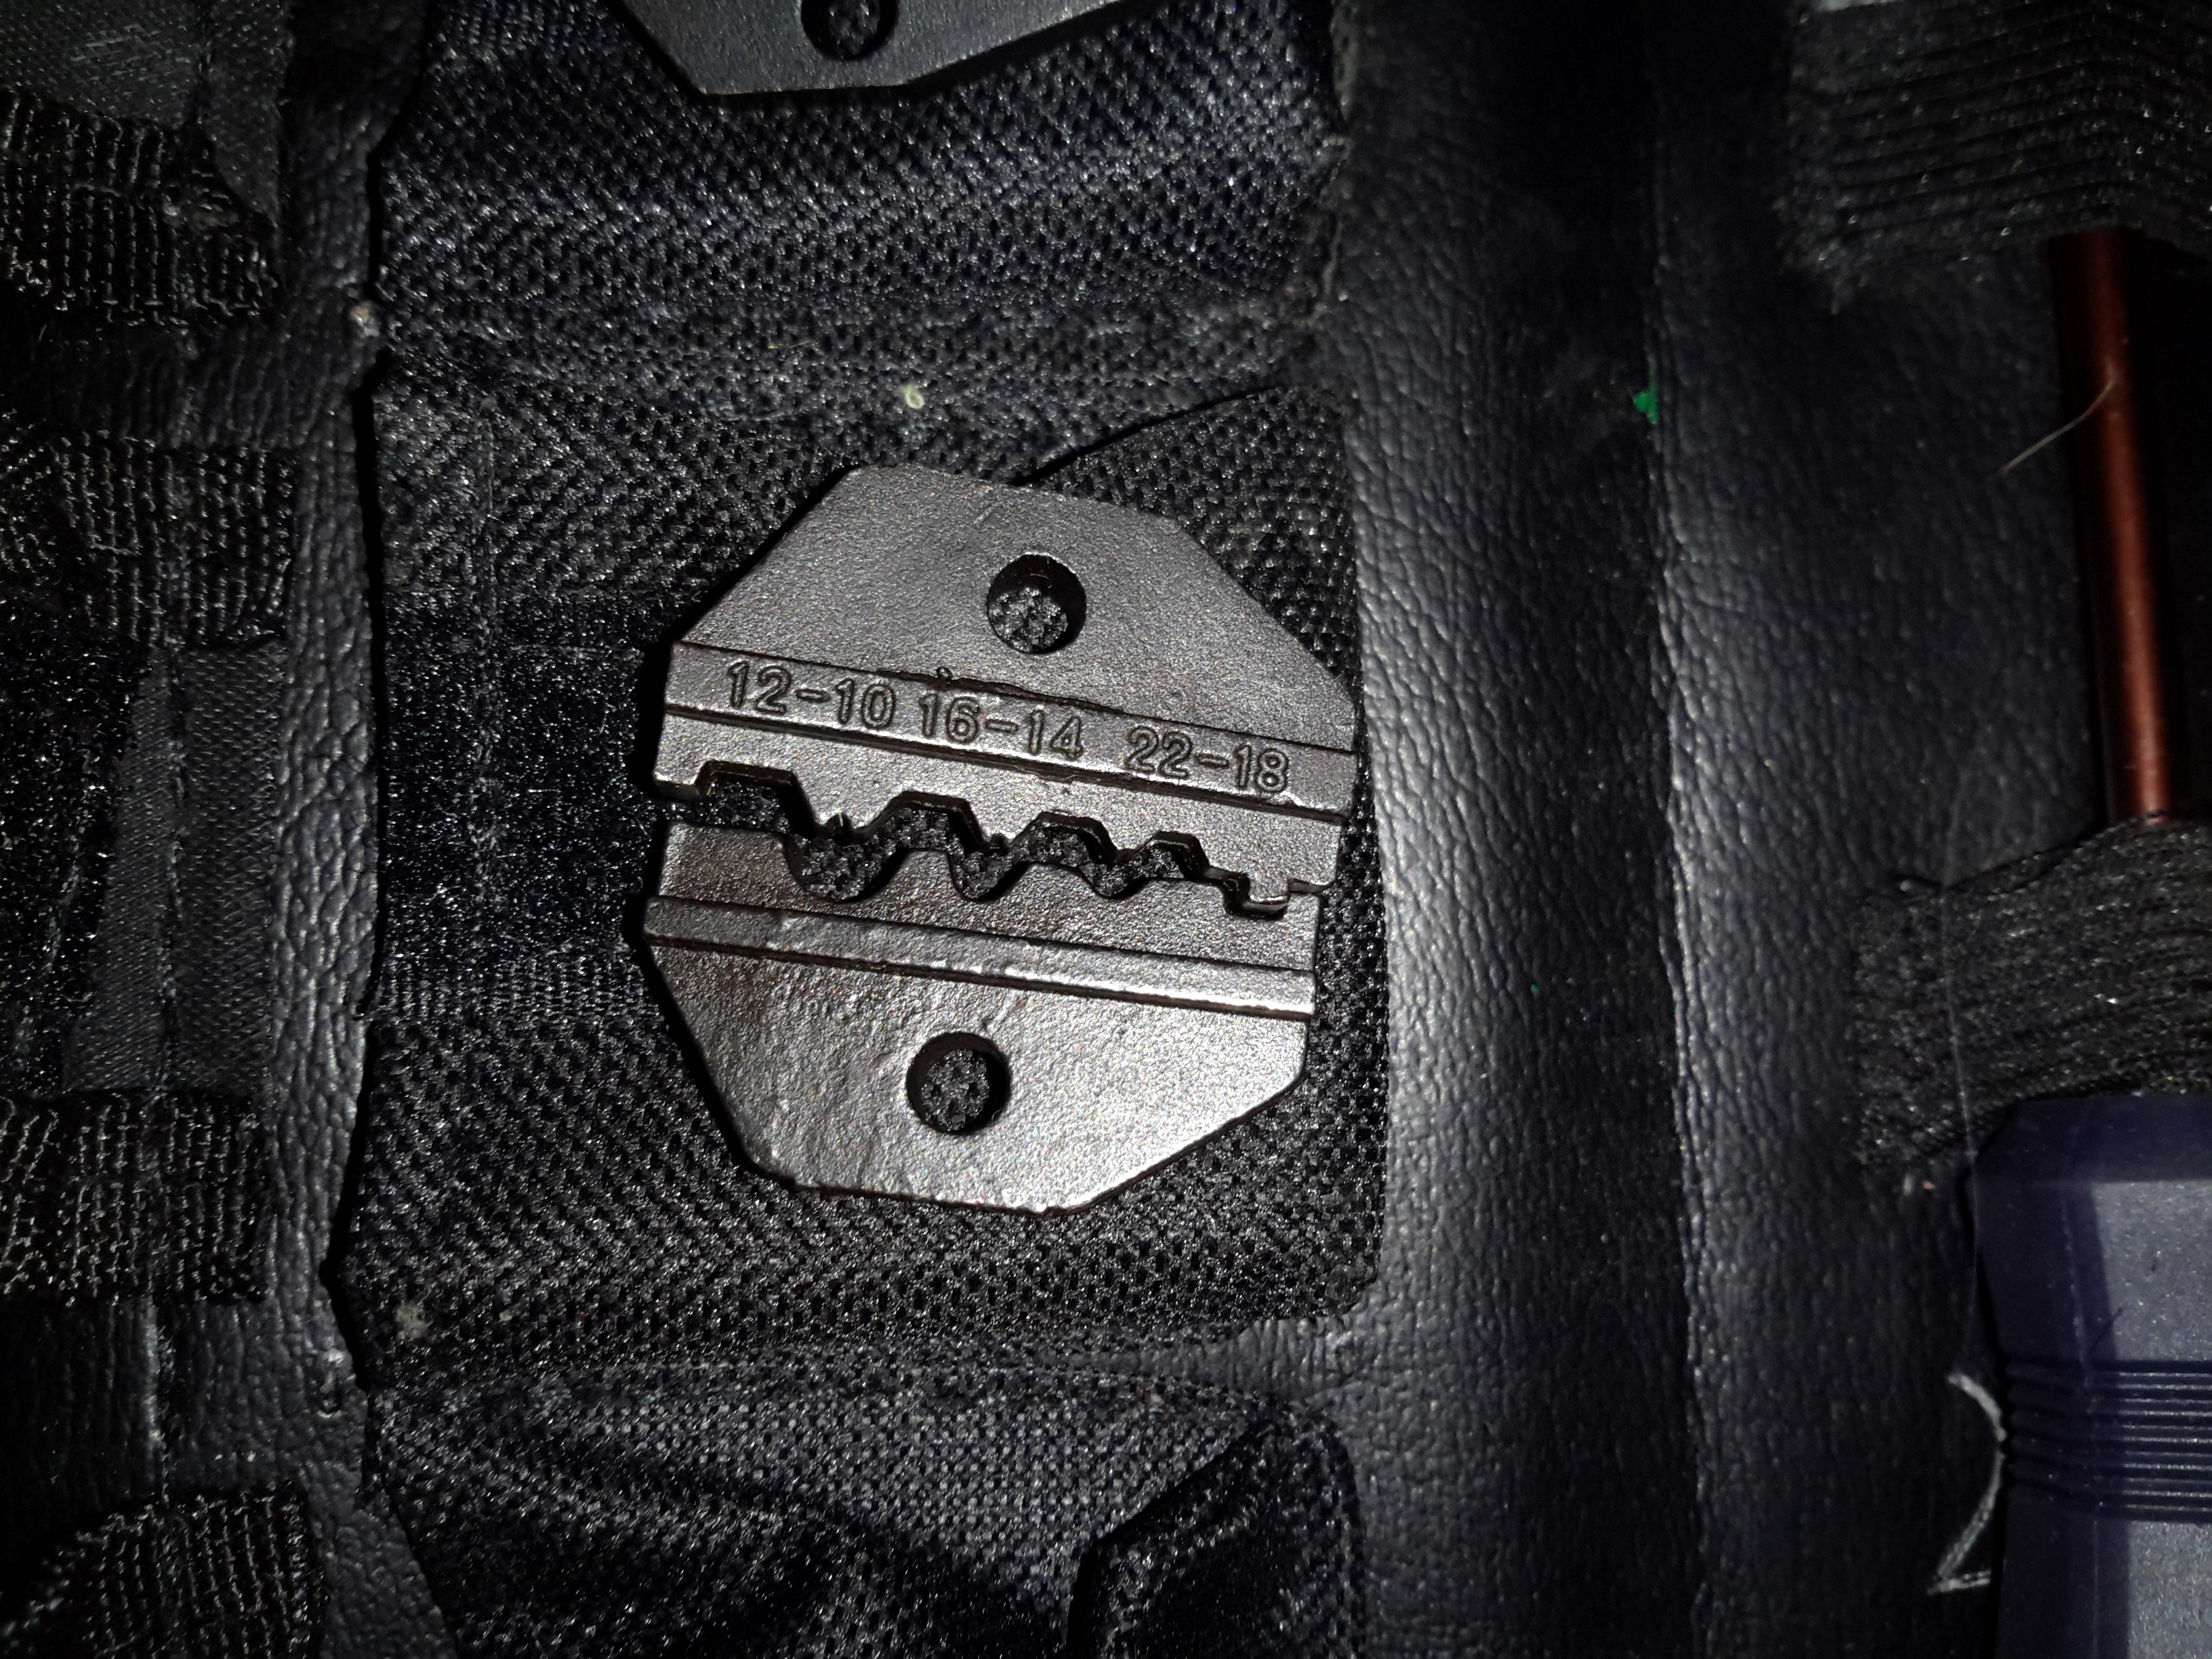
The pliers are supplied with the standard colour-coded automotive dies installed. Sometimes these terminals never crimp properly, as the dies just effectively crush the copper tube of the terminal, so more often than not the wire strands are just forced out of the terminal as the crimp is made, leaving a bad connection.

These are even better than the ratchet-type crimp tools at the local Maplin Electronics – the set of those I have just distorts when a large crimp is made, so the terminal never gets a full crimp. The steel is not stiff enough to handle the forces required.

Example Crimp
Example Crimp

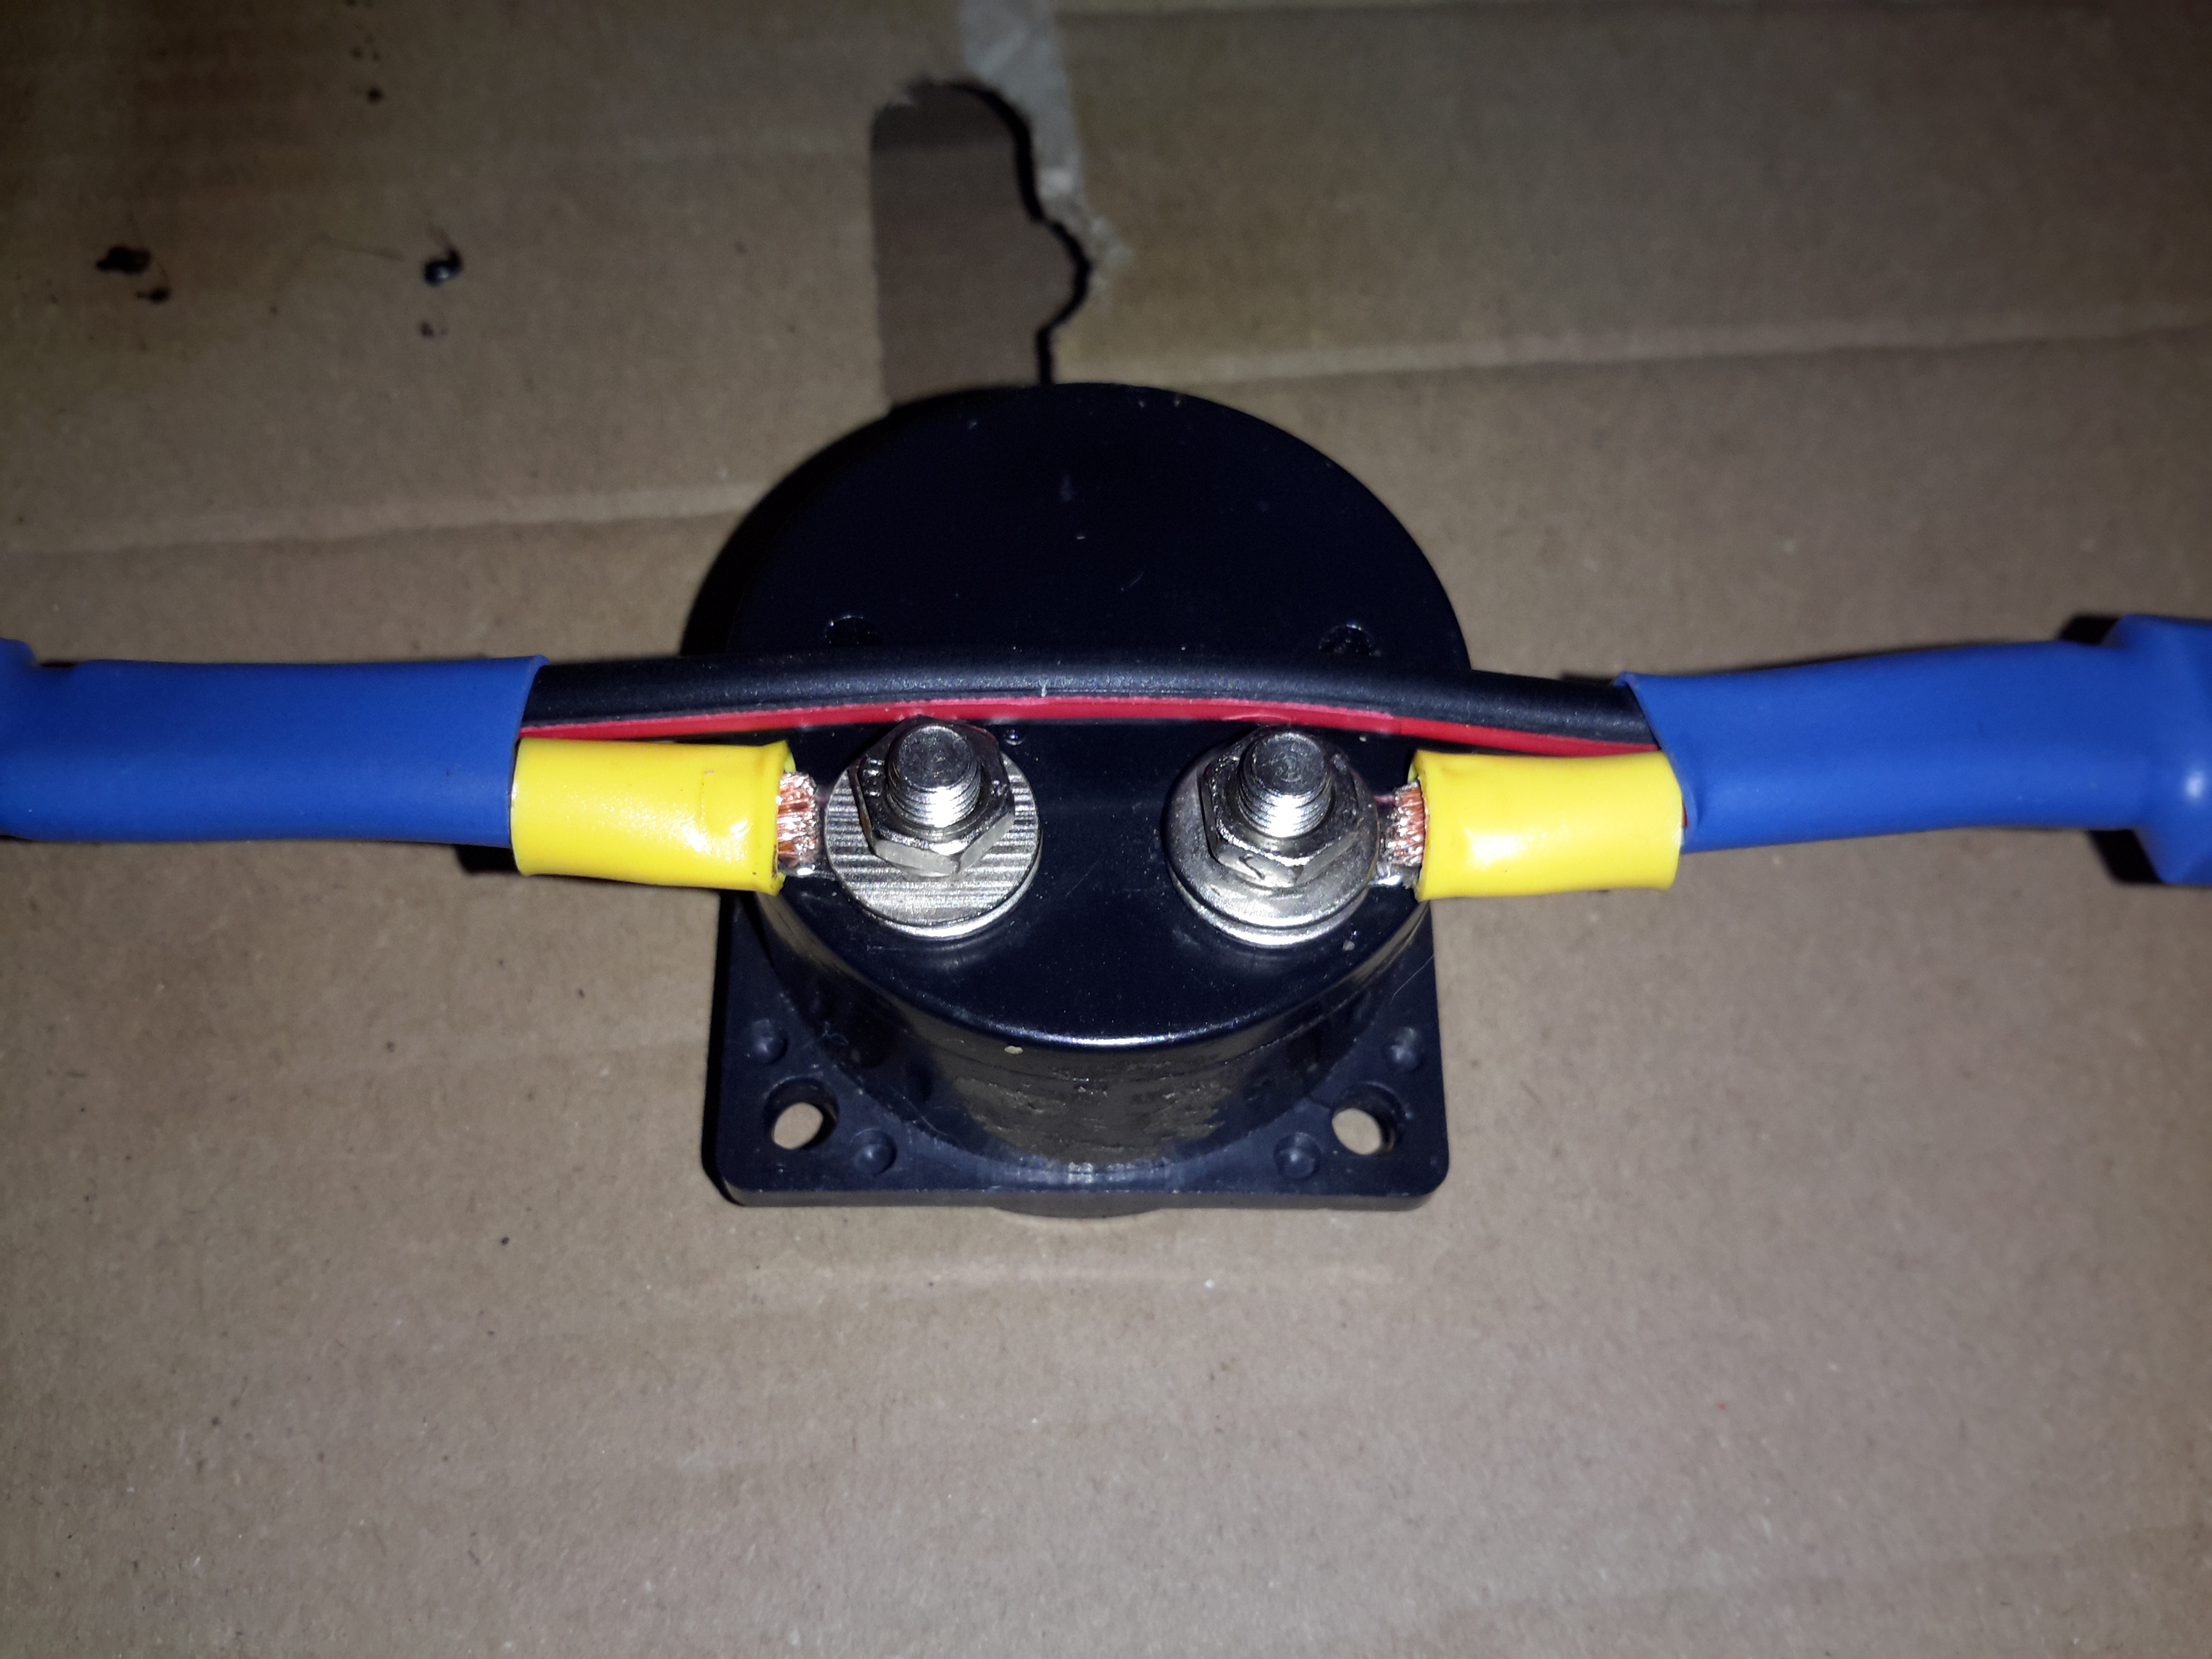
Here’s a couple of large crimps on 6mm² cable attached to an ammeter. The crimps are nice & tight & hold onto the cable securely. The insulating sleeve on the terminals also hasn’t been cut through by the dies, which is often a problem on cheap crimp tools.

Posted on Leave a comment

Dell SE197FPf Monitor 12v Conversion

My other monitors are a different model, and have a slightly different main PCB inside, but the process is mostly the same for converting these to 12v supply.

Main PCB
Main PCB

In this monitor type, there is only a single board, with all the PSU & logic, instead of separate boards for each function.

PSU Closeup
PSU Closeup

This monitor is slightly different in it’s power supply layout. The mains supply provides only a single 12v rail, which is then stepped down by a switching converter to 5v, then by smaller linear regulators to 3.3v & 1.8v for the logic. This makes my life easier since I don’t have to worry about any power conversion at all.

PCB Reverse
PCB Reverse

Here’s the backside of the PCB, the mains PSU section is in the centre.

Attachment Points
Attachment Points

Here’s the pair of 12v supply wires soldered onto the main board, onto the common GND connection on the left, and the main +12v rail on the right. I’ve not bothered with colour coding the wiring here, just used whatever I had to hand that was heavy enough to cope with a couple amps.

12v Socket
12v Socket

A small mod later with a cone drill & the 12v input socket is mounted in the LCD frame.

Casing Mod
Casing Mod

Some light removal of plastic & the back cover fits back on. Current draw at 13.8v is ~2A.

Posted on Leave a comment

nb Tanya Louise Antenna Feeder Install

Here’s the final bit of the radio install now the required parts have arrived!

The radio being inside, we needed a reliable way to route the antenna coax through the hull to the external antenna, I managed to find some N-type bulkhead connectors, that are perfect for this job:

Bulkhead Fitting
Bulkhead Fitting

This fitting will allow for simple disconnection of the antenna for service, and N-type connectors are water resistant.

Hole
Hole

A hole was drilled in a suitable location with a cone drill. The steel here is pretty heavy, at 5mm. A spot between the handrail & the sliding roof was picked since there’s less chance of the fitting being knocked by any flying ropes, windlasses or crew members 😉

Bulkhead Connector
Bulkhead Connector

Here’s the connector fitted into it’s hole. The O-ring under the flange seals against the steel hull to prevent water getting through to the radio equipment on the other side.

Completed
Completed

Completed connection to the antenna. The short run to the radio underneath (~18″) is RG213, but I’ve used RG-58 on the antenna itself since it’s more flexible. The antenna is only a metre or so away so losses shouldn’t be much of an issue.

Posted on Leave a comment

Bosch GSR 14.4v Pro Drill-Driver

Drill Case
Drill Case

Here is a Bosch 14.4v Professional cordless drill/driver, recovered from a skip!
It was thrown away due to a gearbox fault, which was easy to rectify.

Internals
Internals

Here is the drill with the side cover removed, showing it’s internal parts. The speed controller is below the motor & gearbox here. The unit at the top consists of a 12v DC motor, coupled to a 4-stage  epicyclic gearbox unit, from which can be selected 2 different ratios, by way of the lever in the centre of the box. This disables one of the gear stages. There is a torque control clutch at the chuck end of the gearbox, this was faulty when found.

Motor
Motor

Here is the drive motor disconnected from the gearbox, having a bayonet fitting on the drive end.

Drive Gear
Drive Gear

This is the primary drive gear of the motor, which connects with the gearbox.

Cooling Fan
Cooling Fan

The motor is cooled by this fan inside next to the commutator, drawing air over the windings.

Gearbox
Gearbox

This is the gearbox partially disassembled, showing the 1st & second stages of the geartrain. The second stage provides the 2 different drive ratios by having the annulus slide over the entire gearset, disabling it entirely, in high gear. The annulus gears are a potential weak point in this gearbox, as they are made from plastic, with all other gears being made of steel.

Charger
Charger

Here is the charging unit for the Ni-Cd battery packs supplied with the drill. The only indicator is the LED shown here on the front of the unit, which flashes while charging, & comes on solid when charging is complete. Charge termination is by way of temperature monitoring.

Transformer
Transformer

Here the bottom of the charger has been removed, showing the internal parts. An 18v transformer supplies power to the charger PCB on the left.

Charger PCB
Charger PCB

This is the charger PCB, with a ST Microelectronics controller IC marked 6HKB07501758. I cannot find any information about this chip.

Battery Pack Internals

Here is a battery pack with the top removed, showing the cells.

Temperature Sensor
Temperature Sensor

This is the temperature sensor embedded inside the battery pack that is used by the charger to determine when charging is complete.