Posted on Leave a comment

Lying Again Are We? (Mike Webb Of Hydraulicgenerators.co.uk)

Regular readers might remember a previous post about the fiasco we have had with a hydraulic generator, and in particular one person by the name of Mike Webb.

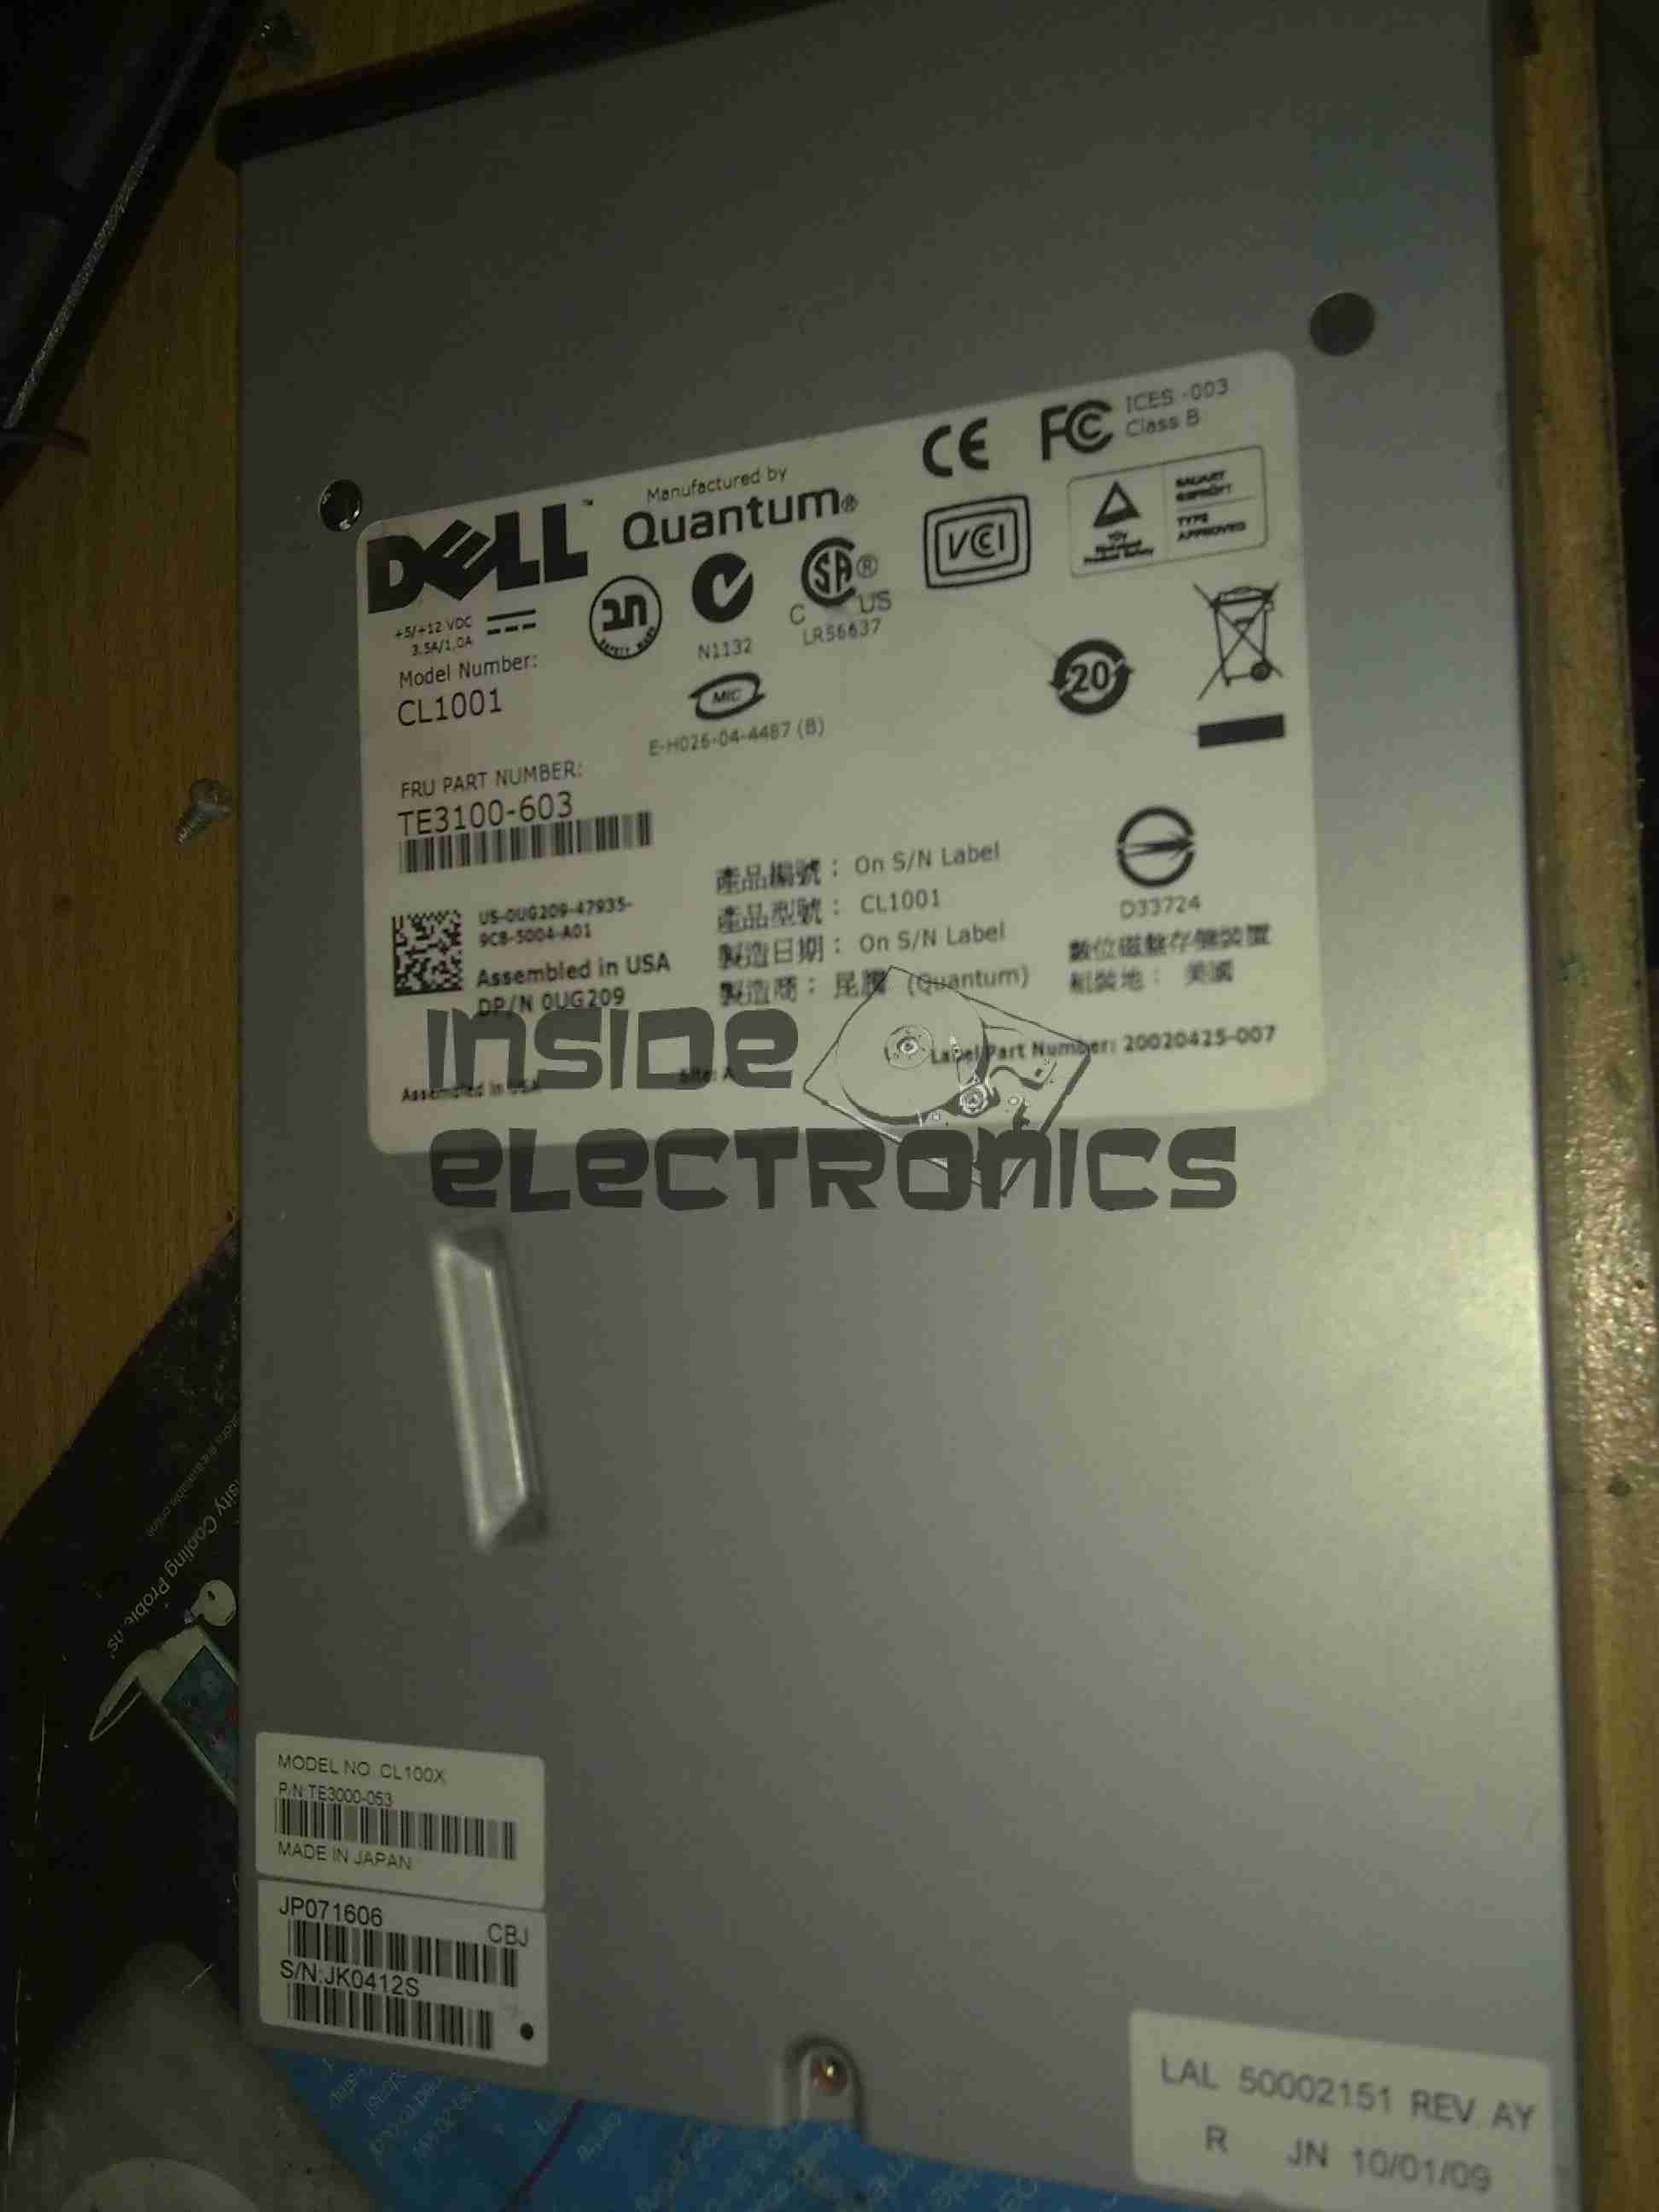
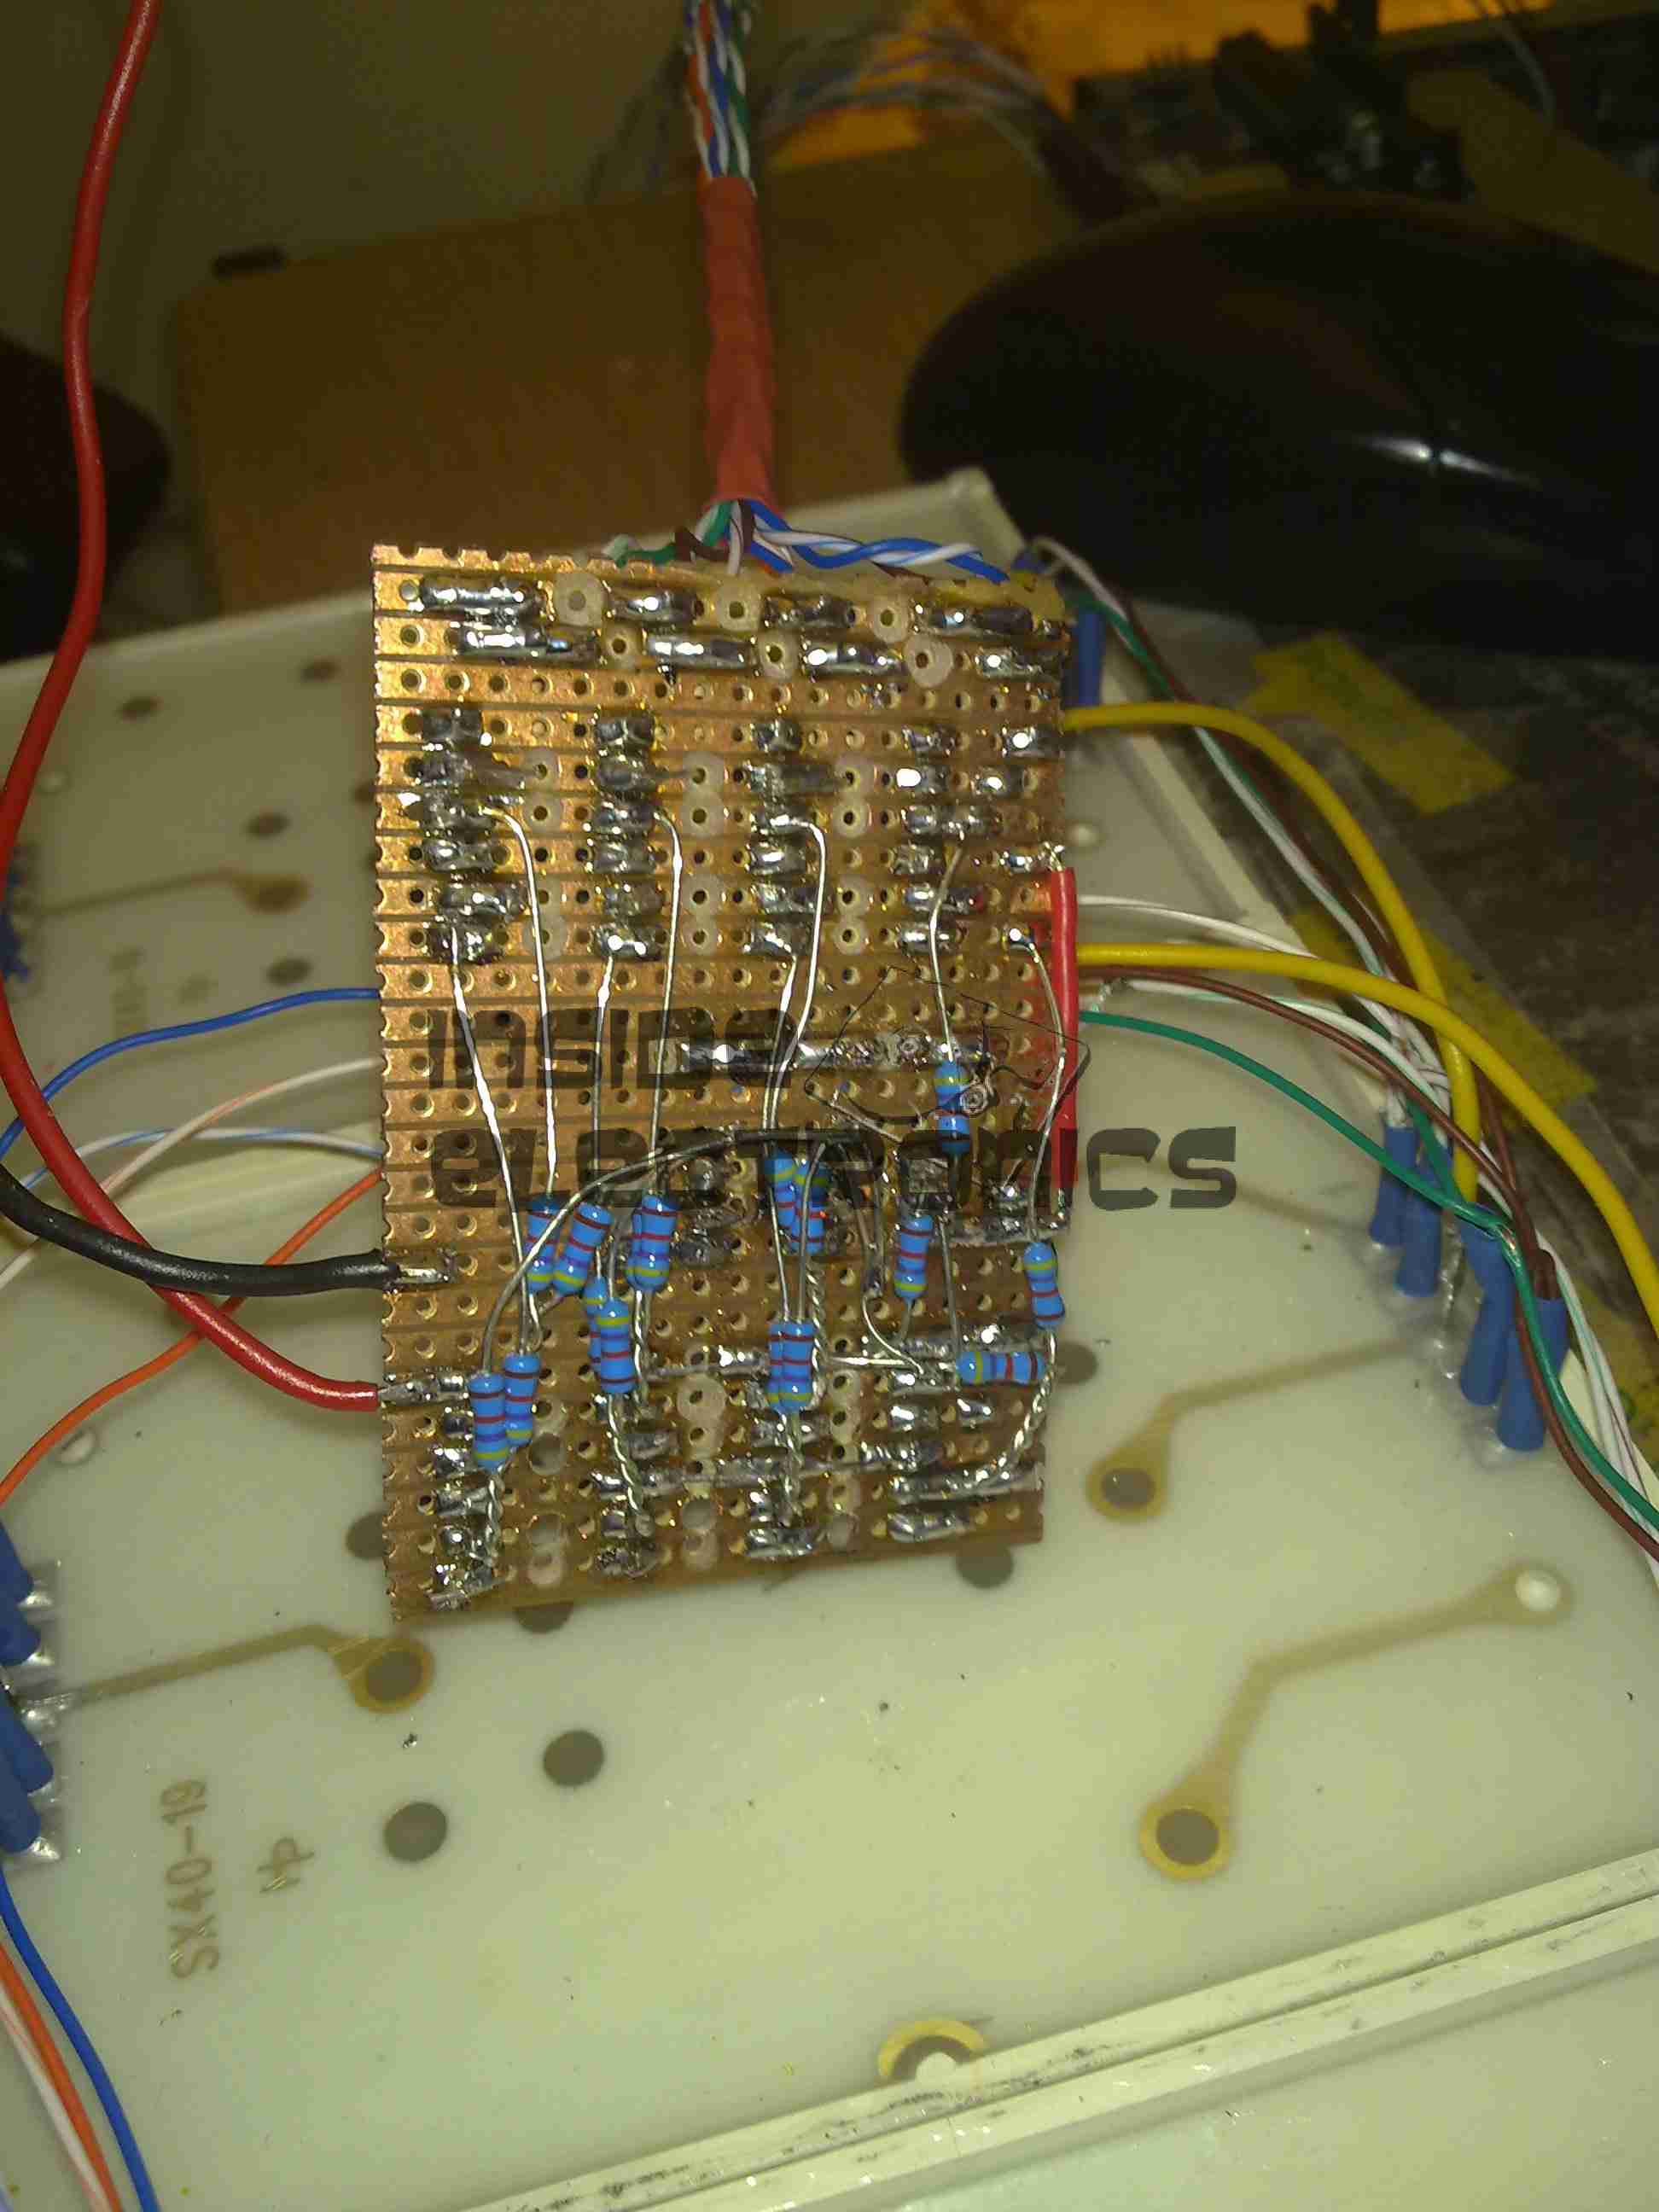
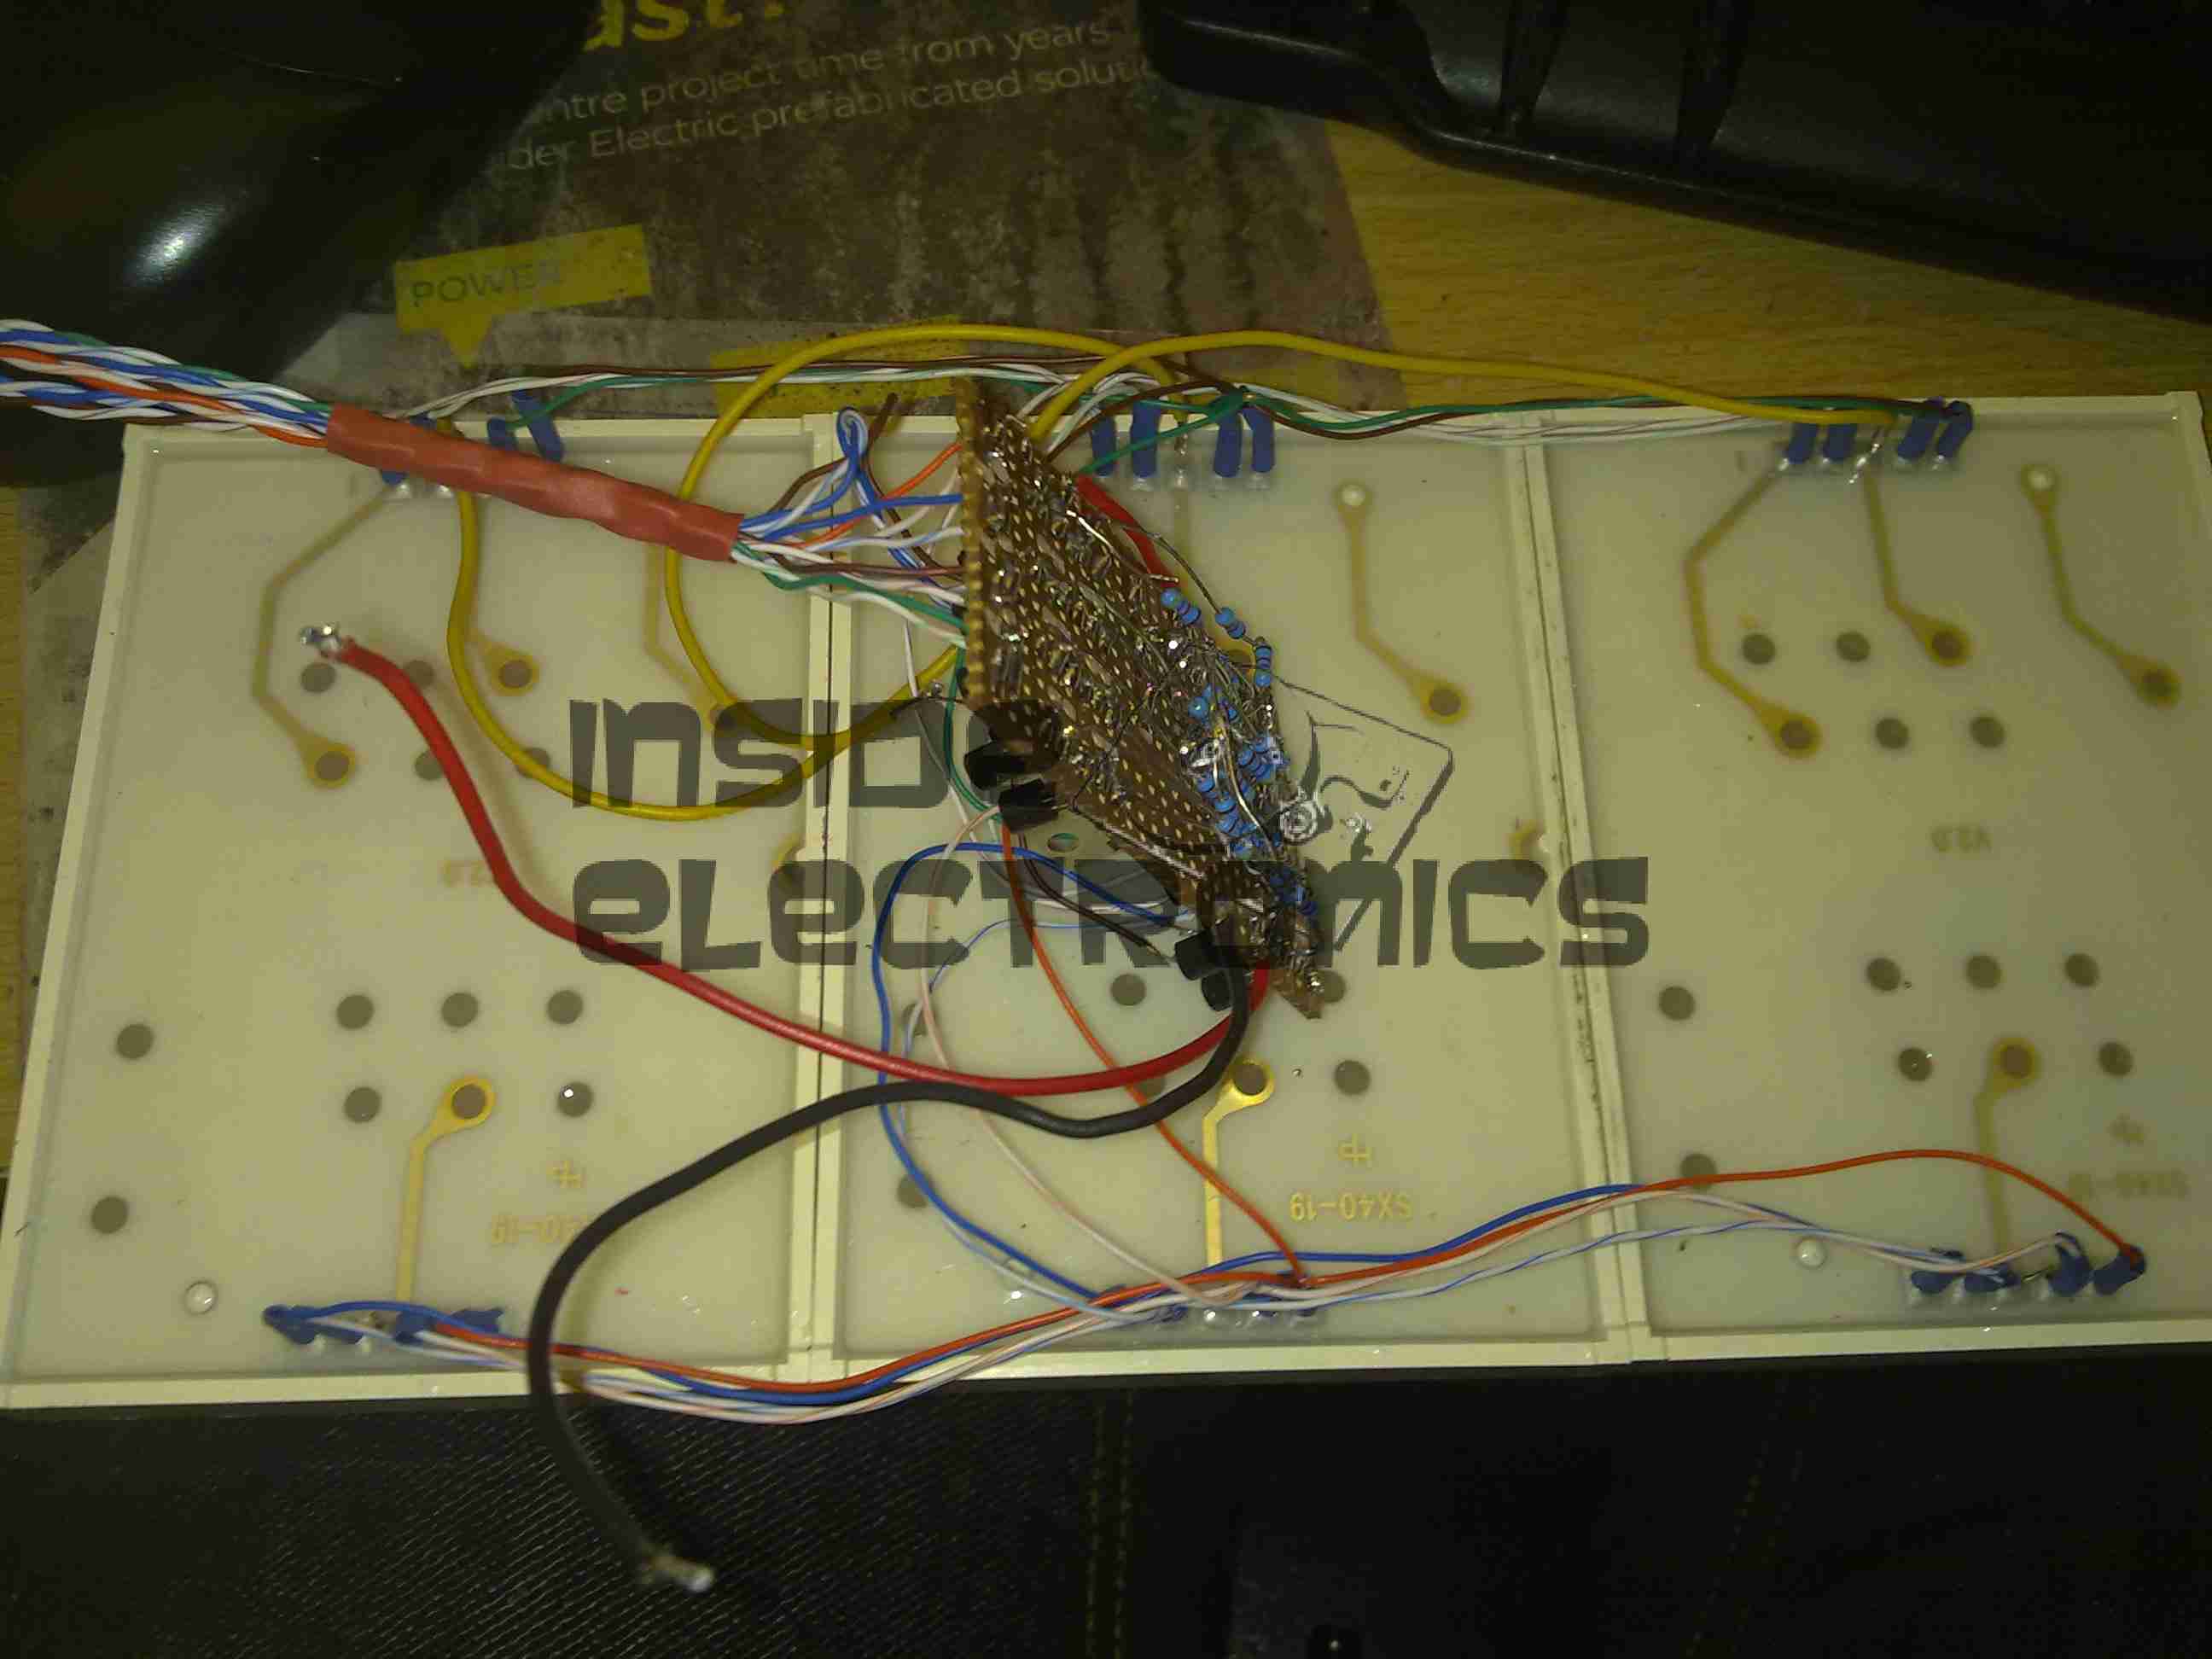
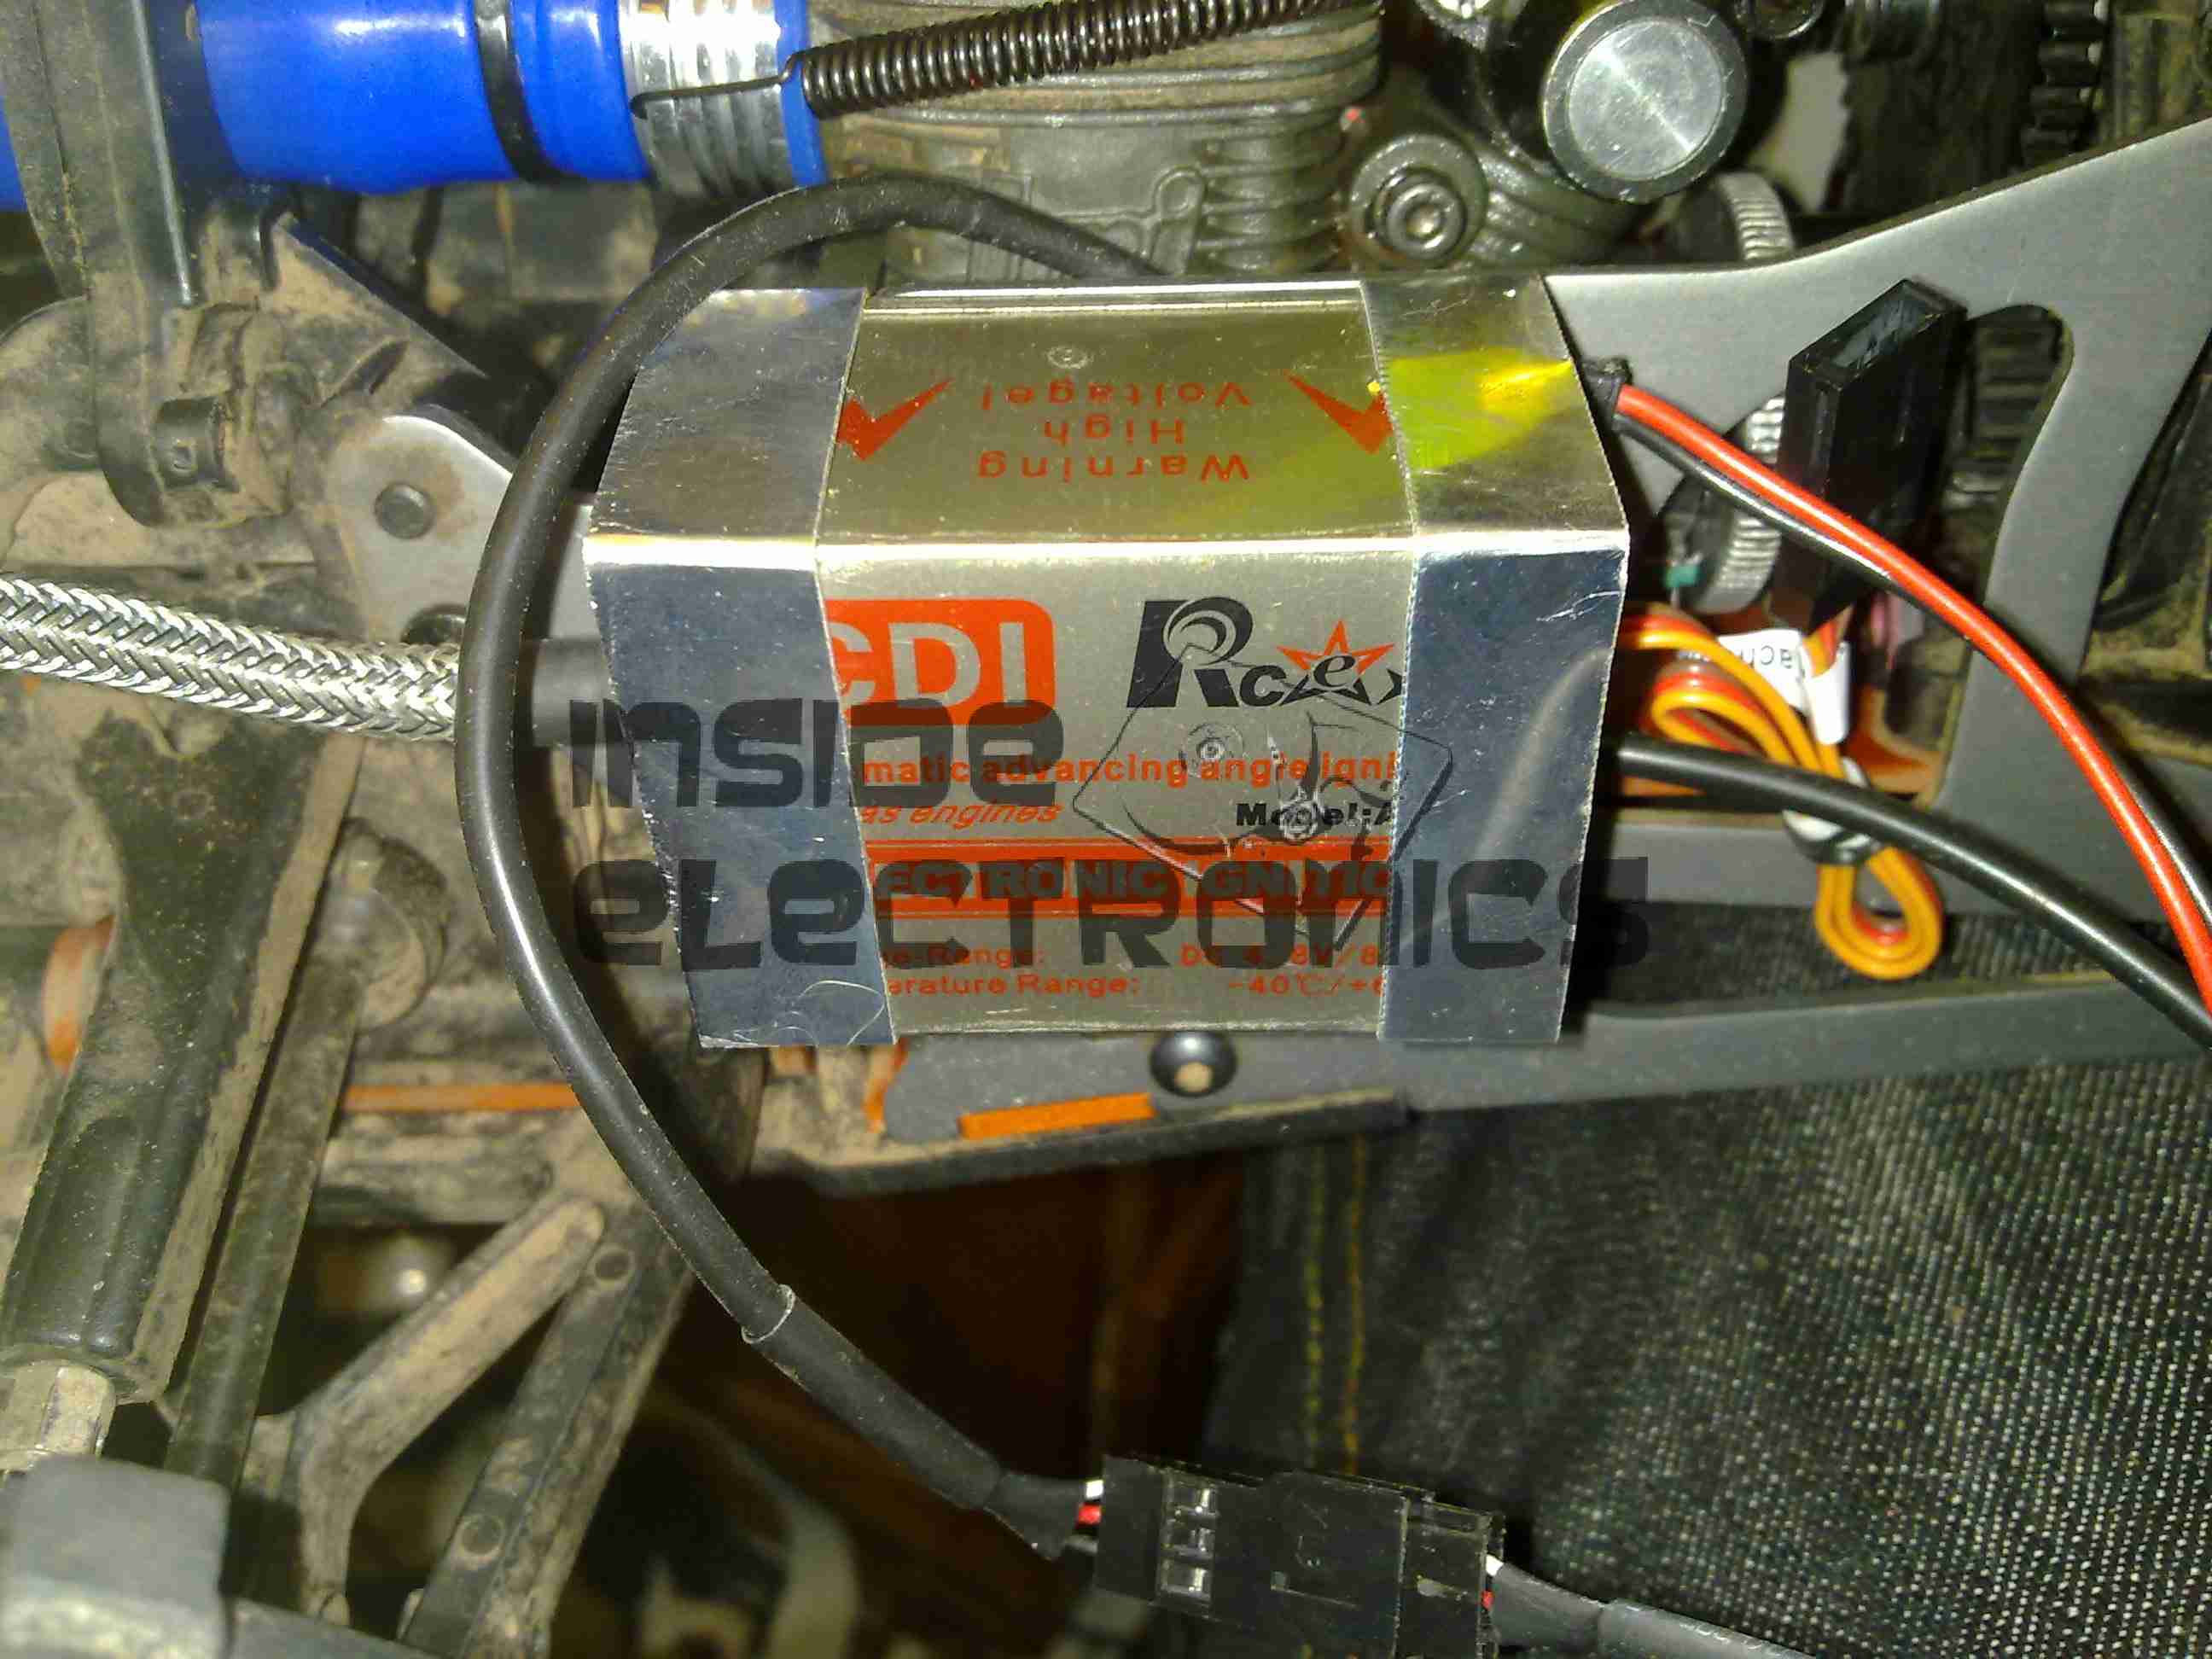
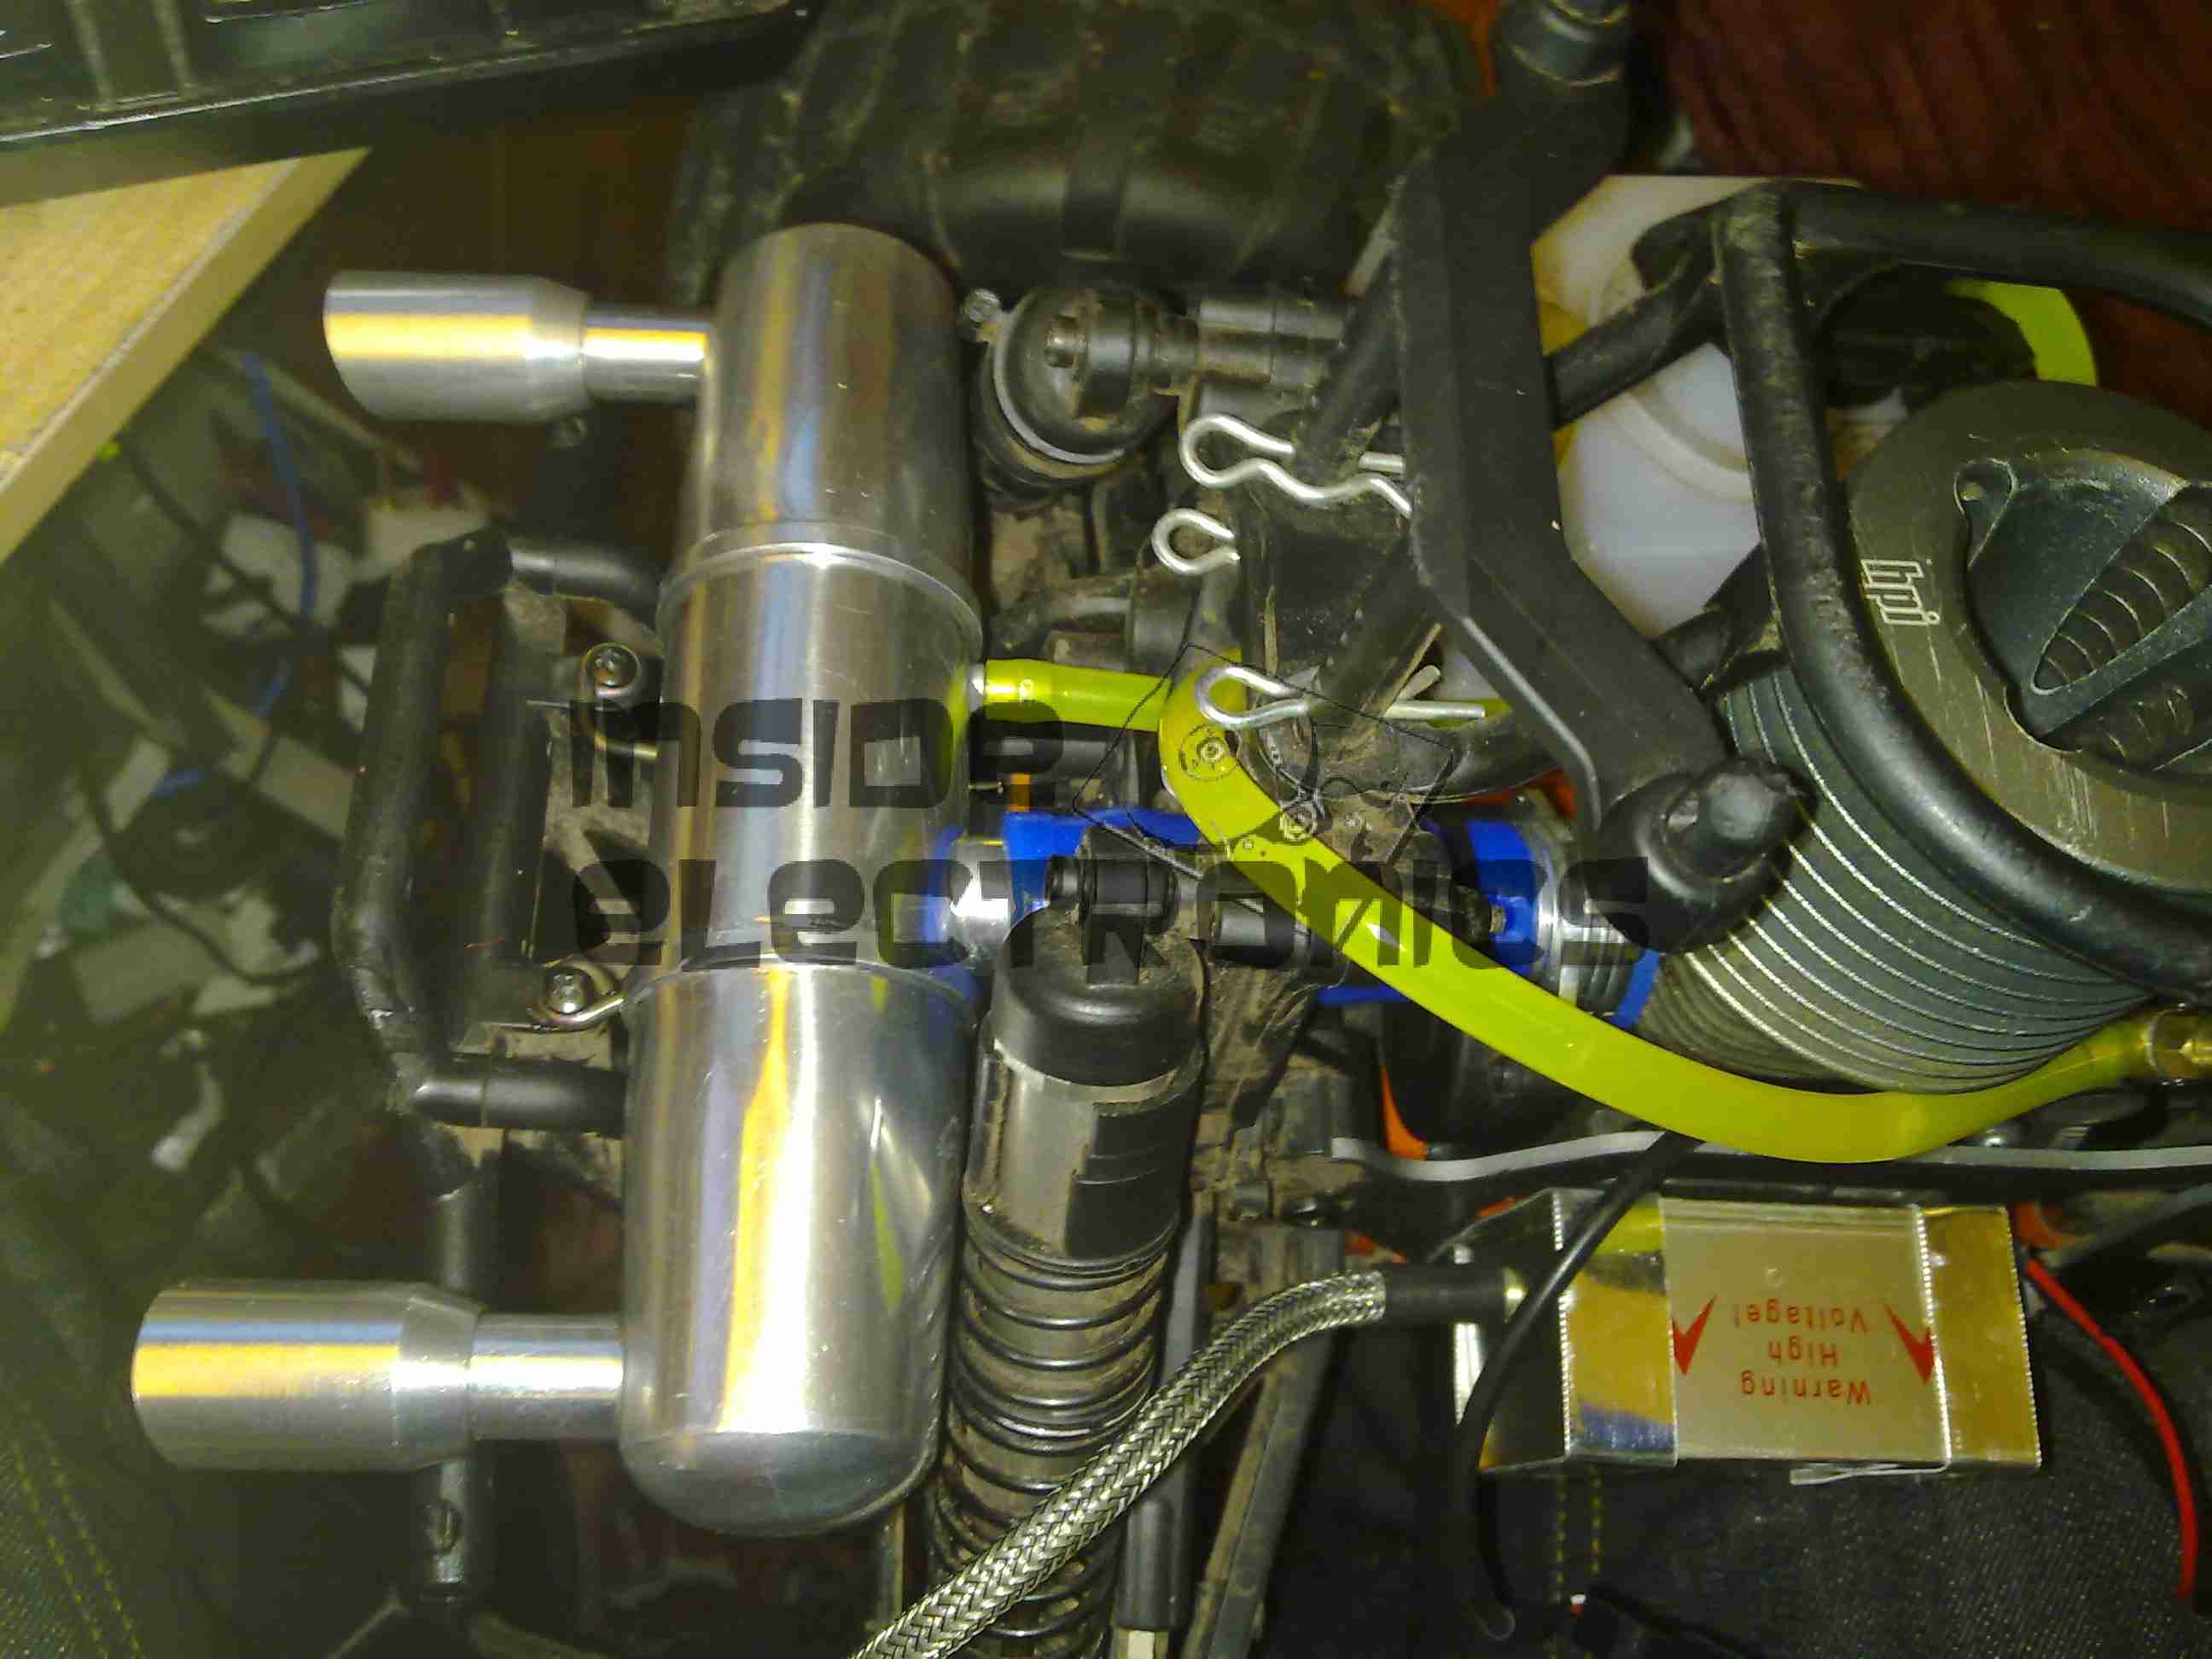
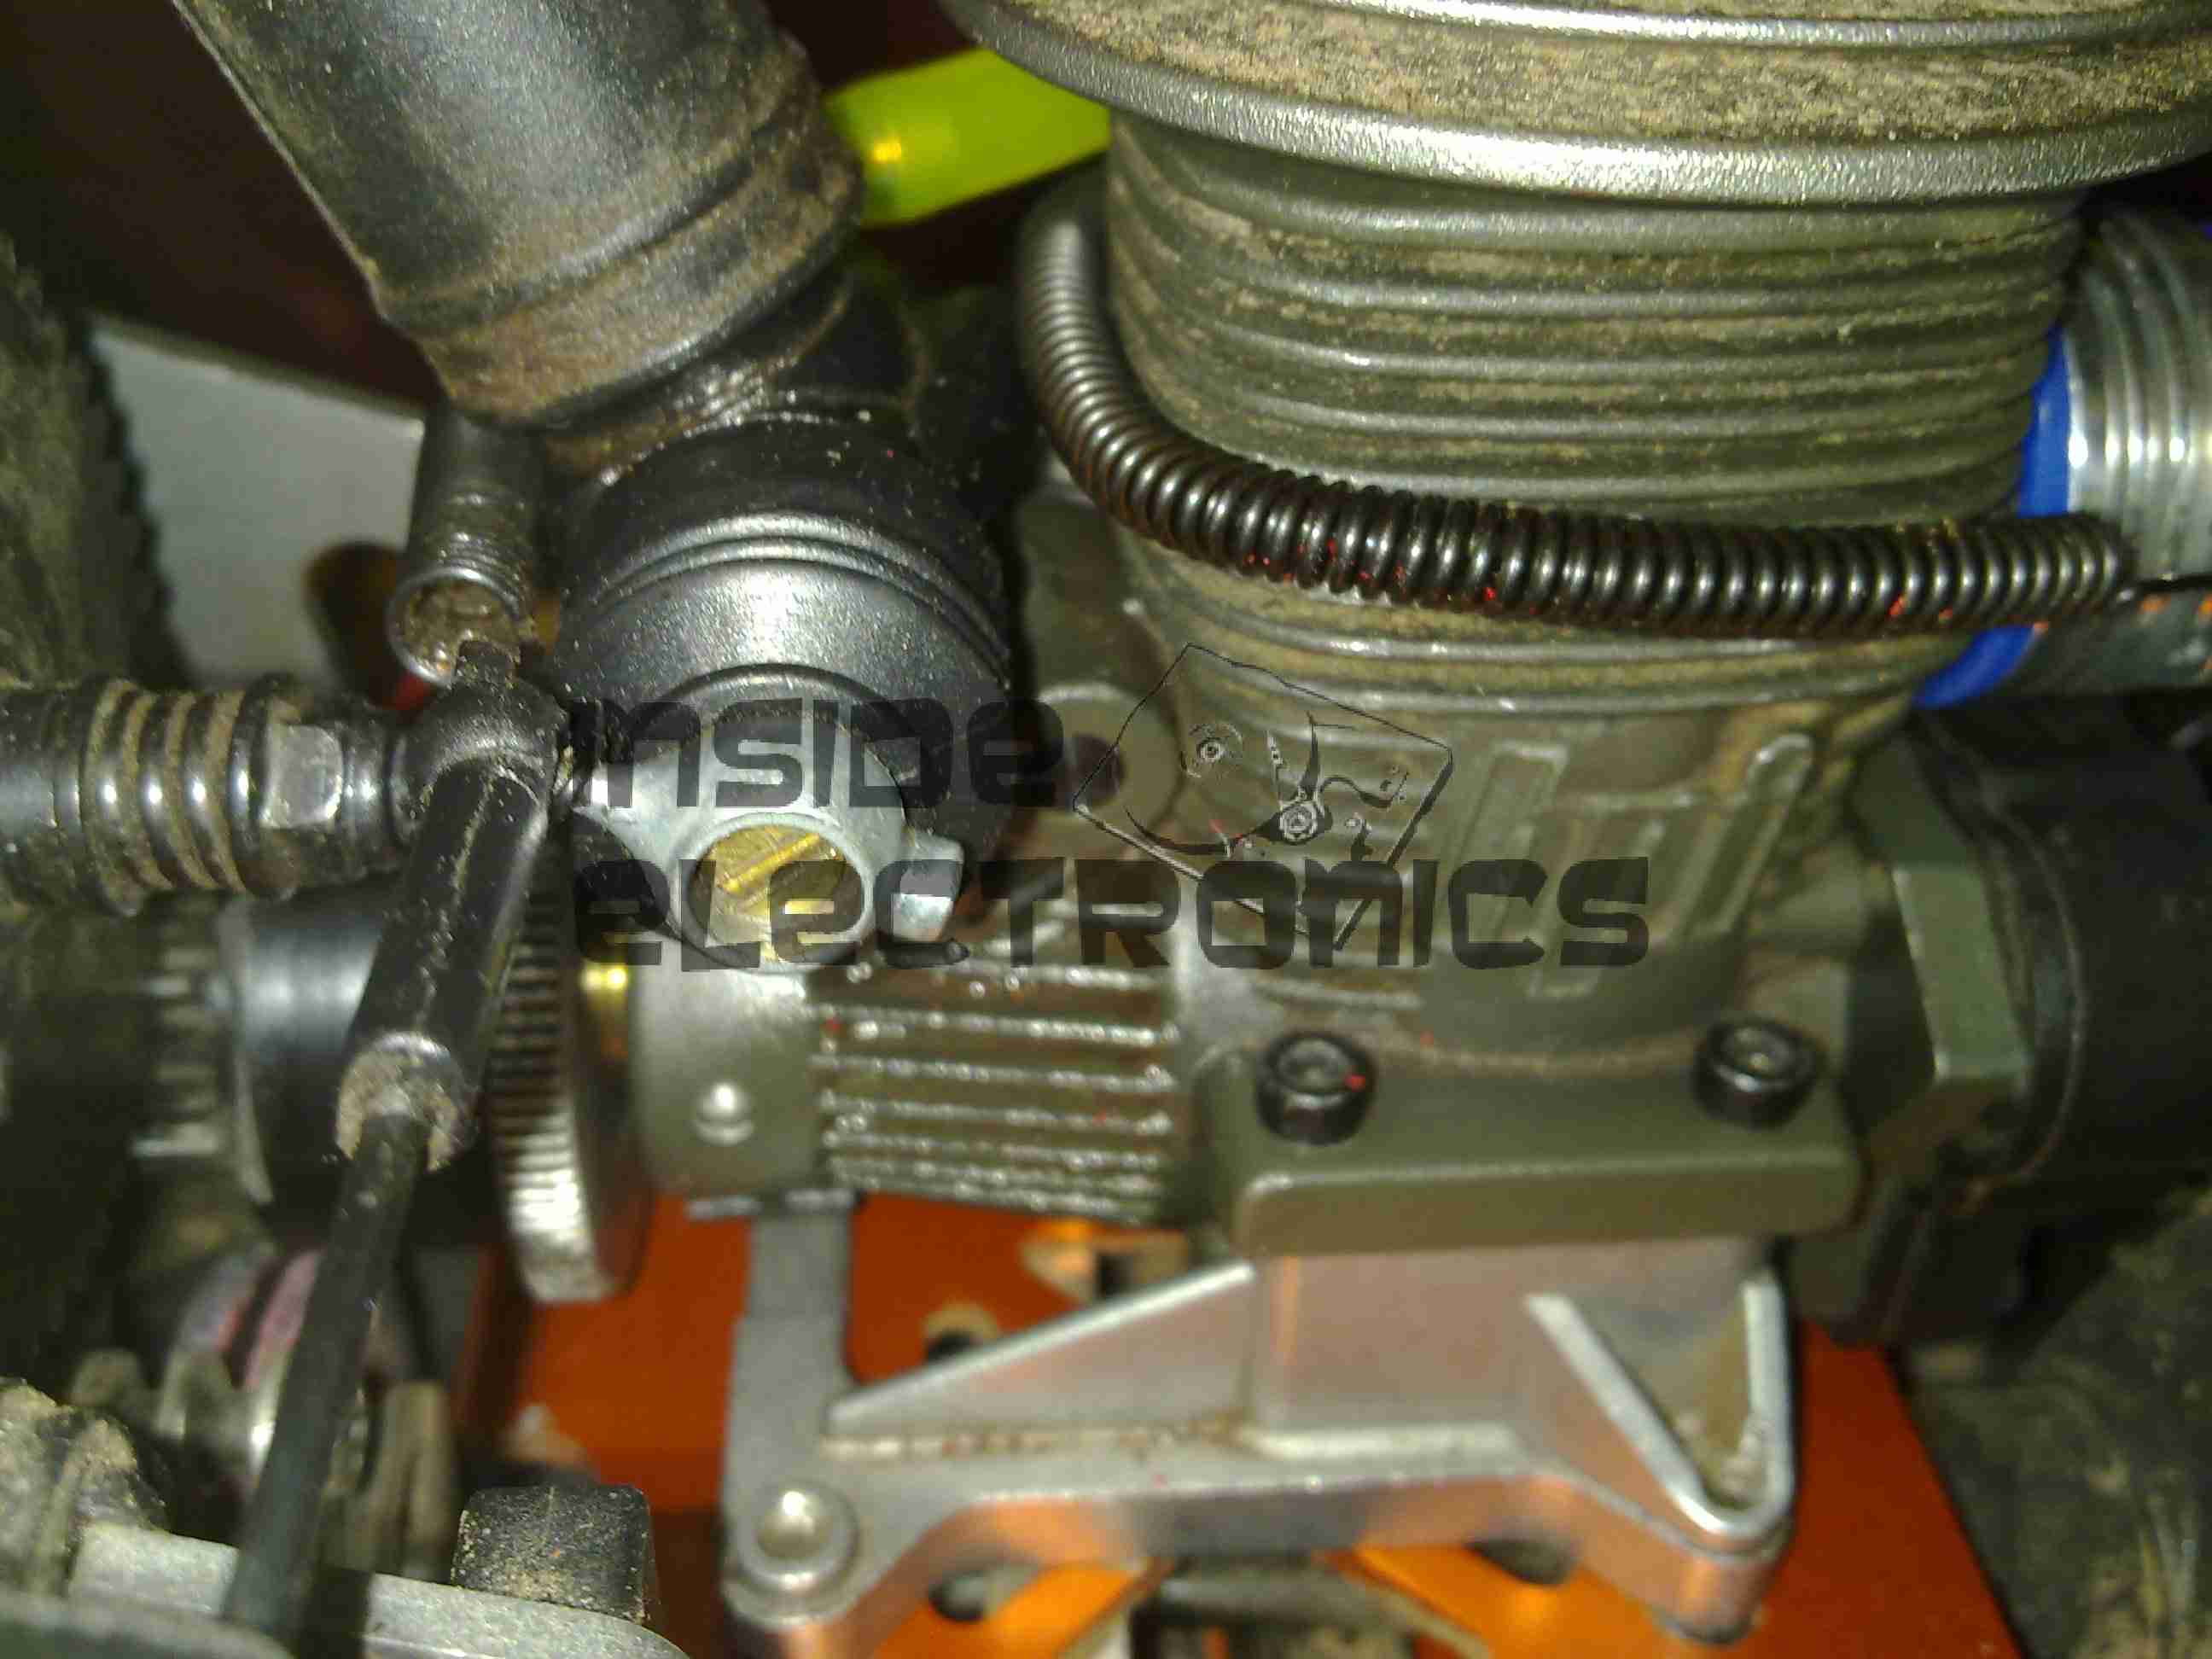
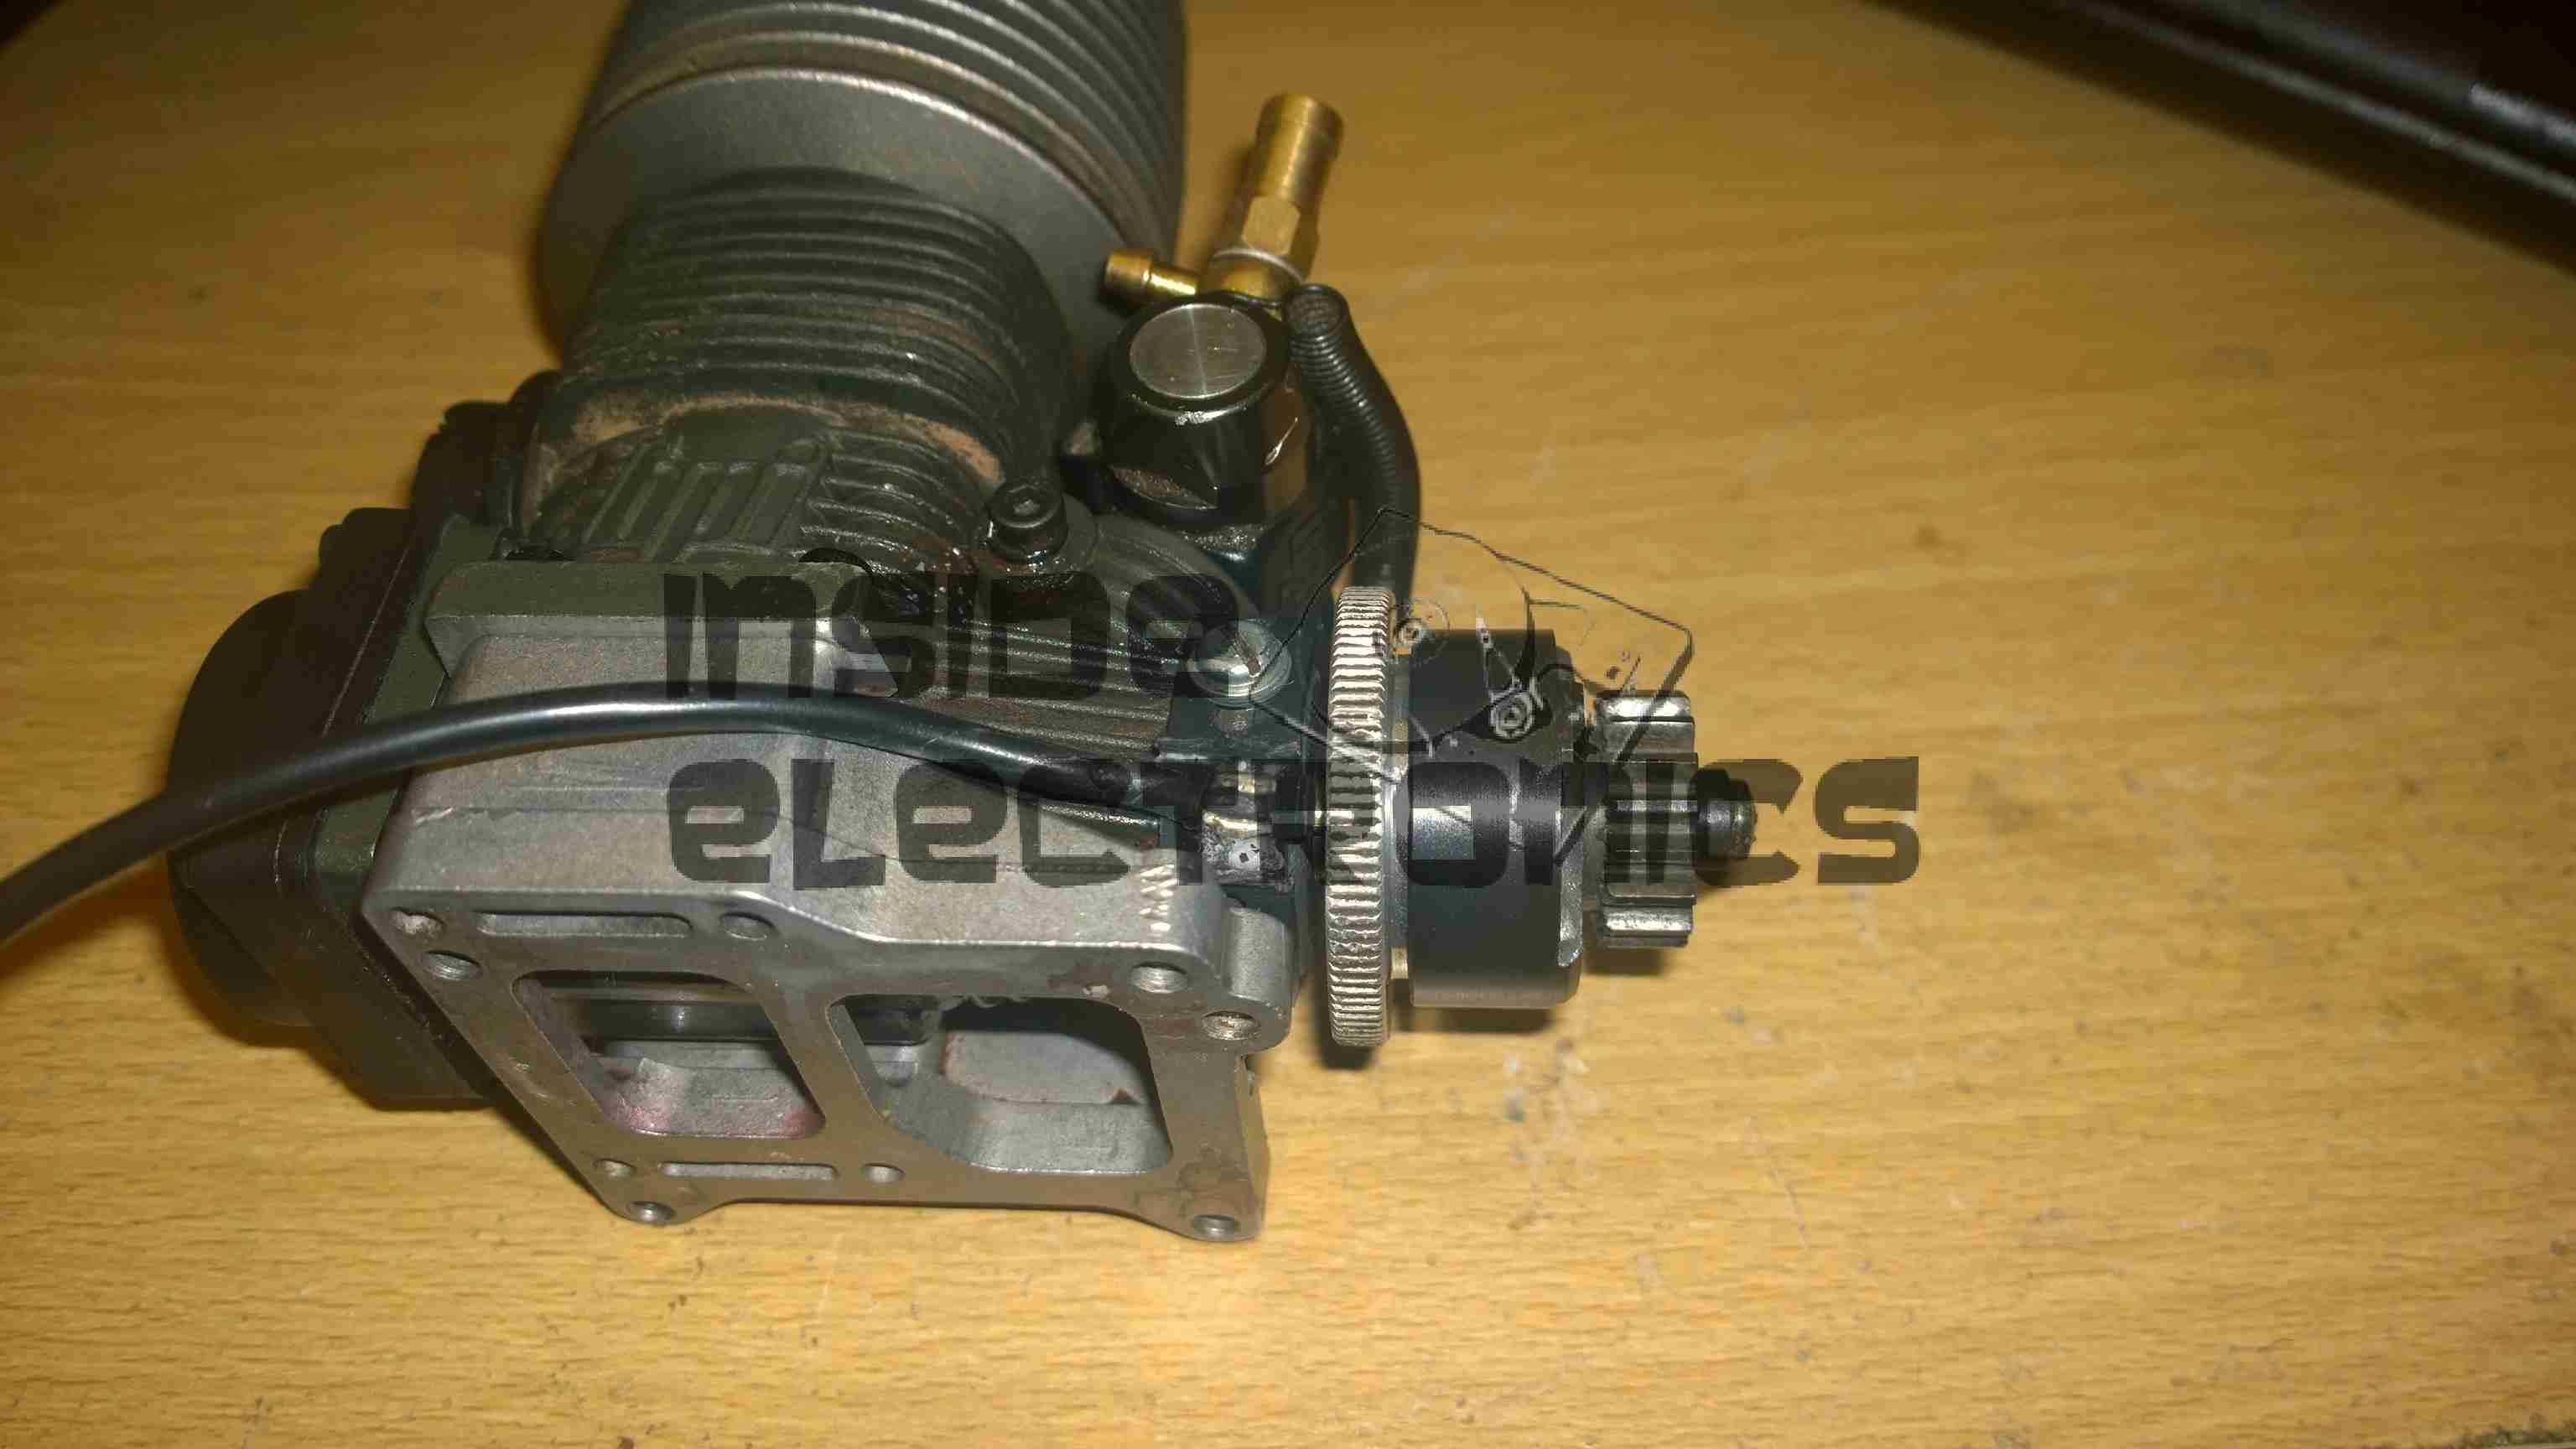
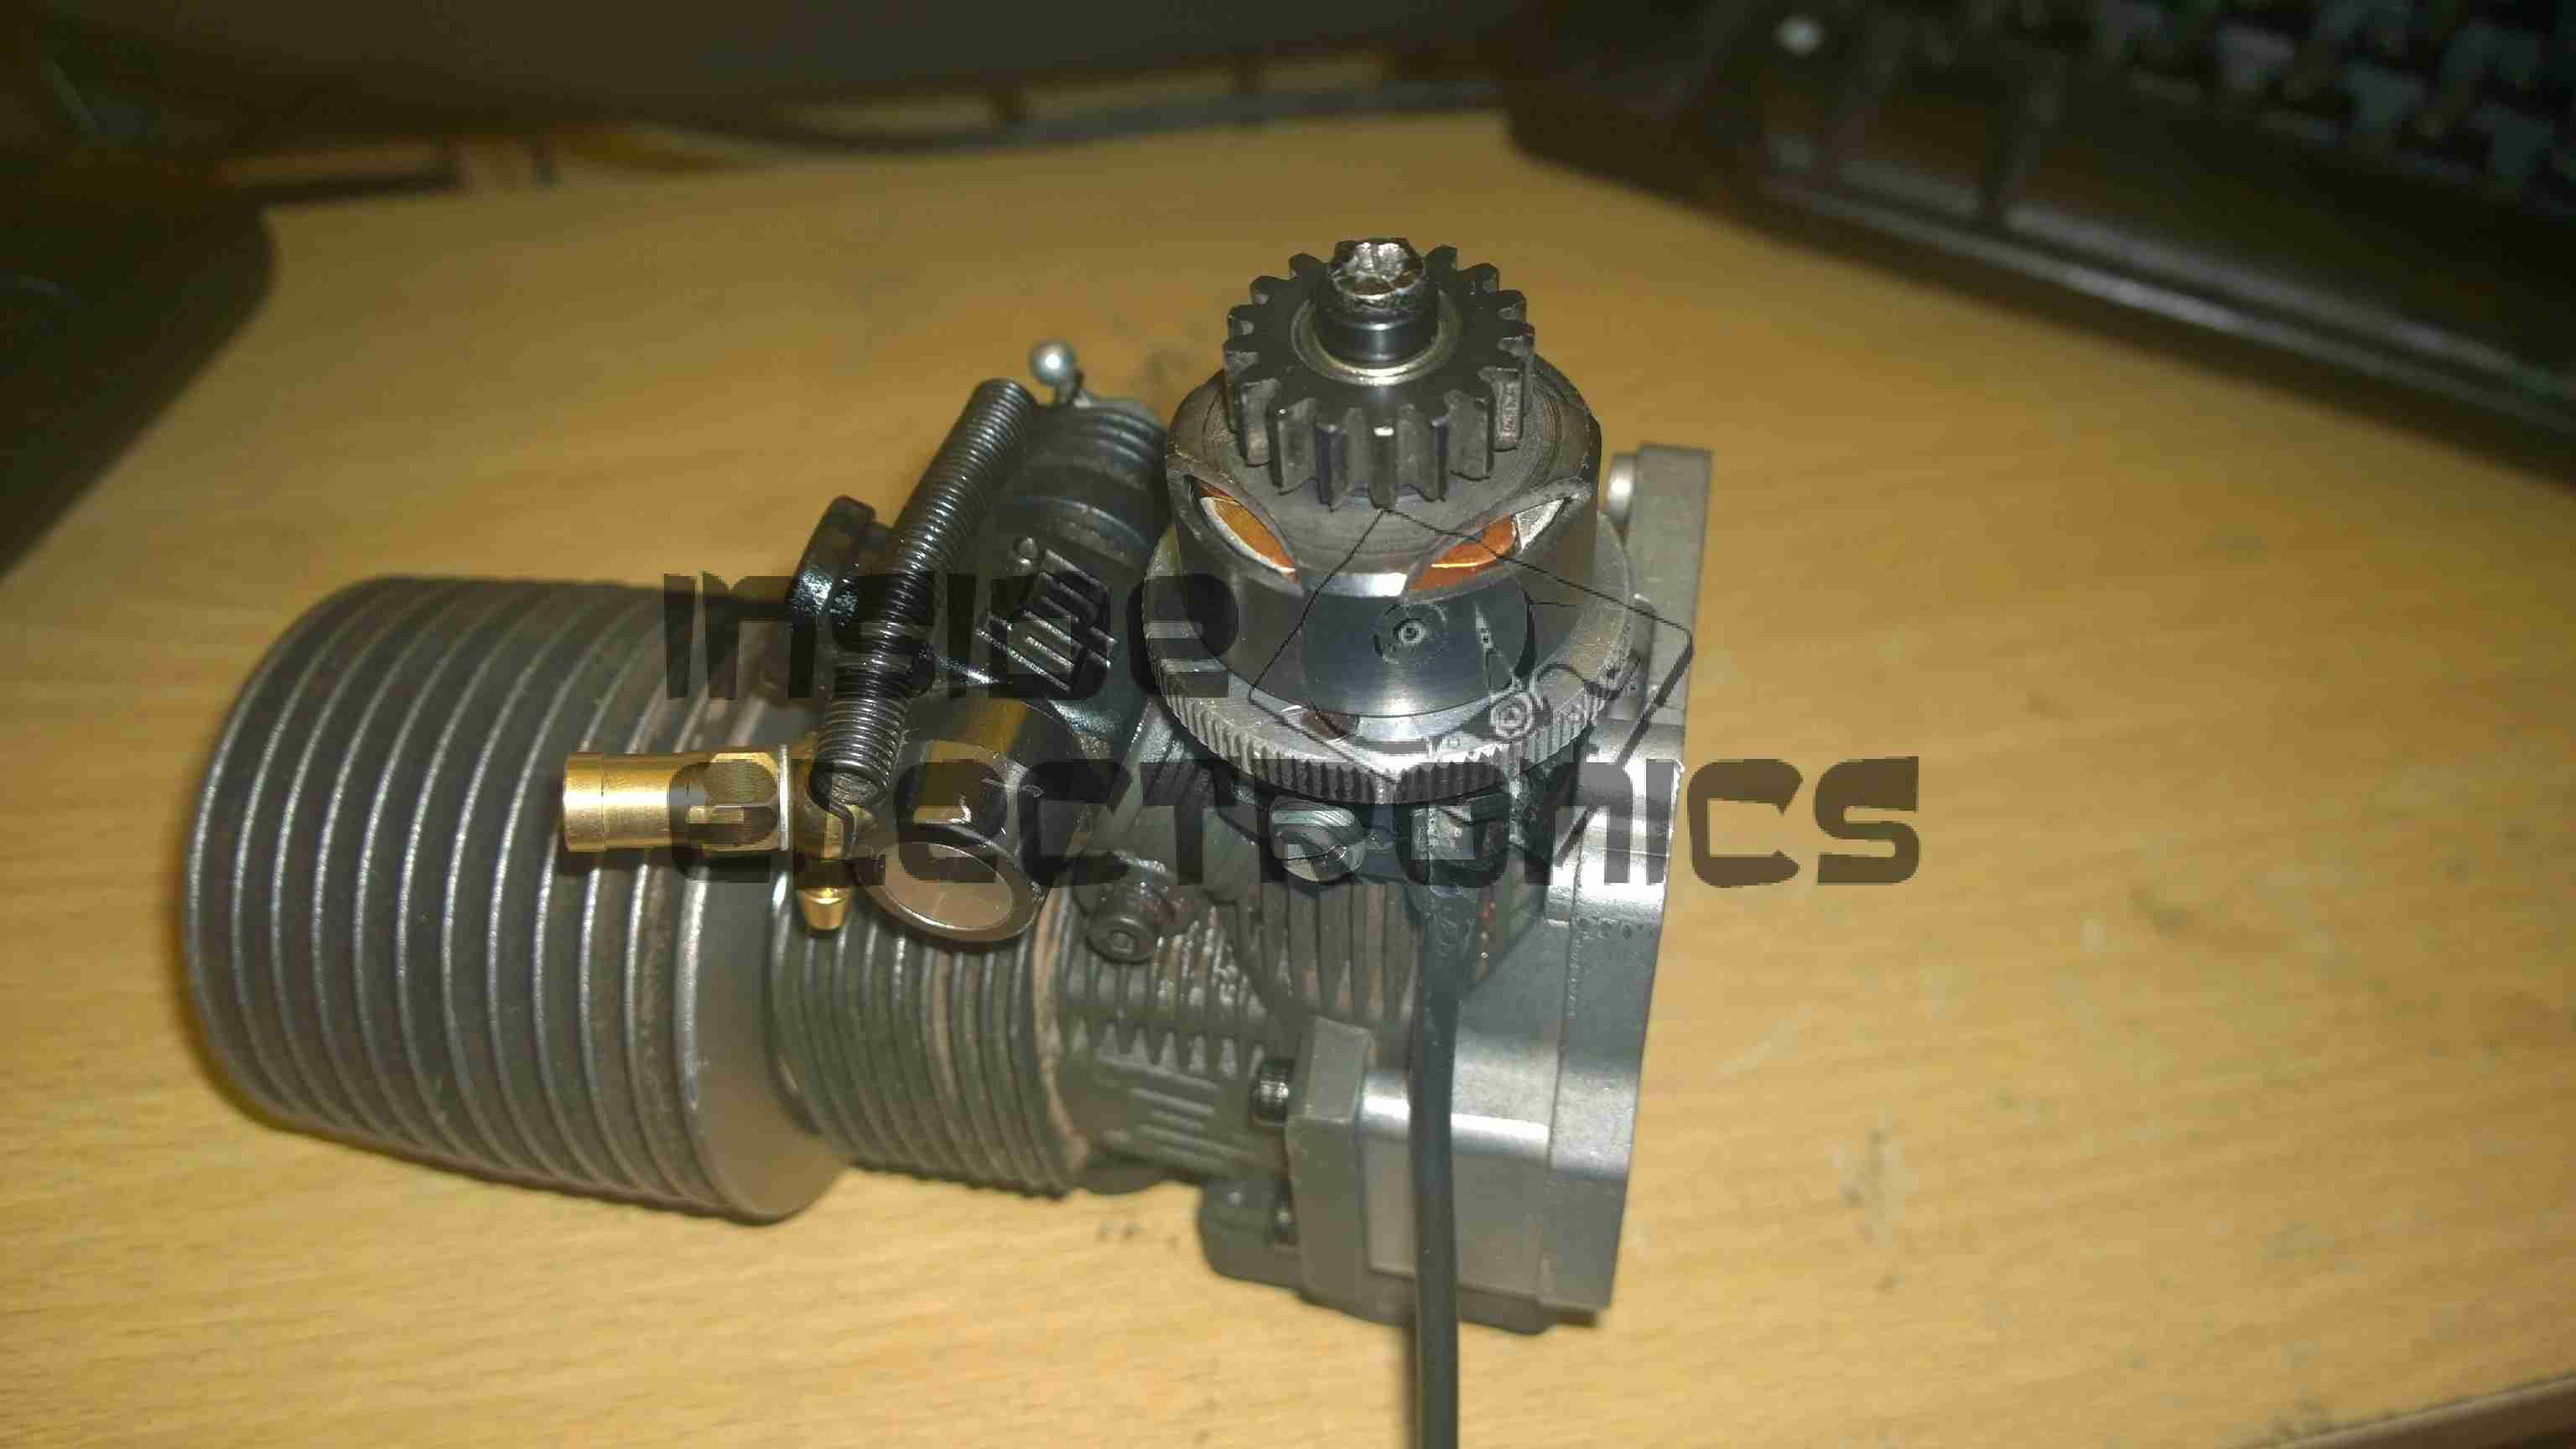
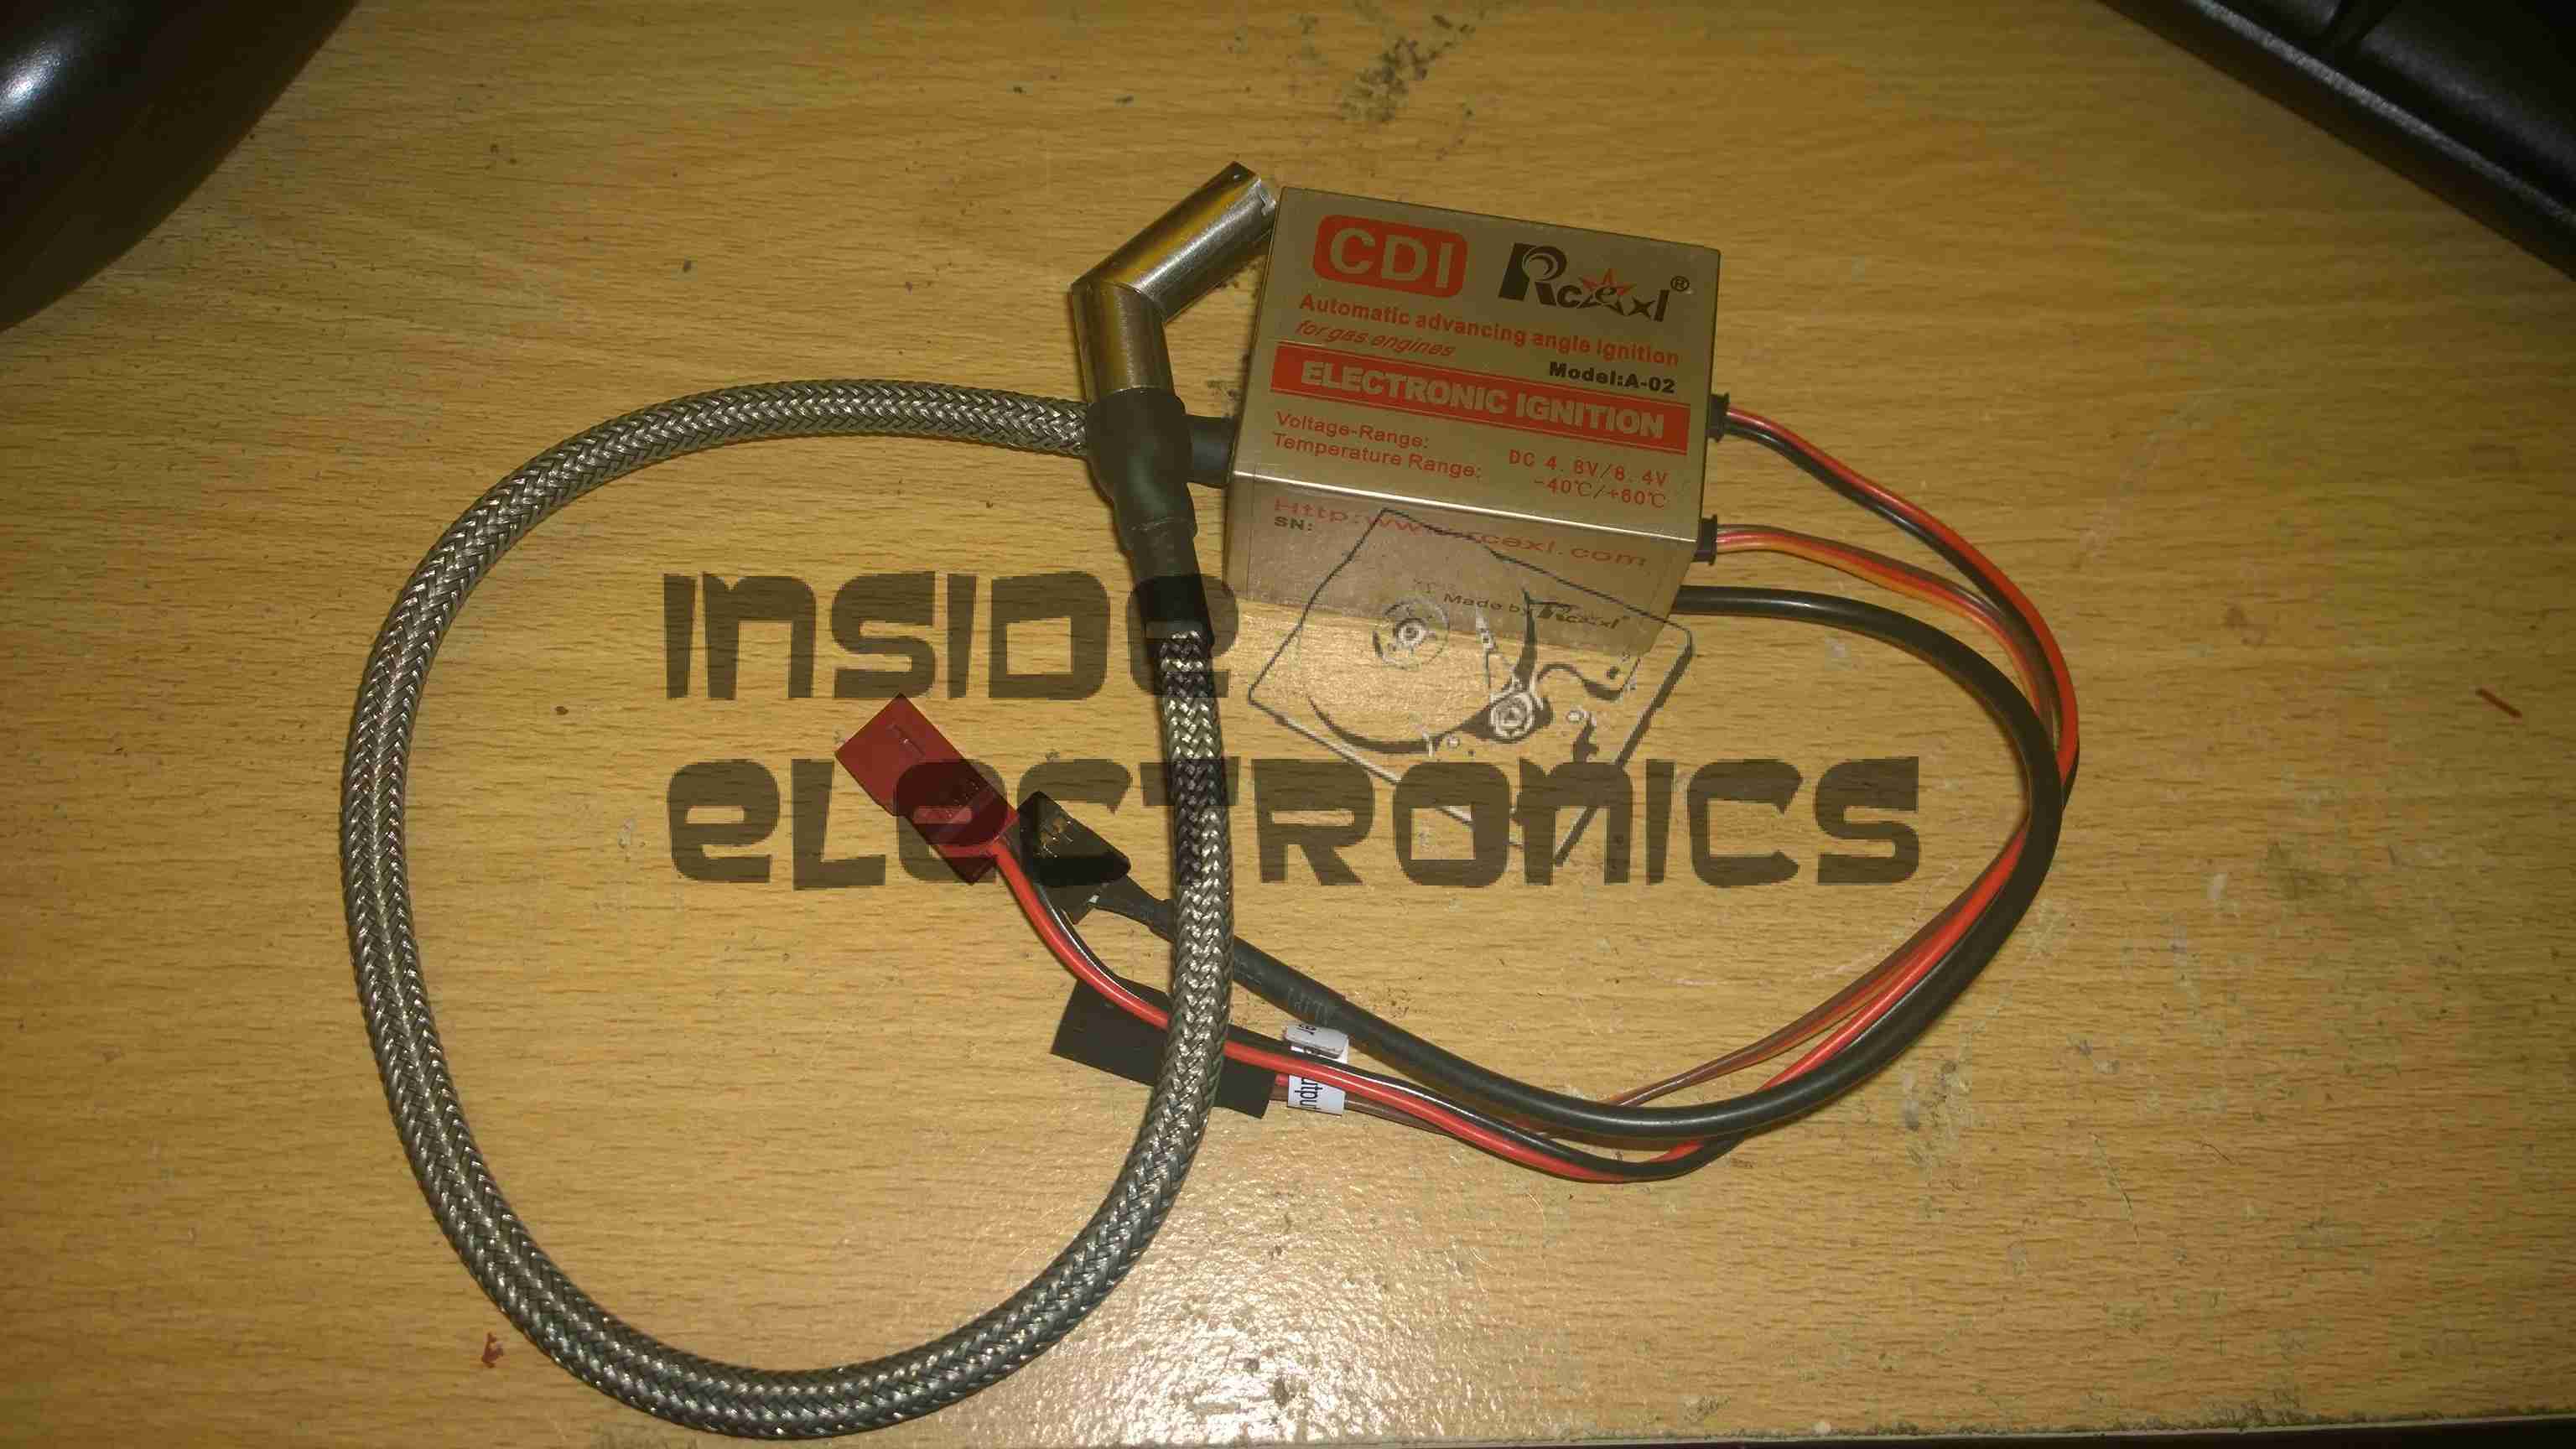
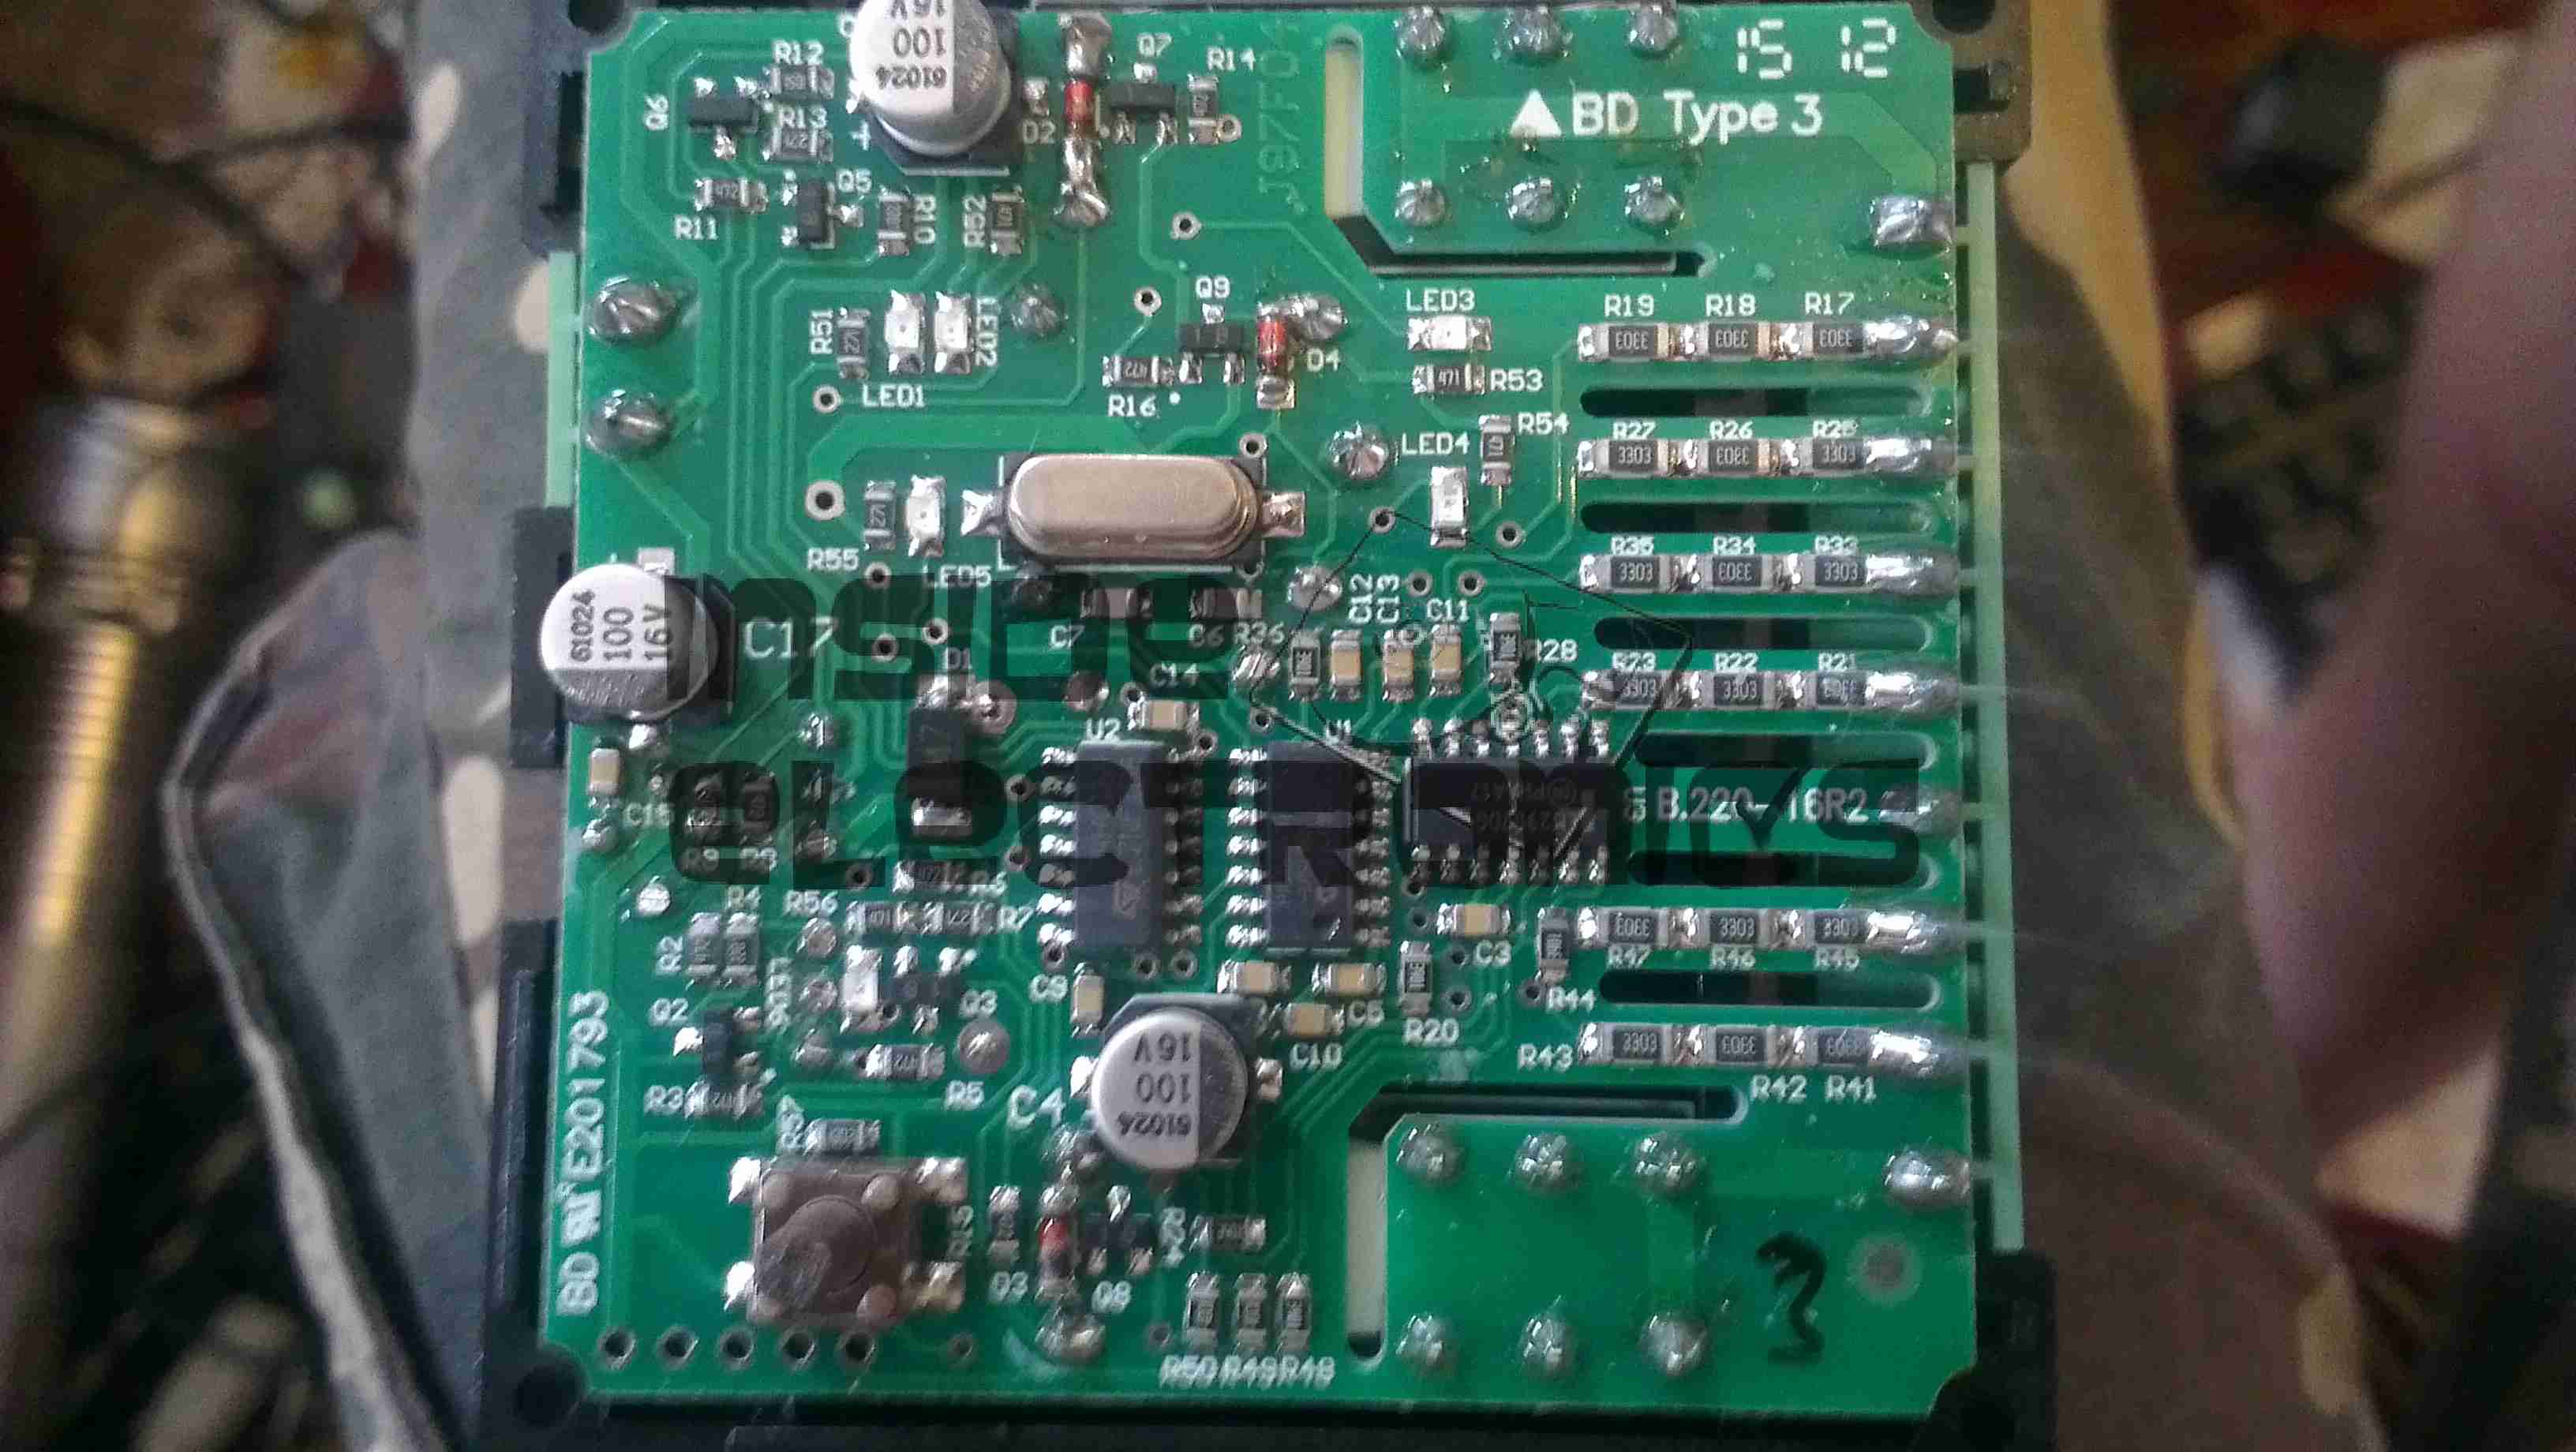
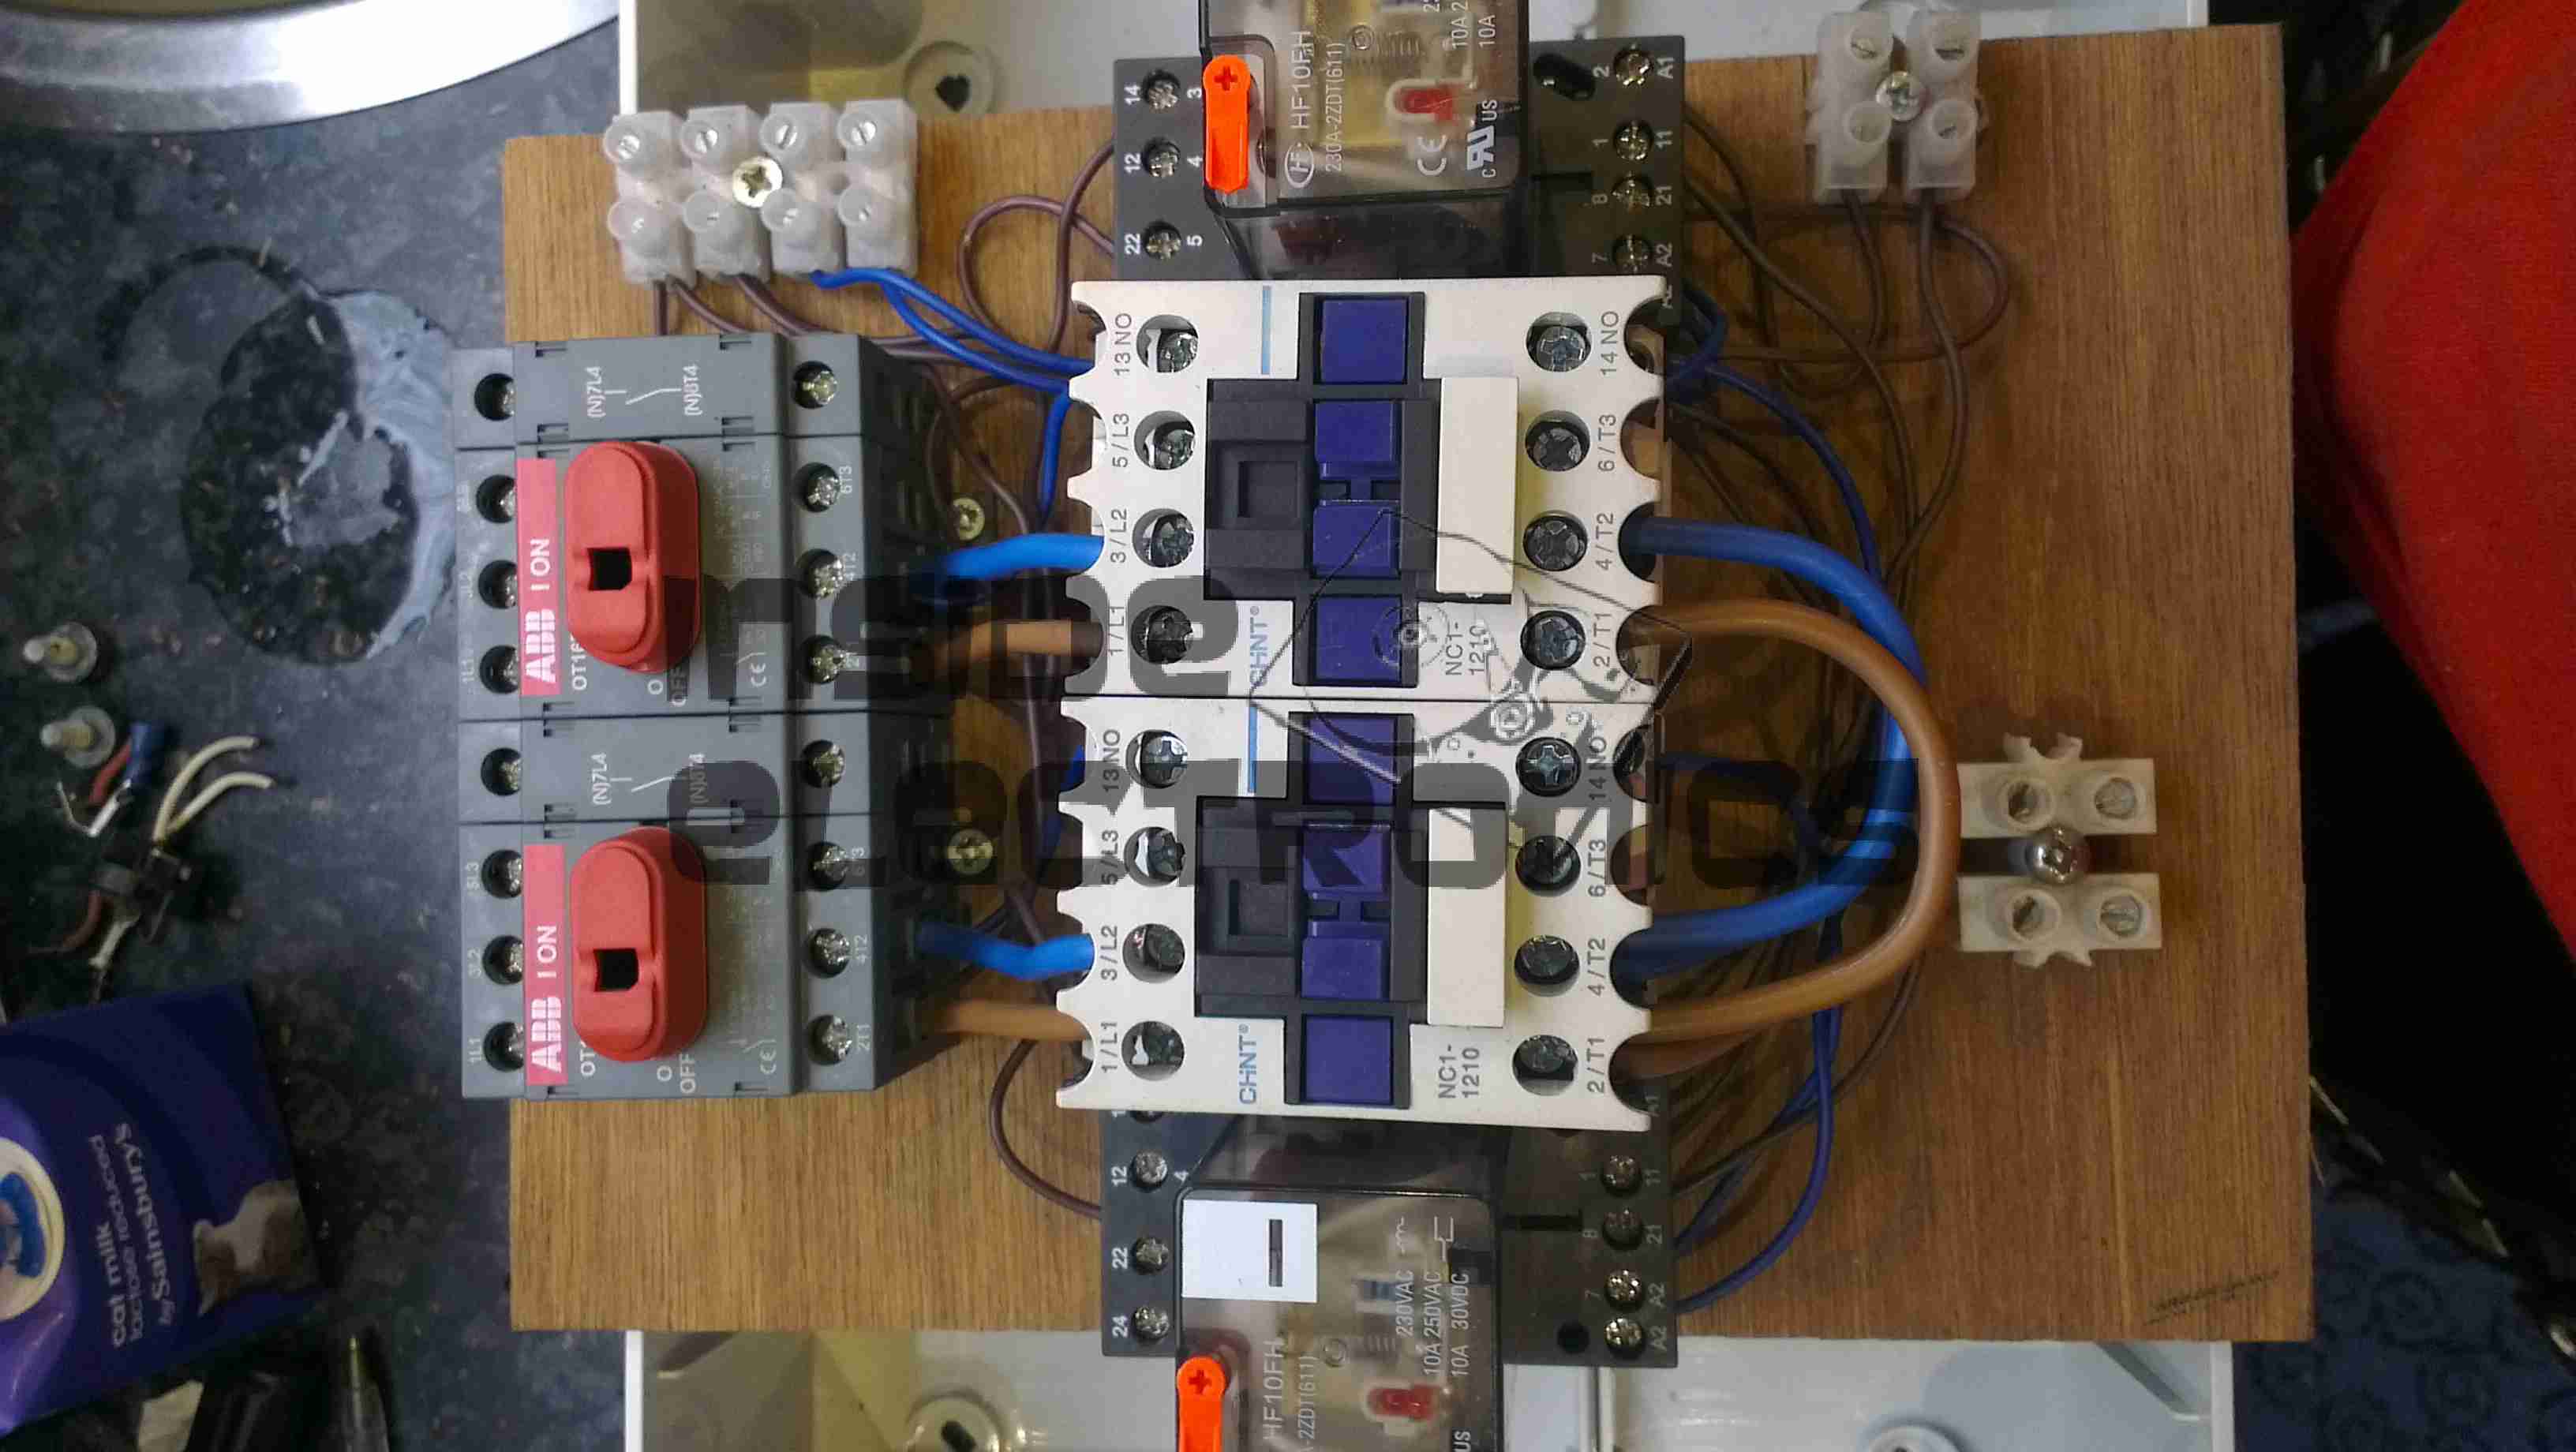
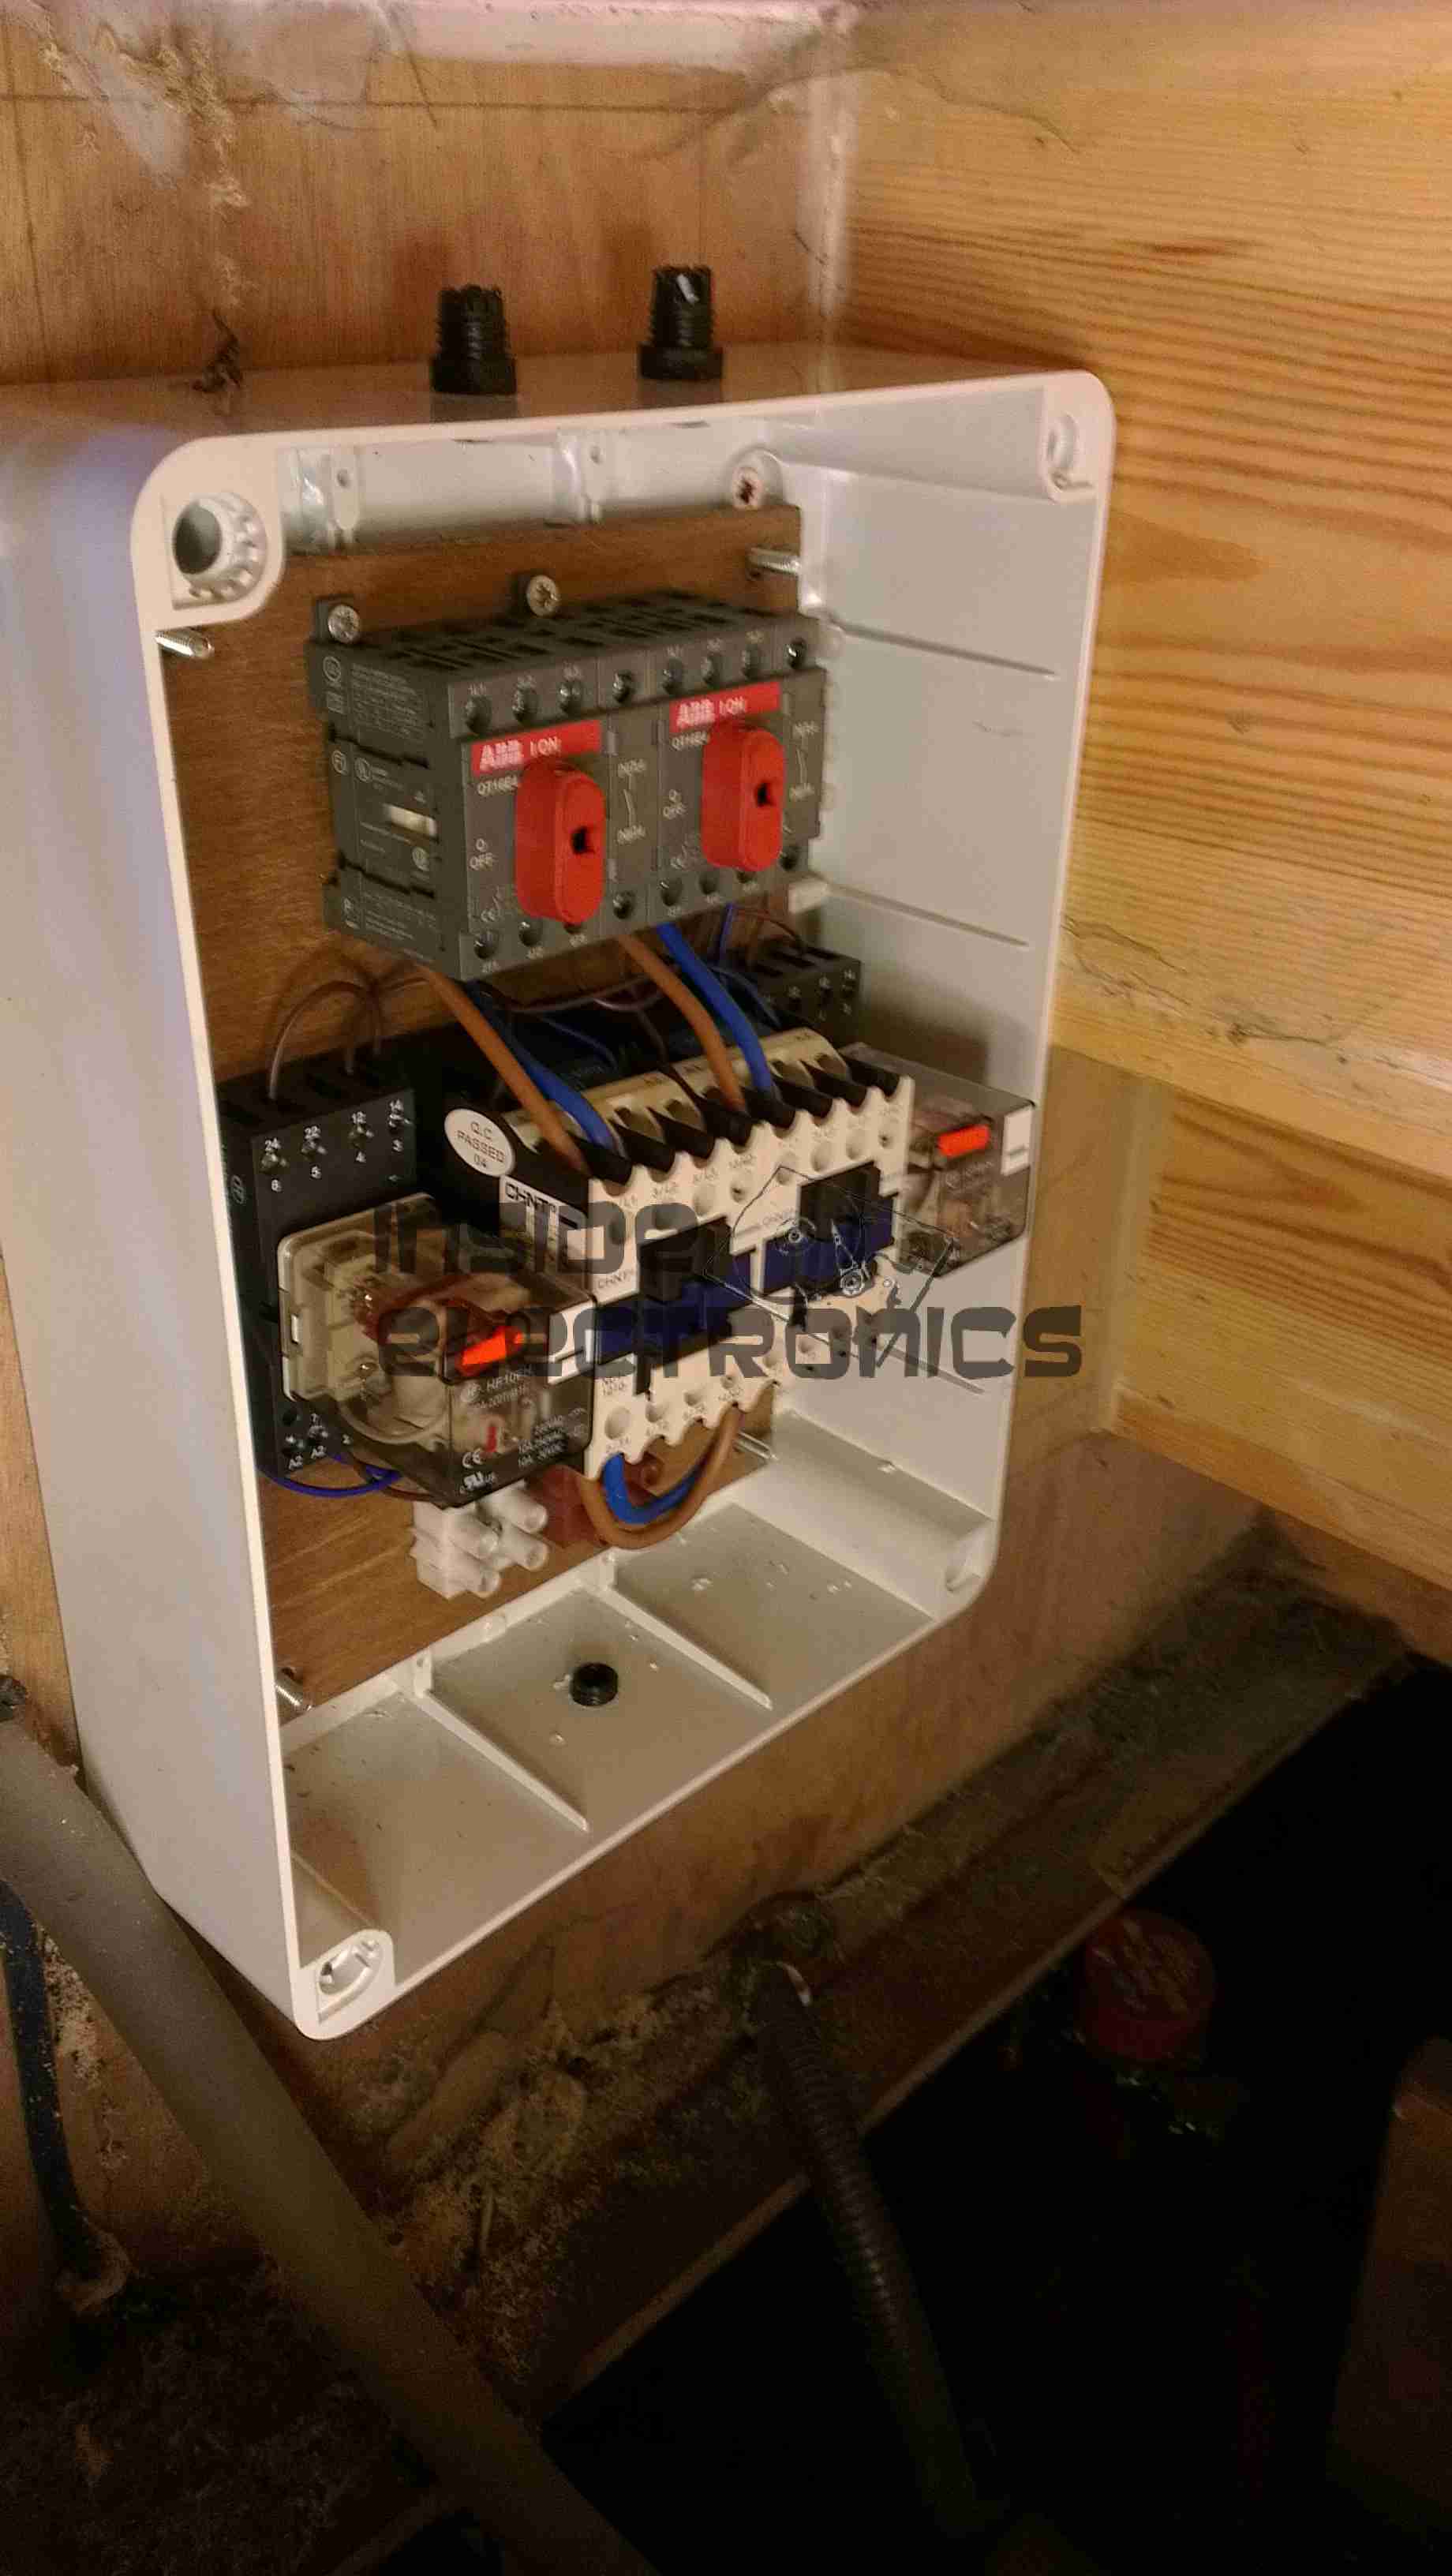
Well here we are a year down the line. The generator still doesn’t function properly, as other things have taken priority, but this is being remedied this week with a replacement hydraulic powerhead. (Correctly sized to 6cc this time, not 11cc).

I even finally got a response from Mike, most likely due to my previous post & the negative publicity that would have brought. In July Mike wrote this:

Good Morning Ben,


I have read your article on the above website, not entirely sure what I can say.


I do however sincerely apologise for the way I handled things, I could give numerous reasons, but I guess they are not your concern, I behaved badly and I am disappointed in myself for treating anyone in this way.


The business has now folded, the domain name www.hydraulicgenerators.co.uk and related products are now owned, manufactured and sold by another company.


My only hope now is that I can in some way repair the damage that has been done and hope that somewhere within yourself you can find a way to accept my apology and forgive me, I am genuinely not a bad person but circumstances outside of my control at the time led me to act in an inacceptable way.


I can understand how you feel, I was defrauded out of a considerable amount of money a while ago and seeking revenge has not been far from my mind for a considerable time, but it won’t get my money back, it won’t undo the damage that has already been done and whilst I might feel better about it for a short while, I have found it difficult from a personal perspective, as, whilst you may cast aspersions about me, my conscience and I do have one just won’t allow me, I can’t help myself from thinking of the other people that would be impacted upon that are otherwise innocent and I know in this particular instance there are several.


I can only hope that you accept my most sincere apology.

Right then. Where should I begin.

No Mike, I will never EVER forgive someone for, what was in my eyes, a deliberate act of fraud & a complete refusal to co-operate.

Now, being the resourceful person I am, and my ability (like anyone else with brains), to find out the registrar of domain names, have discovered the man is yet again lying. Company folded? I think not my son.

Two other domain names have popped up with Mike’s name on the Registrar details:
ukgenerators.co.uk
shop4generators.co.uk

(For completeness, here are the full registrar details, just in case things change after I publish this. This information is correct as of 9/12/14)

Domain name:
        ukgenerators.co.uk

    Registrant:
        Mike Webb

    Registrant type:
        UK Individual

    Registrant’s address:
 <REDACTED>

    Data validation:
        Registrant contact details validated by Nominet on 10-Dec-2012

    Registrar:
        LCN.com Ltd [Tag = LCN]
        URL: http://www.lcn.com

    Relevant dates:
        Registered on: 06-Feb-2004
        Expiry date:  06-Feb-2016
        Last updated:  16-Jan-2014

    Registration status:
        Registered until expiry date.

    Name servers:
        ns1.hostpapa.com
        ns2.hostpapa.com

    WHOIS lookup made at 16:56:14 09-Dec-2014

    Domain name:
        shop4generators.co.uk

    Registrant:
        Mike Webb

    Registrant type:
        UK Individual

    Registrant’s address:
        The registrant is a non-trading individual who has opted to have their
        address omitted from the WHOIS service.

    Data validation:
        Registrant contact details validated by Nominet on 10-Dec-2012

    Registrar:
        Webfusion Ltd t/a 123-reg [Tag = 123-REG]
        URL: http://www.123-reg.co.uk

    Relevant dates:
        Registered on: 02-Jun-2005
        Expiry date:  02-Jun-2015
        Last updated:  27-Jun-2013

    Registration status:
        Registered until expiry date.

    Name servers:
        ns1.hostpapa.com
        ns2.hostpapa.com

    WHOIS lookup made at 16:55:43 09-Dec-2014


Now for someone who is obviously attempting to tell me that he has no money or resources to reimburse us for the utter hell we have been put through in this situation, seems to be doing pretty well for themselves, in the same business that has apparently ‘folded’.
You have a shiny new logo & business name, and yet apparently have ceased trading?
Now, having been part of a firm during a takeover/company sale, domain names are usually immediately transferred into the name of the buying company. Not in this case it seems. All domains are still registered to you.
Your LinkedIn account still has you as being in the business, along with your Twitter account & YouTube account.
Not to mention, that one one of the aforementioned sites (the original hydraulicgenerators.co.uk), Mike’s E-Mail address is still very much visible on the front page E-Mail Link!

Despite all this evidence of continued trading, according to Companies House, the company is in fact in liquidation: http://data.companieshouse.gov.uk/doc/company/06770818

If this is the case, then Mike Webb is in fact operating illegally.

Mike, if you do read this, I AM NOT AN IDIOT. All I asked was that you put things right, so we would have a WORKING GENERATOR.
So far all this has cost is time & money, and I certainly don’t like being conned.
However I feel it is my duty to make sure that anyone who ever has the misfortune of dealing with you knows exactly what you have previous form for doing.

Legal notice:
All information contained in this post is correct as of 9/12/14. Information will be kept up to date & factually correct to the best of my ability.

Stay tuned for the final chapter in getting this generator fitted & working.

Posted on Leave a comment

Quantum LTO2 CL1001 Tape Drive Teardown

Drive Top
Drive Top

I have recently begun to create an archive of all my personal data, and since LTO2 tape drives offer significant capacity (200GB/400GB) per tape, longevity is very high (up to 30 years in archive), & relatively low cost, this is the technology I’ve chosen to use for my long term archiving needs.

Unfortunately, this drive was DOA, due to being dropped in shipping. This drop broke the SCSI LVD connector on the back of the unit, & bent the frame, as can be seen below.

Broken SCSI
Broken SCSI

As this drive is unusable, it made for a good teardown candidate.

Cover Removed
Cover Removed

Here the top cover of the drive has been removed, showing the top of the main logic PCB. The large silver IC in the top corner is the main CPU for the drive. It’s a custom part, but it does have an ARM core.

The two Hitachi ICs are the R/W head interface chipset, while the smaller LSI IC is the SCSI controller.
The tape transport & loading mech can be seen in the lower half of the picture.

Main Logic
Main Logic

Close up of the main logic.

Tape Spool
Tape Spool

Here the main logic PCB has been removed, showing the tape take up spool. The data cartridges have only one spool to make the size smaller. When the tape is loaded, the drive grabs onto the leader pin at the end of the tape & feeds it onto this spool.
The head assembly is just above the spool.

Bottom Plate Removed

Bottom of the drive with the cover plate removed. Here the spindle drive motors are visible, both brushless 3-Phase units. Both of these motors are driven by a single controller IC on the other side of the lower logic PCB.

Head Drive Motor
Head Drive Motor

The head is moved up & down the face of the tape by this stepper motor for coarse control, while fine control is provided by a voice coil assembly buried inside the head mount.

Tape Head Assembly
Tape Head Assembly

The face of the tape R/W head. This unit contains 2 sets of 8 heads, one of which writes to the tape, the other then reads the written data back right after to verify integrity.

Cartridge Load Motor

The tape cartridge loading motor. I originally thought that this was a standard brushed motor, but it has a ribbon cable emerging, this must be some sort of brushless arrangement.

A replacement drive is on the way, I shall be documenting some more of my archiving efforts & system setup once that unit arrives.

Posted on 1 Comment

Superhub Buffer Overflow?

While checking my Virgin Media-provided router recently, I came across this in the status page:

How Many Days??
How Many Days??

According to this, it seems to think it’s been running for a grand total of 44.8 years, without a reboot. I’m pretty certain that DOCSIS didn’t exist that long ago, let alone the hardware itself…
Tech Fail

Posted on Leave a comment

ZyXel WAP3205 Repair

Here is a ZyXel WAP3205 WiFi Access Point that has suffered a reverse polarity event, due to an incorrect power supply being used with the unit.

ZyXEL WAP3205
ZyXEL WAP3205

While most electronic gadgets are protected against reverse polarity with a blocking diode, this unit certainly wasn’t. Applying +12v DC the wrong way round resulted in this:

Blown Switchmode IC
Blown Switchmode IC (Fuzzy Focus)

That is the remains of the 3.3v regulator IC, blown to smithereens & it even attempted an arson attack. Luckily this was the only damaged component, & I was able to repair the unit by replacing the switching IC with a standalone regulator. (Replacing the IC would have been preferable, if there was anything left of it to obtain a part number from).

I scraped away the pins of the IC to clear the short on the input supply, removed the switching inductor, & tacked on an adjustable regulator module set to 3.3v. Luckily the voltage of the supply is handily marked on the PCB next to the circuit.

Replacement PSU
Replacement PSU

Replacement SMPS in place on top of the PCB. The output of the supply is connected to one of the pads of L4 (on my unit just an 0 ohm link), the +12v input is connected to the + rail side of C8 & C7 & the final ground connection is hooked in to the back of the barrel jack.

After this replacement, the unit booted straight up as if nothing had happened. All the logic is undamaged!

Makerplate
Makerplate
Posted on Leave a comment

uRadMonitor Network

I’ve joined the uRadMonitor network! I’m told my unit is on the way & it should be going live here in Manchester, UK within about 10 days.

uRadMonitor Unit
uRadMonitor Unit

This is a crowd project to monitor background radiation levels all over the world, so far there’s a lot of units already online.

More to come once my unit arrives!

Posted on Leave a comment

LDR Controlled Relay

Here’s a quick project for nightlight use: an LDR controlled relay.

Powered from 12v DC, this circuit uses an LM311 comparator to switch the relay according to the sensitivity set by the potentiometer.

LDR Relay
LDR Relay

Eagle files can be downloaded below.

[download id=”5577″]

Posted on Leave a comment

AD9850 VFO Board

Continuing from my previous post where I published an Eagle design layout for AD7C‘s Arduino powered VFO, here is a completed board.

I have made some alterations to the design since posting, which are reflected in the artwork download in that post, mainly due to Eagle having a slight psychotic episode making me ground one of the display control signals!

AD9850 VFO
AD9850 VFO

The amplifier section is unpopulated & bypassed as I was getting some bad distortion effects from that section, some more work is needed there.
The Arduino Pro Mini is situated under the display, and the 5v rail is provided by the LM7805 on the lower left corner.

Current draw at 12v input is 150mA, for a power of 1.8W total. About 1W of this is dissipated in the LM7805 regulator, so I have also done a layout with an LM2574 Switching Regulator.
The SMPS version should draw a lot let power, as less is being dissipated in the power supply, but this version is more complex.

DDS VFO-SMPS
DDS VFO-SMPS

Here the SMPS circuit can be seen on the left hand side of the board, completely replacing the linear regulator.
I have not yet built this design, so I don’t know what kind of effect this will have on the output signal, versus the linear regulator. I have a feeling that the switching frequency of the LM2574 (52kHz) might produce some interference on the output of the DDS module. However I have designed this section to the standards in the datasheet, so this should be minimal.

Nevertheless this version is included in the Downloads section at the bottom of this post.

The output coupled through a 100nF capacitor is very clean, as can be seen below, outputting a 1kHz signal. Oscilloscope scale is 0.5ms/div & 1V/div.

VFO Output
VFO Output (Mucky ‘Scope)
Scope Connected
Scope Connected


Thanks again to Rich over at AD7C for the very useful tool design!

Linked below is the Eagle design files for this project, along with my libraries used to create it.

[download id=”5571″]

[download id=”5573″]

[download id=”5575″]

Posted on Leave a comment

4″ 7-Segment Display Driver

I was recently given some 4″ 7-Segment displays, Kingbright SC40-19EWA & of course, I needed to find a use for them.

I only have three, so a clock isn’t possible…

4" 7-Segment Display
4″ 7-Segment Display

As these displays are common cathode, & have a ~9v forward voltage on the main segments, some driver circuity is required to run multiplexed from an Arduino.

Driver Transistors
Driver Transistors

Driver circuit built on Veroboard, PNP segment transistors on the left, cathode NPN transistors in the centre, level-shifting NPN array on the right.

Base Bias Resistor Network

Base bias resistors on the back of the board to bias the bases of the segment drive transistors correctly.

Display Rear
Display Rear

Board soldered into the pins of the displays, which have been multiplexed.

Schematic to come along with some Arduino code to run a room thermometer, with an LM35 sensor

Posted on Leave a comment

HPI Savage X 4.6 LiPo Receiver Battery

3S Lithium-Polymer Pack

To provide more run time with the conversion to petrol & spark ignition, I have also upgraded the on-board electronics supply to compensate for the extra ~650mA draw of the ignition module.
This modification is centred around a 3S Lithium-Polymer battery pack, providing a nominal 11.1v to a voltage regulator, which steps down this higher voltage to the ~6v required by the receiver & servo electronics.

Power Regulator
Power Regulator
Power Regulator
Power Regulator

The regulator, shown above, is a Texas Instruments PTN78060WAZ wide-input voltage adjustable regulator. This module has an exceptionally high efficiency of ~96% at it’s full output current of 3A. The output voltage is set by a precision resistor, soldered to the back of the module, in this case 6.5v. Standard RC connectors are used on the regulator to allow connection between the power switch & the radio receiver.

Receiver Box
Receiver Box

Everything tucked away into place inside the receiver box. The 3S 1000mAh LiPo fits perfectly in the space where the original Ni-Mh hump pack was located.
The completely stable output voltage of the regulator over the discharge curve of the new battery gives a much more stable supply to the radio & ignition, so I should experience fewer dropouts. Plus the fact that the engine now relies on power from the receiver pack to run, it’s a built in fail safe – if the power dies to the receiver, the engine also cuts out.

Posted on Leave a comment

HPI Savage Petrol Conversion – Fuel & Silicone – Chemical Compatibility

While I was already well aware of the effects of petrol on silicone products – the stuff swells up & dissolves over a very short period of time, which makes it an unsuitable material for seals in a petrol fuel system.

Fuel Tank Cap Seal
Fuel Tank Cap Seal

I wasn’t aware the O-Ring on the fuel tank cap of the Savage is silicone, as can be seen in the image above it has swelled up to much larger than it’s original size. It’s supposed to sit in the groove on the cap & fit into the filler neck when closed.
This was only from a couple of hours of petrol exposure, now the seal is such an ill fit that the cap will not close properly.

The solution here is to replace the ring with a Viton O-Ring, 2.5mm cross section, 23mm ID. I assume the fuel tank is made of polypropylene – this should stand up fine to the new fuel.

Another concern was the O-Rings on the carburettor needles, however these seem to be made of a petrol-resistant material already & are showing no signs of deterioration after 24+ hours of fuel immersion.
The O-Rings that seal the engine backplate to the crankcase also seem to be working fine with the new fuel.

Another silicone part on the engine is the exhaust coupling, between the back of the cylinder & the silencer, I’m not aware of a suitable replacement as yet, although as it will mainly be exposed to the combustion products & not raw fuel, it may just survive the task.

Exhaust Coupling
Exhaust Coupling

The extra heat from burning petrol in one of these engines may also put a lot of stress on this component, if it eventually fails I may attempt a replacement with automotive hose – time will tell on this one.

Fuel Bottle
Fuel Bottle

I’m also not sure of the plastic that standard fuel bottles are made from – their resin identification number is 7, so it could be any special plastic, but I’m guessing it’s Nylon.
However according to the spec sheet for Nylon, it’s chemically compatible with petrol – yet the plastic appears to be getting softer with exposure, so it may be a special blend designed specifically for glow fuel.


Besides these small glitches, the engine is running well on it’s newly assigned diet of petrol, I’m currently running an 18:1 mix of petrol to oil (250ml oil to 4.5L of petrol), this seems to be providing more than adequate lubrication. While it smokes like a chimney, plenty of unburned oil is making it out of the exhaust, so the engine’s internals should have a liberal coating.
I’m yet to actually run the model out in open space so I can start tuning the mixture, but bench tests are promising.

More to come!

Posted on Leave a comment

HPI Savage X 4.6 Ignition Conversion – Initial Carburettor Settings & Module Mountings

Ignition Module Mount
Ignition Module
Ignition Module

The engine now with it’s required ignition sensor, it is now mounted back on the chassis of the model. I have replaced the stock side exhaust with a rear silencer, so I could fit the ignition module in place next to the engine.
For the mounting, I fabricated a pair of brackets from 0.5mm aluminium, bent around the module & secured with the screws that attach the engine bed plate to the TVPs. The ignition HT lead can be routed up in front of the rear shock tower to clear all moving suspension parts, with the LT wiring tucked into the frame under the engine.
In this location the module is within the profile of the model chassis so it shouldn’t get hit by anything in service.

Rear Exhaust
Rear Exhaust

New exhaust silencer fitted to the back of the model. This saves much space on the side of the model & allows the oily exhaust to be discharged away from the back wheel – no more mess to wipe up.

Kill Switch
Kill Switch

The ignition switch fitted into the receiver box. This is wired into channel 3 of the TF-40 radio, allowing me to remotely kill the engine in case of emergency. I have fitted a 25v 1000µF capacitor to smooth out any power fluctuations from the ignition module.
The radio is running from a 11.1v 1Ah 3S LiPo pack connected to a voltage regulator to give a constant 6.5v for the electronics. I found this is much more reliable than the standard 5-cell Ni-MH hump packs.

Fuel Tank
Fuel Tank

The stock silicone fuel tubing has been replaced with Tygon tubing to withstand the conversion to petrol.

High Speed Needle
High Speed Needle

High speed needle tweaked to provide a basic running setting on petrol. This is set to ~1.5mm below flush with the needle housing.

Low Speed Needle
Low Speed Needle

Low speed needle tweaked to provide a basic running setting on petrol. This is set to ~1.73mm from flush with the needle housing.

As petrol is a much higher energy density fuel, it requires much more air than the methanol glow fuel – ergo much leaner settings.
The settings listed should allow an engine to run – if nowhere near perfectly as they are still rather rich. It’s a good starting point for eventual tuning.


Posted on Leave a comment

HPI Nitrostar F4.6 Ignition Conversion

As there was no other online example of someone converting a glow/nitro car engine onto CDI ignition, I thought I would document the highlights here.
The engine is currently still running on glow fuel, but when the required fuel lines arrive I will be attempting the switch over to 2-Stroke petrol mix. This should definitely save on fuel costs.

The engine in this case is a HPI NitroStar F4.6 nitro engine, from a HPI Savage X monster truck.

F4.6 Engine
F4.6 Engine

Above is the converted engine with it’s timing sensor. As The installation of this was pretty much standard, a complete strip down of the engine was required to allow the drilling & tapping of the two M3x0.5 holes to mount the sensor bracket to. The front crankshaft bearing has to be drifted out of the crankcase for this to be possible.

Ignition Hall Sensor

Detail of the ignition hall sensor. The bracket has to be modified to allow the sensor to face the magnet in the flywheel. Unlike on an Aero engine, where the magnet would be on the outside edge of the prop driver hub, in this case the hole was drilled in the face of the flywheel near the edge & the magnet pressed in. The Hall sensor is glued to the modified bracket with the leads bent to position the smaller face towards the back of the flywheel.
The clearance from the magnet to sensor is approx. 4mm.

Flywheel Magnet
Flywheel Magnet

Detail of the magnet pressed into the flywheel. A 3.9mm hole was drilled from the back face, approx 2mm from the edge, & the magnet pressed into place with gentle taps from a mallet & drift, as I had no vice to hand.
Initial timing was a little fiddly due to the flywheel only being held on with a nut & tapered sleeve, so a timing mark can be made inside the rear of the crankcase, across the crank throw & case to mark the 28 degree BTDC point, the flywheel is then adjusted to make the ignition fire at this point, before carefully tightening the flywheel retaining nut to ensure no relative movement occurs.
The slots in the sensor bracket allow several degrees of movement to fine adjust the timing point once this rough location has been achieved.

1/4"-32 Spark Plug
1/4″-32 Spark Plug

Definitely the tiniest spark plug I’ve ever seen, about an inch long. Some trouble may be encountered with this on some engines – the electrodes stick out about 2mm further into the combustion chamber than a standard glow plug does. This causes the ground electrode to hit the top of the piston crown. (This happens on the HPI NitroStar 3.5 engine). The addition of another copper washer under the plug before tightening should cure this problem.

RcExl CDI Ignition Module

Ignition module. Due to the depth of the plug in the heatsink head on these engines, I will have to modify the plug cap to straighten it out, as it will not fit in this configuration.
However, ignition modules are available from HobbyKing with straight plug caps, this makes modification unnecessary

The ignition & components used on this system were obtained from JustEngines.

Posted on Leave a comment

Raspberry Pi Timelapse Setup

Here is the setup used to create the previous videos, the PiCE from Elson Designs makes the Pi water resistant, the only slight modification being to install a 2.5mm DC Barrel Jack into one of the grommet holes in the rear coupled with a custom DC-DC converter to power the setup.

CamPi_1

CamPi_2

CamPi_3

Posted on Leave a comment

Potentially Lethal Clone Apple Charger

Charger
Charger

I received this USB supply with a laser module from China that I purchased on eBay. I have heard of these nasty copies of Apple chargers going around, but I’d never received one this bad with a piece of Chinese electronics.

Label
Label

Model No. A1265, so definitely an Apple clone. Apparently capable of +5v DC 1A output. Notice the American NEMA pins. This wouldn’t have been any use to me in the first instance since I am resident in the UK & our mains plugs are significantly different, not to mention significantly safer.

Manufacturer is marked as Flextronics.

Top Of Boards
Top Of Boards

Here is the charger disassembled. Inside the case these two boards are folded together, creating an alarmingly small isolation gap between the mains side of the supply & the 5v output. Both the low voltage output & the feedback loop for the supply runs over the 4-core ribbon cable.
The mains wiring from the board is as thin as hair, insulation included, so there is a big possibility of shorts all over the place from this part of the circuit alone.

Bottom Of Boards
Bottom Of Boards

Bottom of the PCB assemblies. Good luck finding any creepage distance here. There simply isn’t any at all. traces on the +350v DC rail on the mains side of the transformer are no more than 1mm away from the supposedly isolated low voltage side.

Plugging one of these devices into anything is just asking for electrocution.


Posted on Leave a comment

555 Flyback Driver

Flyback Secondary Waveform
Board Layout
Board Layout

Here is a simple 555 timer based flyback transformer driver, with the PCB designed by myself for some HV experiments. Above is the Eagle CAD board layout.

The 555 timer is in astable mode, generating a frequency from about 22kHz to 55kHz, depending on the position of the potentiometer. The variable frequency is to allow the circuit to be tuned to the resonant frequency of the flyback transformer in use.

This is switched through a pair of buffer transistors into a large STW45NM60 MOSFET, rated at 650v 45A.

Input power is 15-30v DC, as the oscillator circuit is fed from an independent LM7812 linear supply.

Provision is also made on the PCB for attaching a 12v fan to cool the MOSFET & linear regulator.

Initial Board
Initial Board

Board initially built, with the heatsink on the linear regulator fitted. I used a panel mount potentiometer in this case as I had no multiturn 47K pots in stock.

PCB Traces
PCB Traces

Bottom of the PCB. The main current carrying traces have been bulked up with copper wire to help carry the potentially high currents on the MOSFET while driving a large transformer.
This board was etched using the no-peel toner transfer method, using parchement paper as the transfer medium.

MOSFET Heatsinked
MOSFET Heatsinked

Main MOSFET now fitted with a surplus heatsink from an old switchmode power supply. A Fan could be fitted to the top of this sink to cope with higher power levels.

Gate Drive Waveform
Gate Drive Waveform

This is the gate drive waveform while a transformer is connected, the primary is causing some ringing on the oscillator. The waveform without an attached load is a much cleaner square wave.

Flyback Secondary Waveform

I obtained a waveform of the flyback secondary output by capacitively coupling the oscilloscope probe through the insulation of the HT wire. The pulses of HV can be seen with the decaying ringing of the transformer between cycles.

Corona Discharge
Corona Discharge
Arc Discharge
Arc Discharge

Corona & arc discharges at 12v input voltage.

Download the Eagle schematic files here: [download id=”5561″]

Posted on Leave a comment

BMW Passenger Airbag

Top
Top

This is a passenger side airbag from a BMW vehicle. Here is the top of the device, with all the warning labels & information.

Folded Bag
Folded Bag

Here the outer plastic wrap has been removed from the unit, showing the folded nylon fabric bag.

Frame
Frame

The base frame with the gas generator mounted.

Gas Generator
Gas Generator

Gas generator with warning label. This is a two part generator, with a pair of independent cores inside.

Generator Core
Generator Core

One of the generator cores removed from the heavy steel shell of the gas generator. The layers of wire mesh on the outside act as a flame trap, releasing only the gas generated from the burning propellant inside.

Propellant
Propellant

End cap removed from the core, showing the pellets of propellant & the many layers of mesh & fibreglass filter material. The explosive initiator is in the bottom of this unit. A spring under the end cap firmly holds the pellets against the initiator.

Initiator
Initiator

Finally, here is the explosive initiator that is located in the bottom of the core under the propellant pellets. This consists of a primary explosive & an electric match, which can be seen below as the device is disassembled.

Initiator Components
Posted on Leave a comment

Datakom DKG-171

Front
Front

Here is a teardown of the Datakom DKG-171 generator transfer controller. Here is the front of the unit, with the pictogram of the system, the indicator LEDs & the generator test button.


Rear
Rear

The rear of the unit features the connection points for the mains, generator & generator control I/O.

PCB Rear
PCB Rear

Rear of the PCB with the control relays. The two larger relays switch in the remote contactors to switch the mains supply over between the grid & the generator, while the smaller relay switches 12v power out to a terminal to automatically start the generator.

PCB Front
PCB Front

Front of the PCB with the control logic & main PIC microcontroller.


Posted on Leave a comment

nbTanya Louise Generator Transfer Controller

Contactor Box
Contactor Box

Here is the latest build & addition to the boat, in preparation for delivery of an 8kVa hydraulically driven generator unit – an automatic transfer switch.
Above can be seen the completed contactor unit, mounted in the engine bay.
This unit takes feeders from both the shore power socket & the generator unit & switches them independently through to the domestic 240v AC systems on board.

Contactor switching is done by a Datakom DKG-171 automatic generator controller.

Switching Unit
Switching Unit

Here are the contactors & isolators, before fitting to the wallbox. Power comes in one the left, through the large 25A isolating switches, before feeding to a pair of 30A contactors. The pair of outer relays next to the contactors are interlocks. These ensure that when one contactor is energized, the other is electrically locked out. Even if the interlock relay is manually operated with the orange flag visible on the top of the unit, they are wired to de-energize both contactors. This ensures that under no circumstances can both power sources be connected at the same time.

Panel Cutout
Panel Cutout

The generator controller requires a 68mmx68mm panel cutout for mounting. This was done in the main panel next to the electrical locker.

Box Fitted
Box Fitted

Here the contactor board has been fitted into the wallbox & the cable glands fitted before wiring.

DKG-171
DKG-171
System Online
System Online

The generator controller fitted & finally energized. The indicator LEDs on the front of the unit let the user know where power is currently being supplied from & which contactor is energized.


Posted on 1 Comment

AVR Optical Tachometer

Here is an AVR powered optical tachometer design, that I adapted from the schematic found here.

I made a couple of changes to the circuit & designed a PCB & power supply module to be built in. The original design specified a surface mount IR LED/Photodiode pair, however my adjustment includes a larger IR reflectance sensor built onto the edge of the board, along with a Molex connector & a switch to select an externally mounted sensor instead of the onboard one.

There is also an onboard LM7805 based power supply, designed with a PCB mount PP3 battery box.
The power supply can also be protected by a 350mA polyfuse if desired. If this part isn’t fitted, then a pair of solder bridge pads are provided within the footprint for the fuse to short out the pads.

For more information on the basic design, please see the original post with the link at the top of the page.

Schematic
Schematic

Here is an archive of the firmware & the Eagle CAD files for the PCB & schematic design.


Posted on Leave a comment

Solar Cable Upgrade & Pseudo-MPPT

New Cable
New Cable

As the cable supplied with the panel is far too short, inflexible & does not even allow the cable gland on the terminal box to form a seal, I have replaced it with some high quality twin core guitar cable, with silicone insulation.

The cable is removable from the panel tail by means of a screwlock two pin connector.


On another note, I have noticed a side effect of fitting a switchmode regulator to the panel: it seems to have formed an MPPT-type regulator setup, as even in low light conditions, when the bare panel is outputting 18.5v at 50mA short circuit, with the switching regulator I can get a useable 13.25v at ~170mA.
This effect is increased in full light, where I can obtain 4.5A short circuit current & ~1.8A at 13.25v output.

Posted on Leave a comment

Wearable Raspberry Pi – Solar Charging


24W Solar Panel
24W Solar Panel

I have acquired a 24W monocrystalline solar panel to charge my portable battery pack while on the move. This panel will be able to charge all devices I carry on a regular basis with nothing but some sunlight!

Info Panel
Info Panel

Info on the panel itself. Rated at 24W with nominal 17.6v DC, 1.36A output.

Regulator
Regulator

I have installed a switching regulator in the back of the panel, where the connections would normally be wired straight to the array of cells. This regulates the voltage down to a constant 13.8v to provide more compatibility with 12v charging equipment. I have tested the output of the panel in late day sun, at 1.27A.


Posted on 1 Comment

FE-5680A Rubidium Frequency Standard – Initial Teardown

Physics Package
Physics Package

Here is a quick look inside the FE-5060A Rubidium Frequency Standard. Above you can see the entire physics package, with the rubidium lamp housing on the right hand side. The ribbon cable running into the resonator cavity has the power & signal traces for the internal heater, temperature sensor & Helmholtz coil.

Lamp End
Lamp End

Here is the lamp end of the physics package, with the voltage regulator & RF driver for the lamp. The FETs soldered to the back of the housing are being used as heaters to maintain a constant temperature on the lamp in operation.
The temperature sensor can be seen between the two FETs, with a single copper wire running around the housing to connect to it.

Main frequency synth board. This contains the RS-232 interface & the AD9830A from Analog Devices. This IC is a direct digital synthesizer & waveform generator.


Synthesizer Board
Synthesizer Board
Posted on Leave a comment

Ultracapacitor Charge Balancing

Balancer
Balancer

I have finally  got round to designing the balancing circuitry for my ultracapacitor banks, which have a total voltage of 15v when fully charged. The 2600F capacitors have a max working voltage of 2.5v each, so to ensure reliable operation, balancing is required to make sure that each capacitor is charged fully.

The circuit above is a simple shunt regulator, which uses a 2.2v zener diode to regulate the voltage across the capacitor.

A 10W 1Ω resistor is connected to the BALLAST header, while the capacitor is connected across the INPUT. Once the voltage on the capacitor reaches 2.6v, the MOSFET begins to conduct, the 1Ω resistor limiting current to ~2.6A.

Each capacitor in the series string requires one of these connected across it.

PCB
PCB

Below is a link to the Eagle project archive for this. Includes schematic, board & gerber files.

[download id=”5555″]

Posted on Leave a comment

Safe 4 Tumbler Combination Lock

Combination Lock
Combination Lock
Combination Lock

Just a very quick post with some images of an industrial safe combination lock.

Tumblers Aligned
Tumblers Aligned

Here the tumblers are lined up to allow the lock to open.

Bolt Locked
Bolt Locked

The locking bar has dropped into the slots in the tumbler plates & engaged with the cam.

Bolt Unlocked
Bolt Unlocked

Rotating the cam pulls the bolt into the lock, allowing the door to open.

Unlocked
Unlocked

The dial screws into the cam plate to allow the mechanism to be operated.